To gain the Messenger Bag Sewing credential, you need to successfully complete this DIY training guide and have your completion verified by makerspace shop staff.
This document will walk you through the basics of making a messenger bag. Text in black explains how to make it.
Text in blue boxes are the steps you should actively be taking to practice these skills.
Prerequisites
- Sewing DIY Training
- Sailrite DIY Training
- (Optional but recommended) Embroidery DIY Training.
Safety Considerations
You can use the pattern below to cut more fabric if needed.
Materials

You will need:
- Lining Fabric (waterproof tarp)
- (1) back panel
- (1) bottom panel
- (1) front panel
- Face Fabric (Cordura)
- (1) back panel
- (1) bottom panel
- (2) front panel
- 2” shoulder strap
- 22” piece
- 30” piece
- 1.5” shoulder strap
- (1) 16” piece
- (1) 21” piece
- (1) 8’ pieces
- (2) 3” pieces
- (1)29” piece
- Buckle
- D ring
- 2” Velcro
- (2) 8” strips (loop side)
- 14” strips (hook side)
- (2) pairs of 1.5″ x 2” opposing strips
- 75” 1 inch bias tape
If anything is missing or uncut, please talk to an explorer.
Terms
- Right side- the side of your fabric that will be visible
- Wrong side – the side of the fabric that will be hidden.
- Raw Edge – An unfinished or exposed edge of fabric that will easily fray.
Notes to Remember
- Always keep the needle down when stopping to rotate this material. It is slippery and will most likely slip out from under the presser foot if you try to move the bag while the needle is up.
- All seam allowance is ½” unless otherwise stated
Machine Settings
- Sewing Machine – Straight stitch (setting A on the Bernettes, 1 on the Berninas), spacing setting somewhere between 3 and 4.
Embroidery (optional)
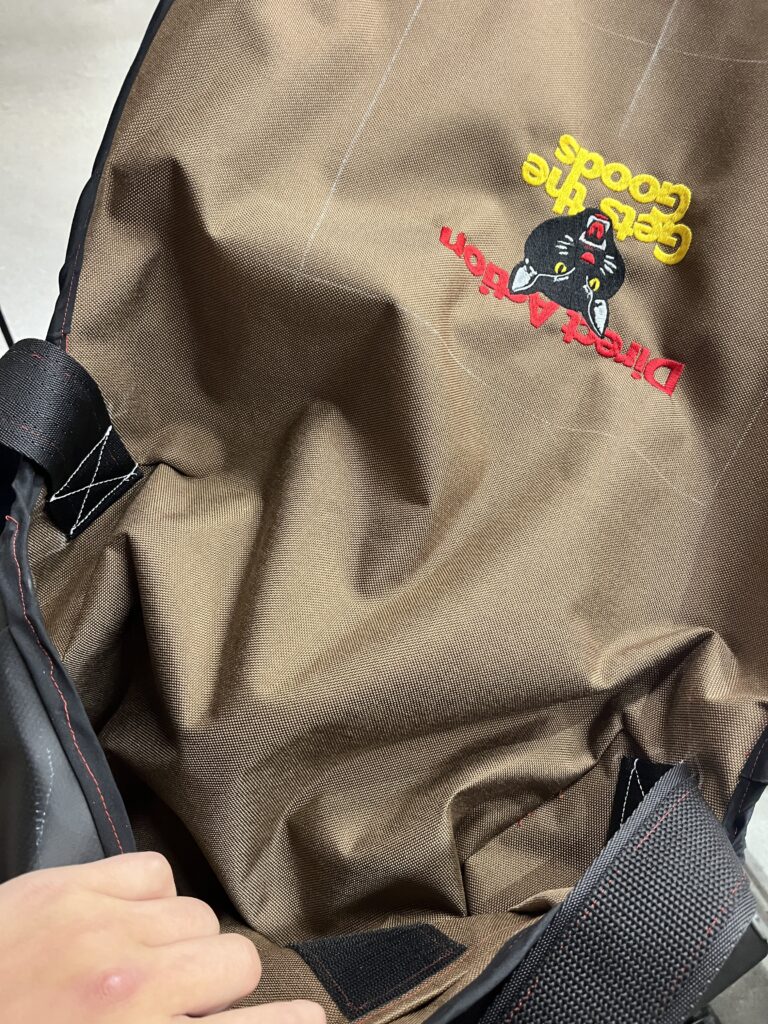
To add a custom embroidery design to your bag, make sure you have completed the Embroidery Machine DIY Training. Once you complete both the embroidery DIY training and the Hatch guide, embroider the upper center of the face back panel. This will allow your design to be visible on the front flap.
Sewing the Front Pocket
- Fold the top of the face front panel down ¾” and sew in place, then fold ¾” and sew again.


- Mark the center of the panel with chalk by folding it in half.
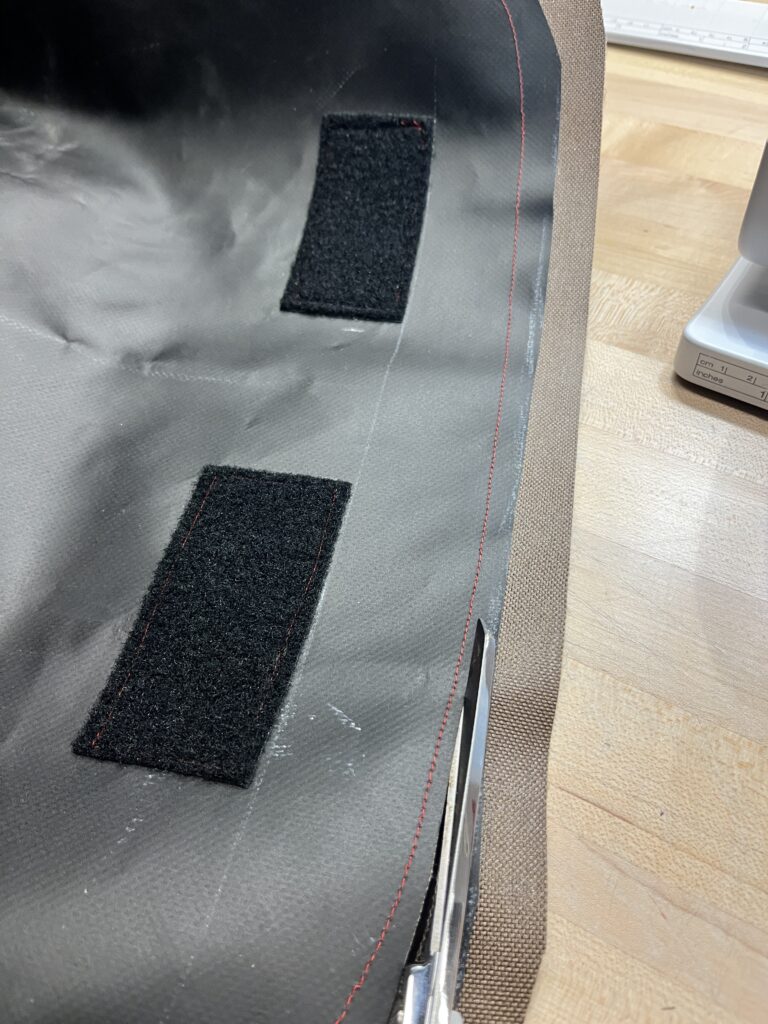
Adding Velcro
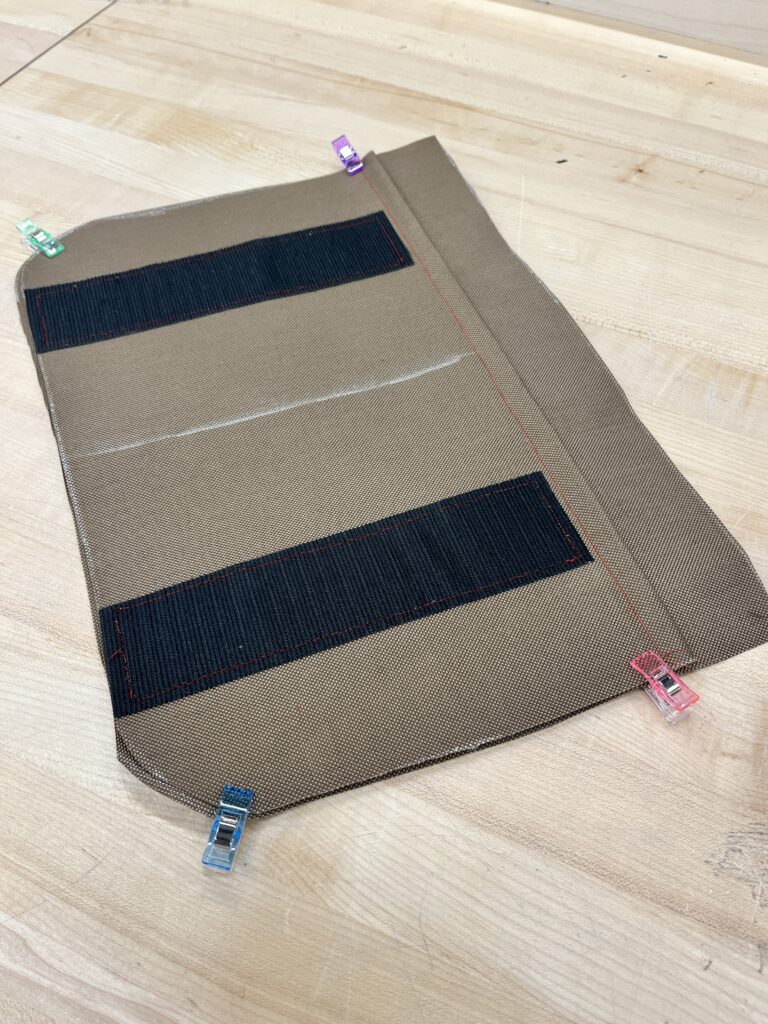
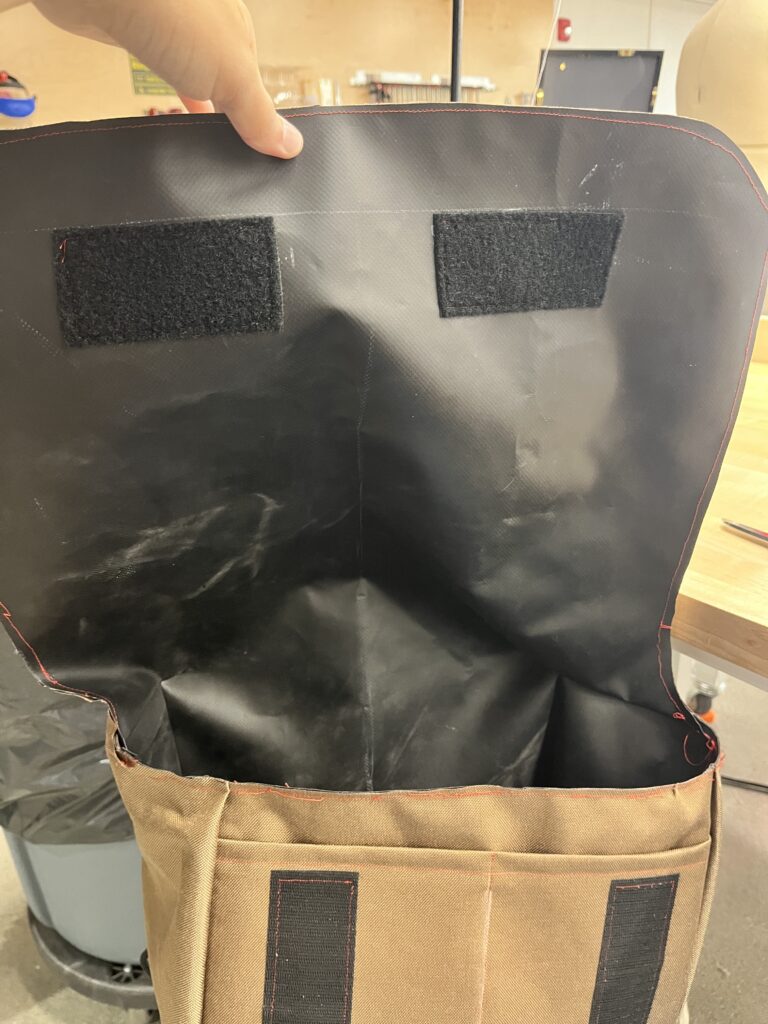
- Sew both 8” velcro strips to one front face panel, 2” from the center line. Sew in place with a ¼” seam allowance from the velcro edge.
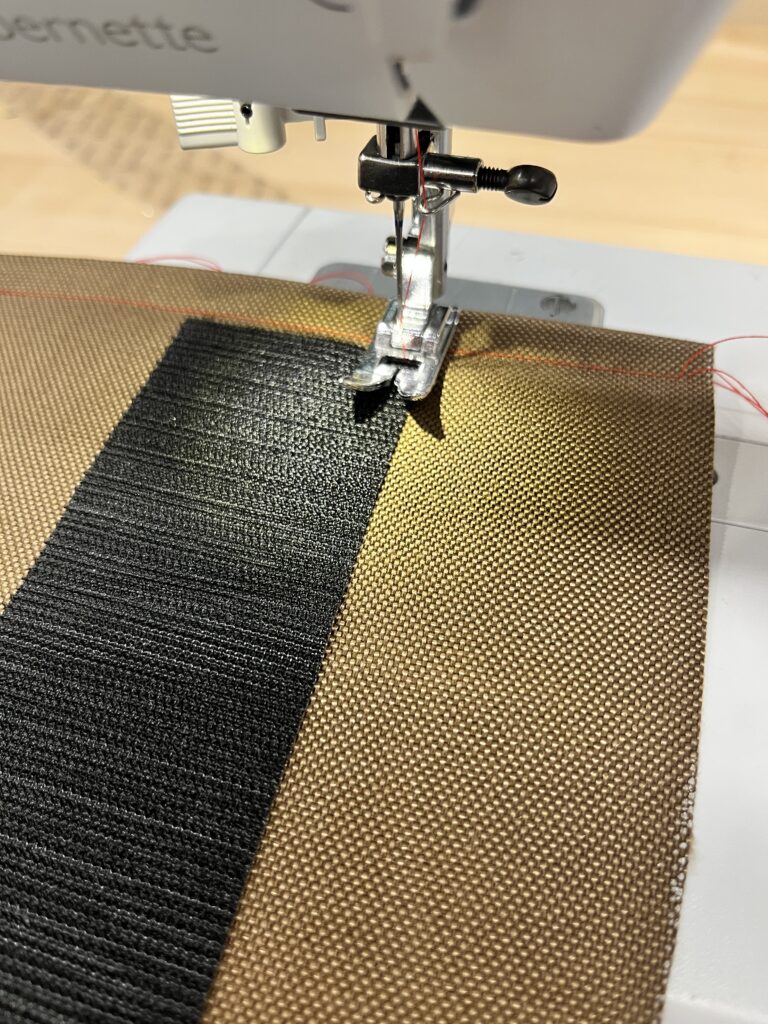

- Attach the second face front panel to the first one by sewing down the middle.
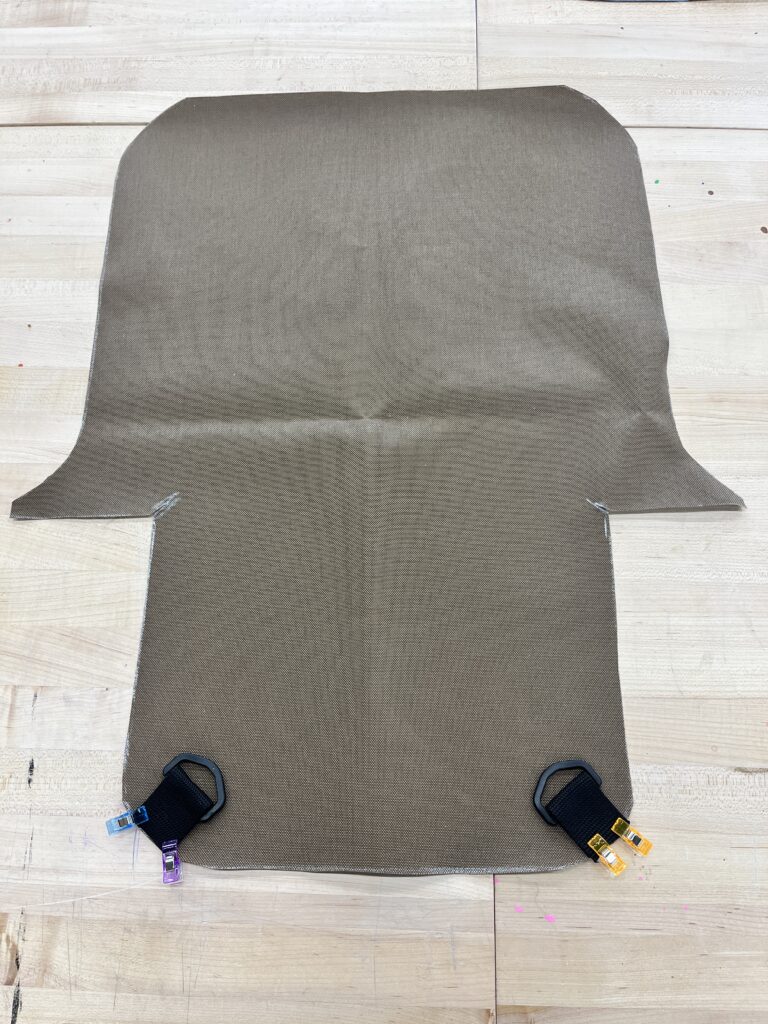
- Sew both D rings to the bottom corners of the back face panel using the (2) 3” pieces of 1.5” shoulder strap as shown below.
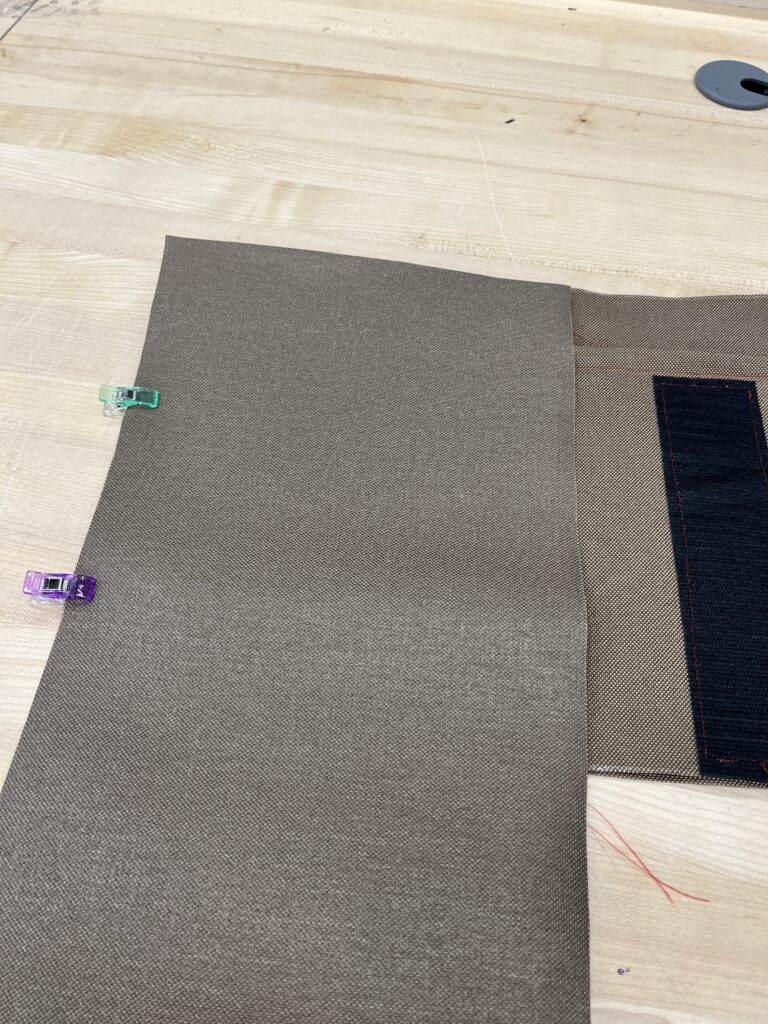
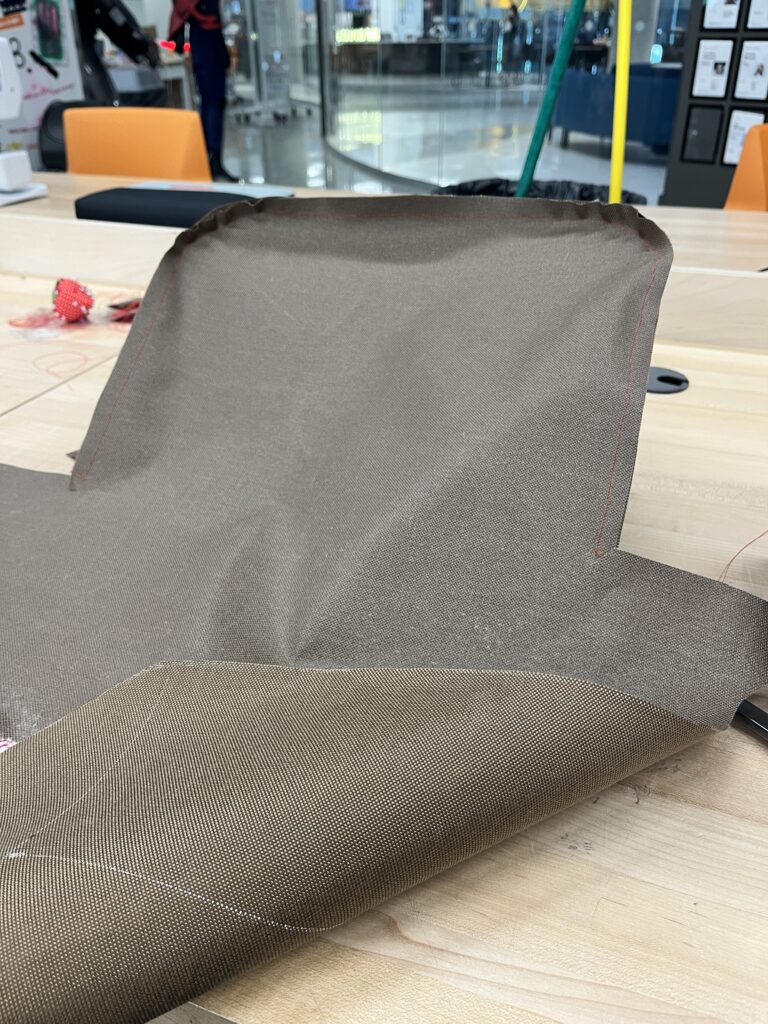
- Sew the joined front face panels to face bottom panel, right sides together

- Sew the face back panel to the face bottom panel, right sides together.

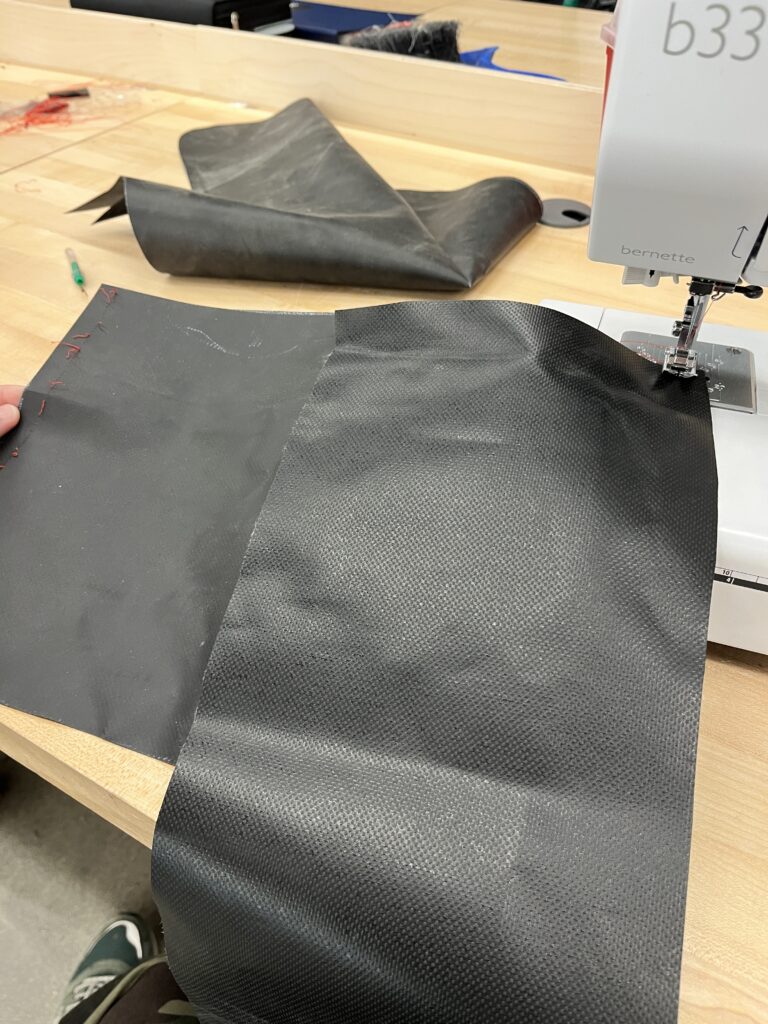
- Assemble the lining by repeating steps 6-7 with the lining fabric. This may require the Sailrite, but if done slowly and carefully, the standard sewing machines should work fine. This is one of the hardest parts, so have patience 🙂
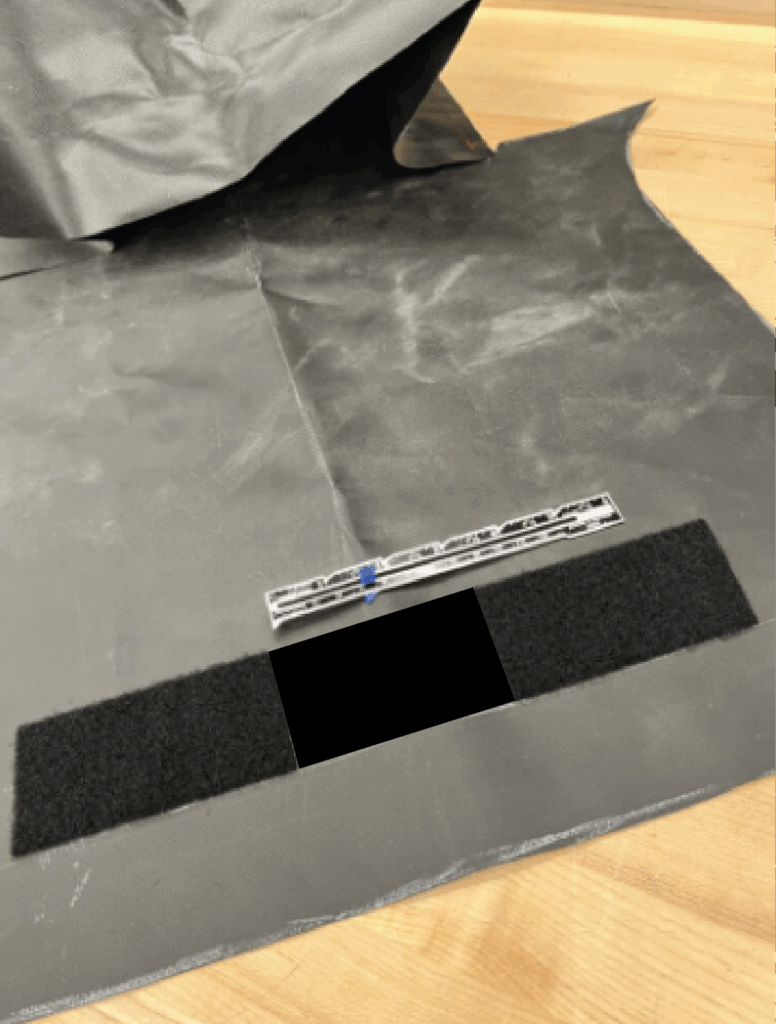
- Attach the 14” velcro strip 2” from the top, in the center. Use a ¼” seam allowance from the edge of the velcro.

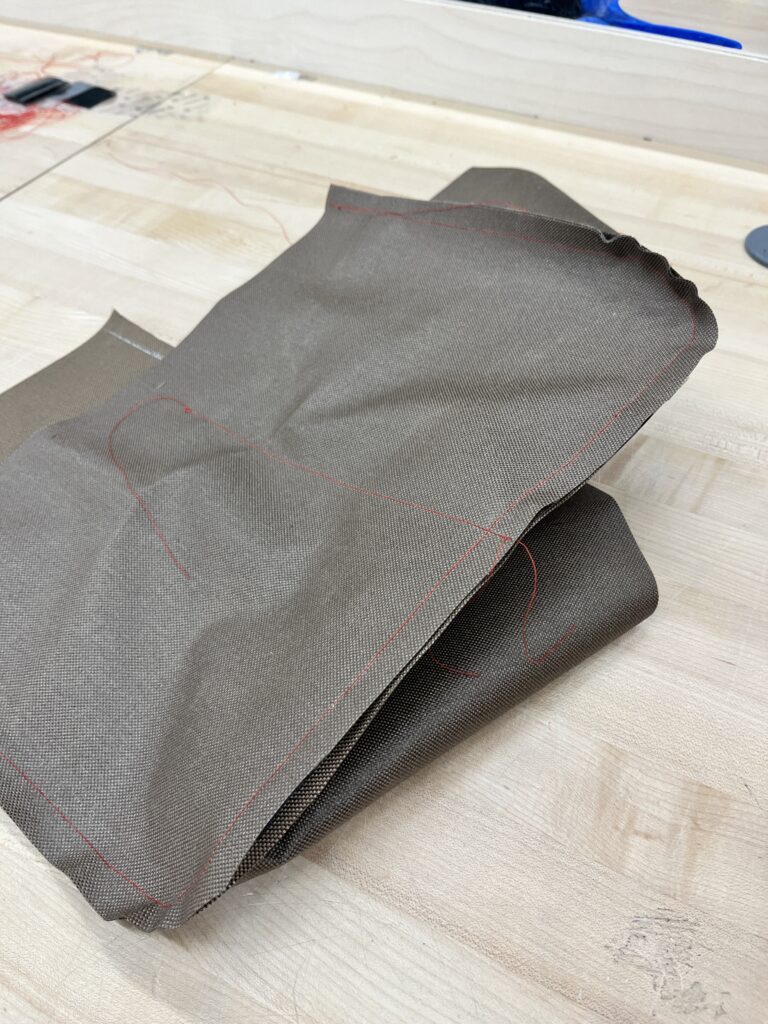
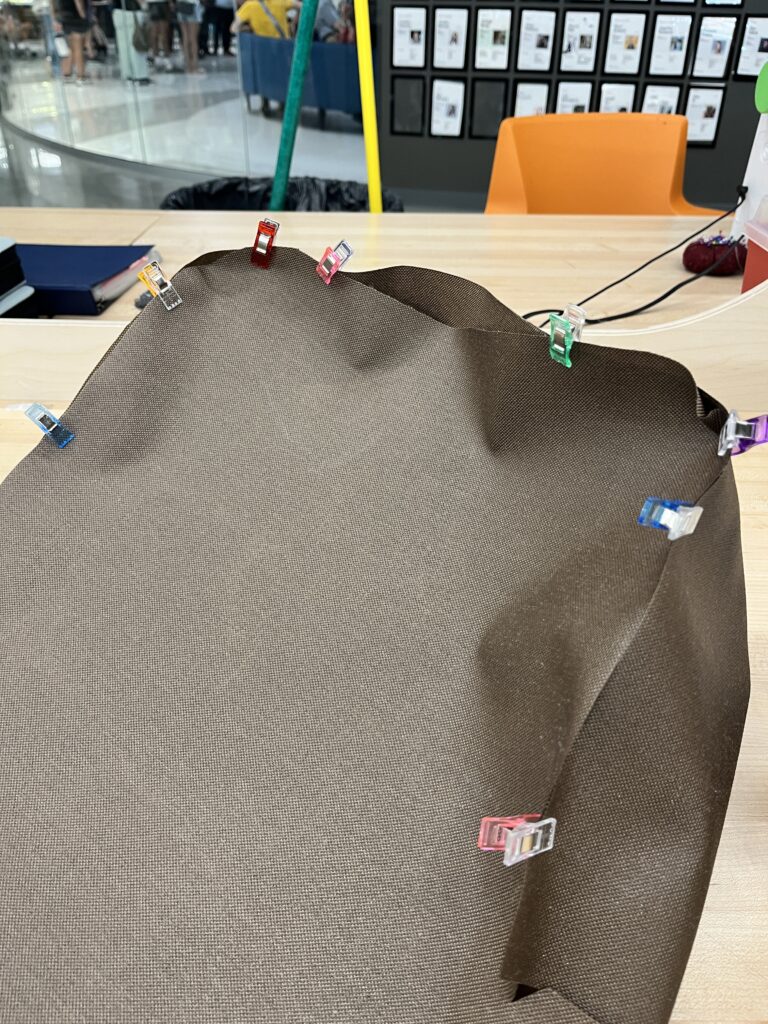
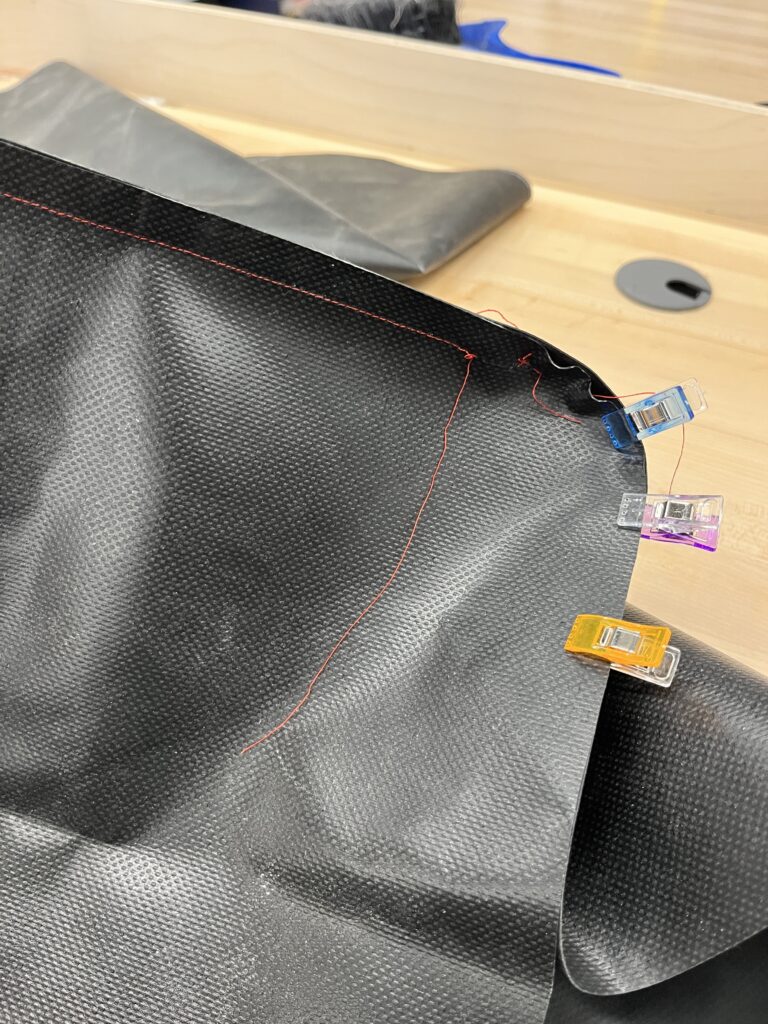
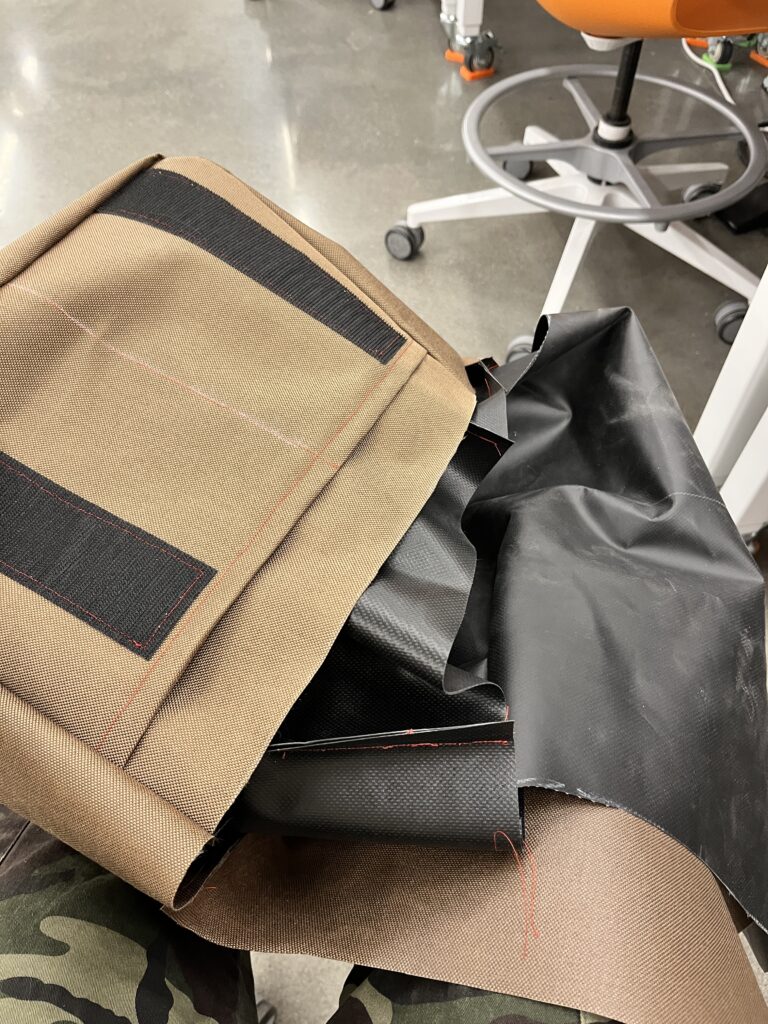
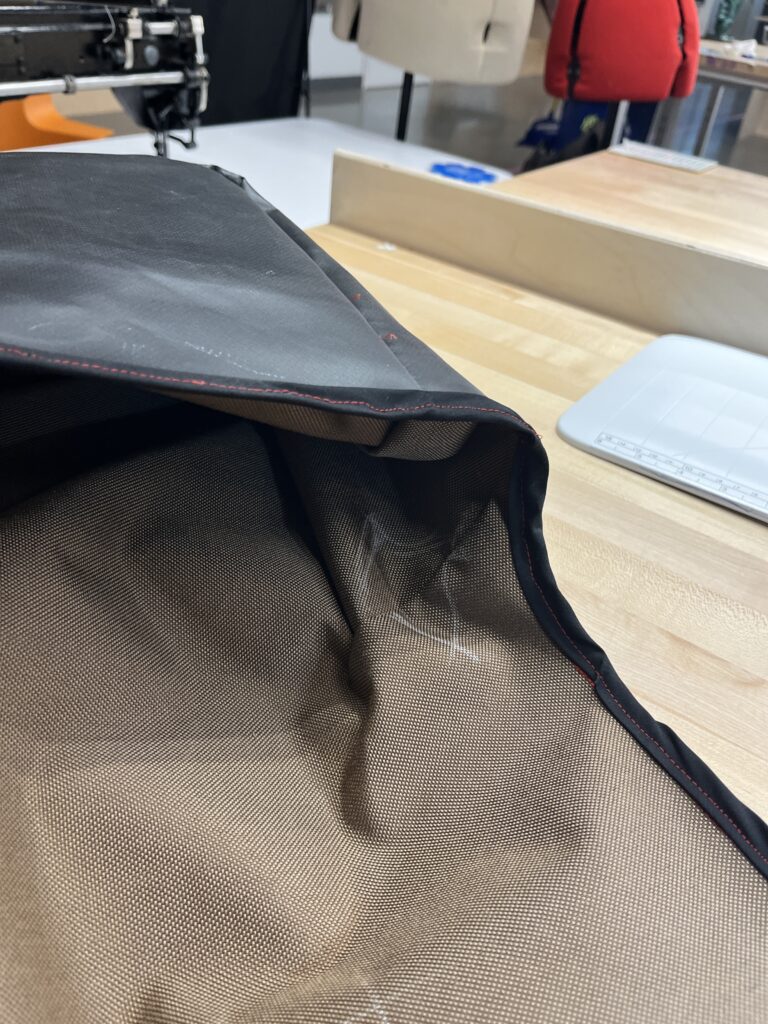
- Put lining fabric inside face fabric and sew around the border, lining up the edges as best as you can. Make sure to pin or clip the entire circumference first so that the spacing is correct. At this point, the face and lining fabric should no longer be inside out. The lining and faces should have their wrong sides touching each other. (like how it will be when you are finished with your bag).

- Trim back the seam to ¼”
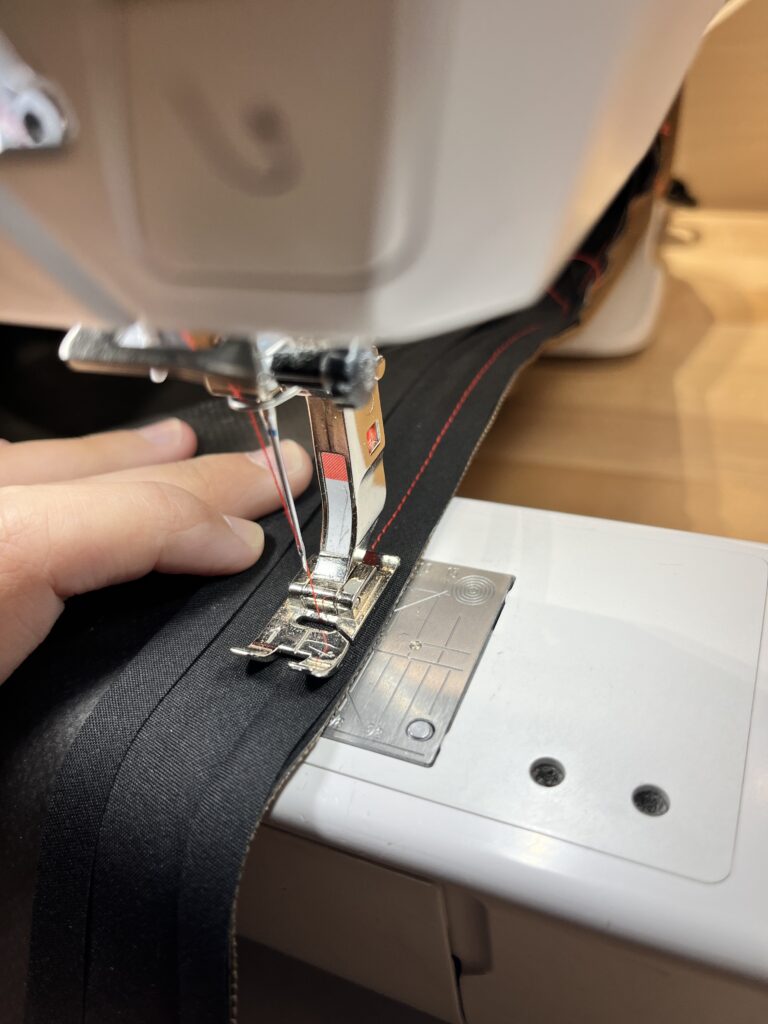
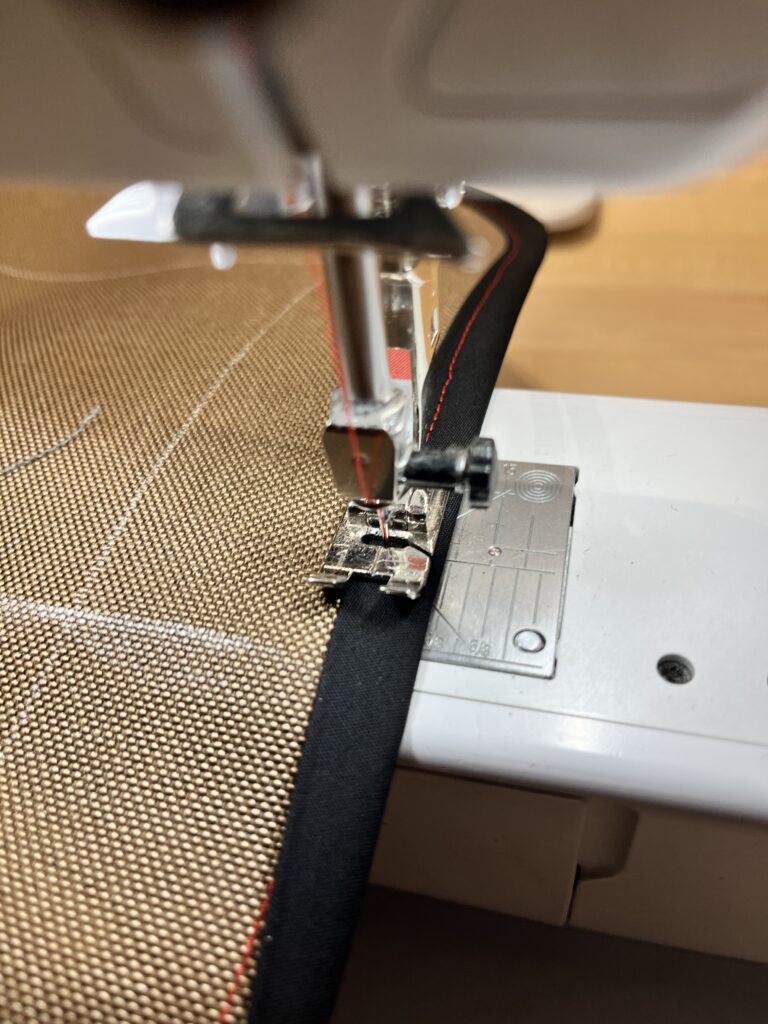
- Sew on the ½” bias tape around the edge, completely covering the raw edge. If you have never used bias tape before, here is a helpful tutorial. You may also want to turn the bag inside out during parts of this process if that helps.


- Sew the two largest 1.5” shoulder straps onto the two 2” straps with a ¼” seam allowance. (22” to 21” and 30” to 27” ones). Center the straps on each other horizontally and vertically.
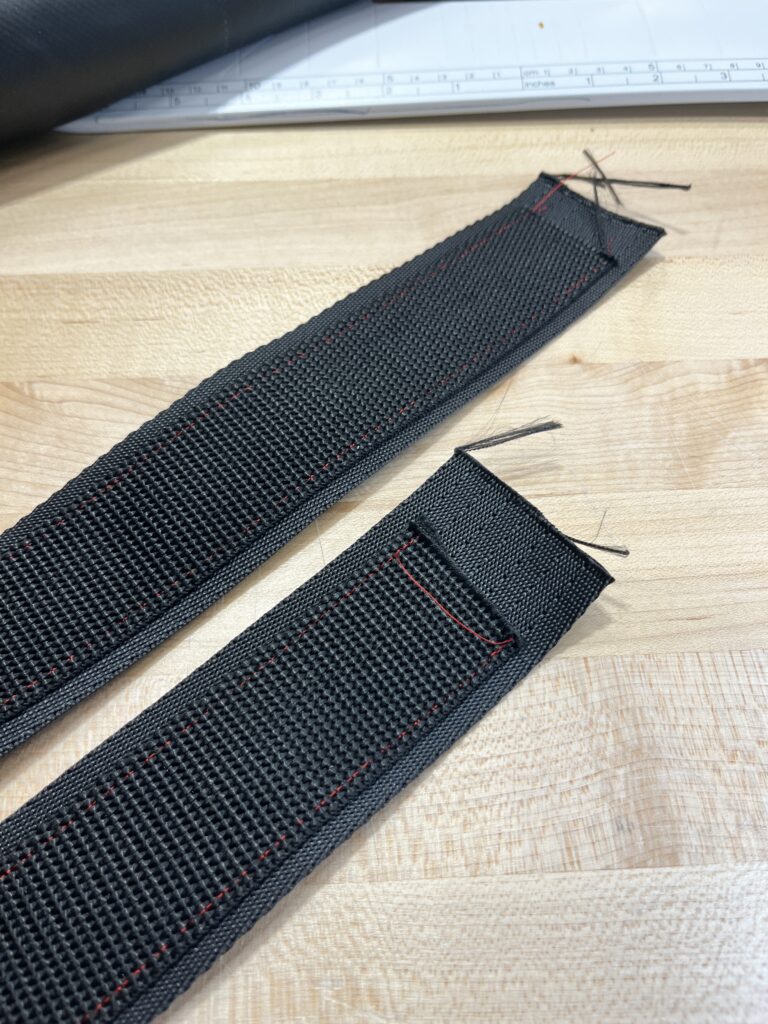
- Sew two of the ½” opposing velcro strips to the edges of the 8”x1.5” (one on each side). The edges of the 1.5” straps with velcro on them should be folded over ½” and covered by the velcro, like shown.


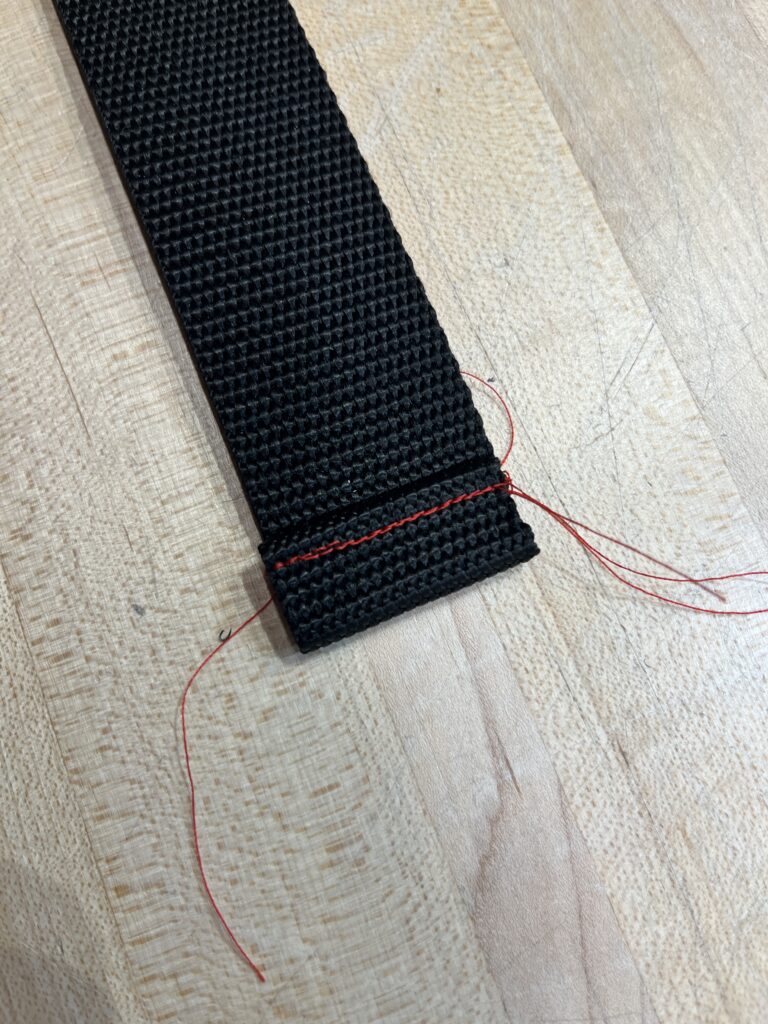
- Sew the other two ½” opposing velcro strips to the end of the 16”x 1.5” piece. Fold the other side of the 16” piece over on itself by ½” twice and sew to stop the end from fraying.
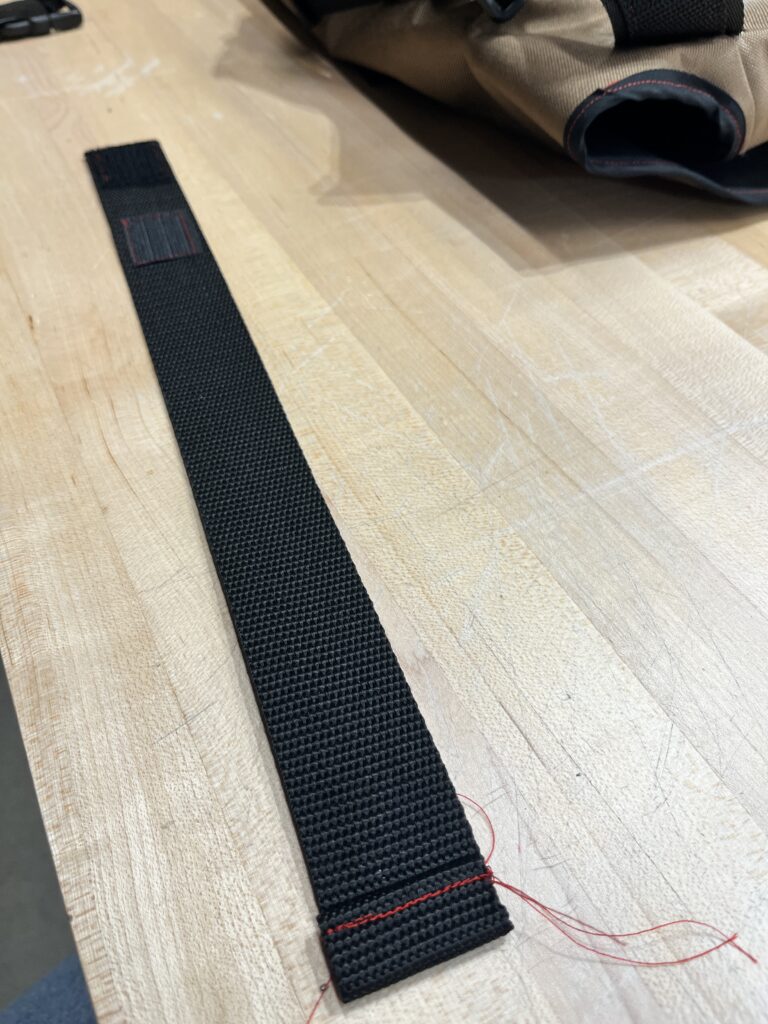
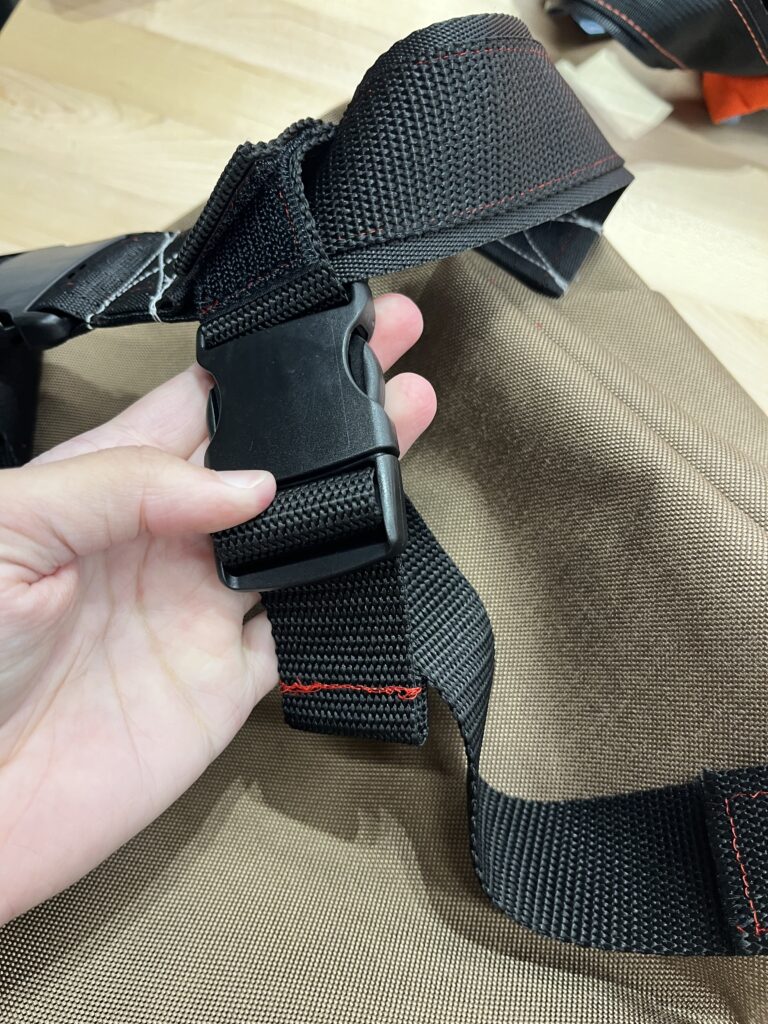
- These two finished pieces can be threaded through the 1.5” buckle and attached to either D ring as shown.


Sailrite
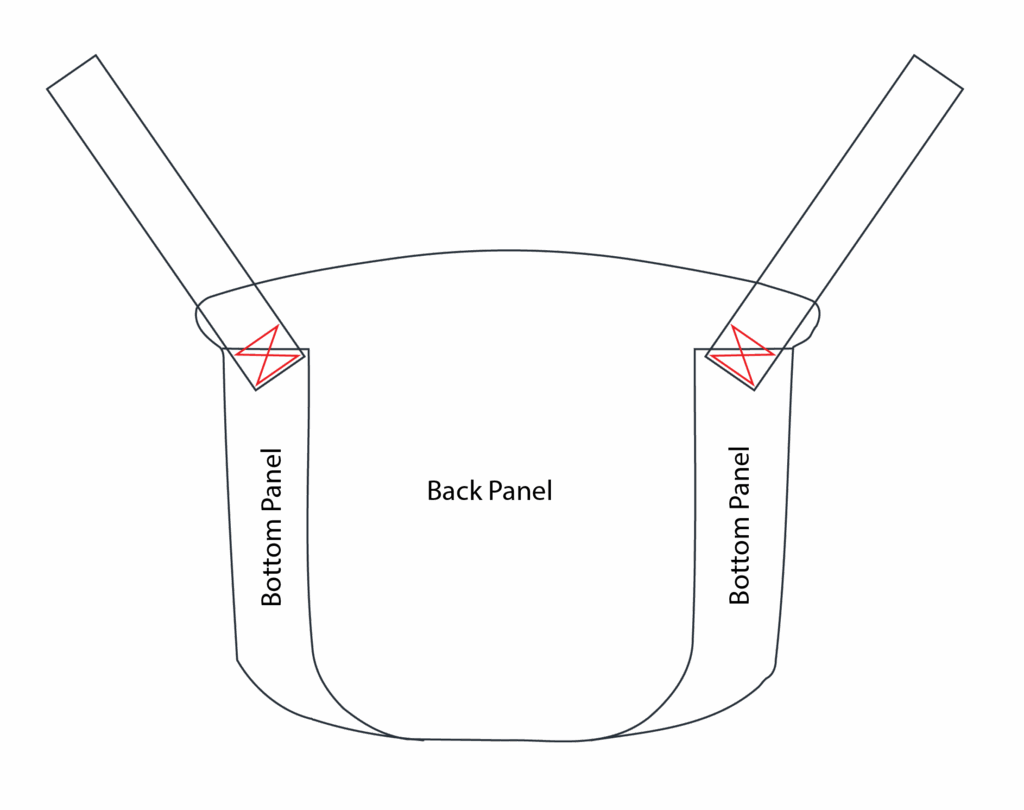
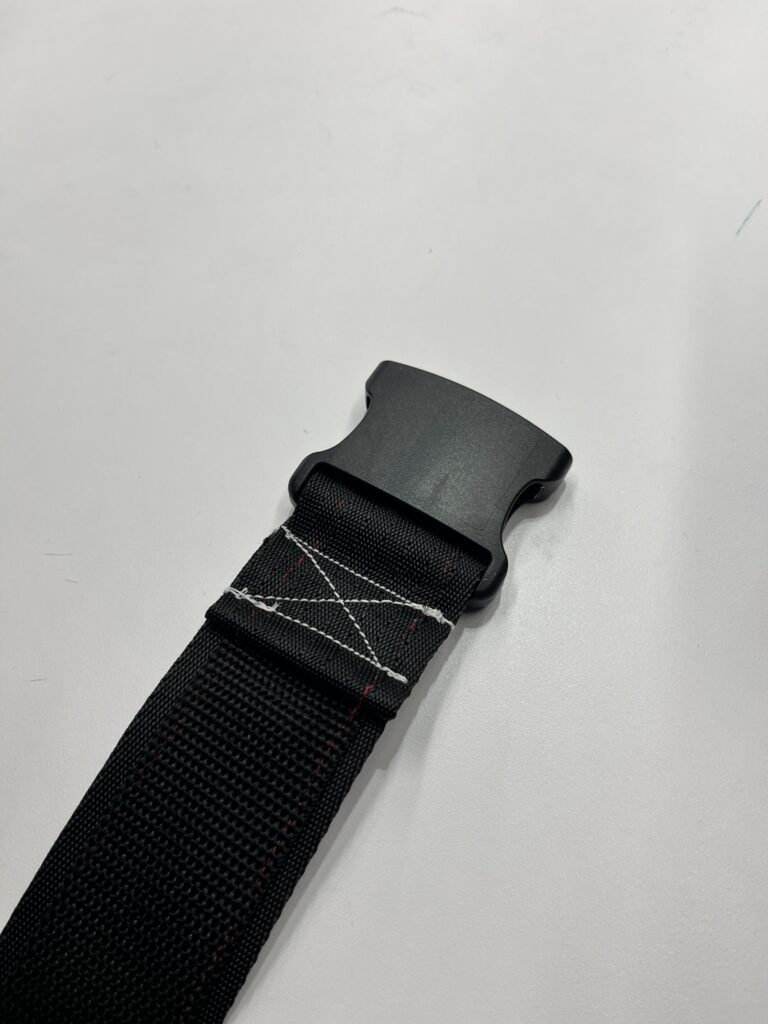
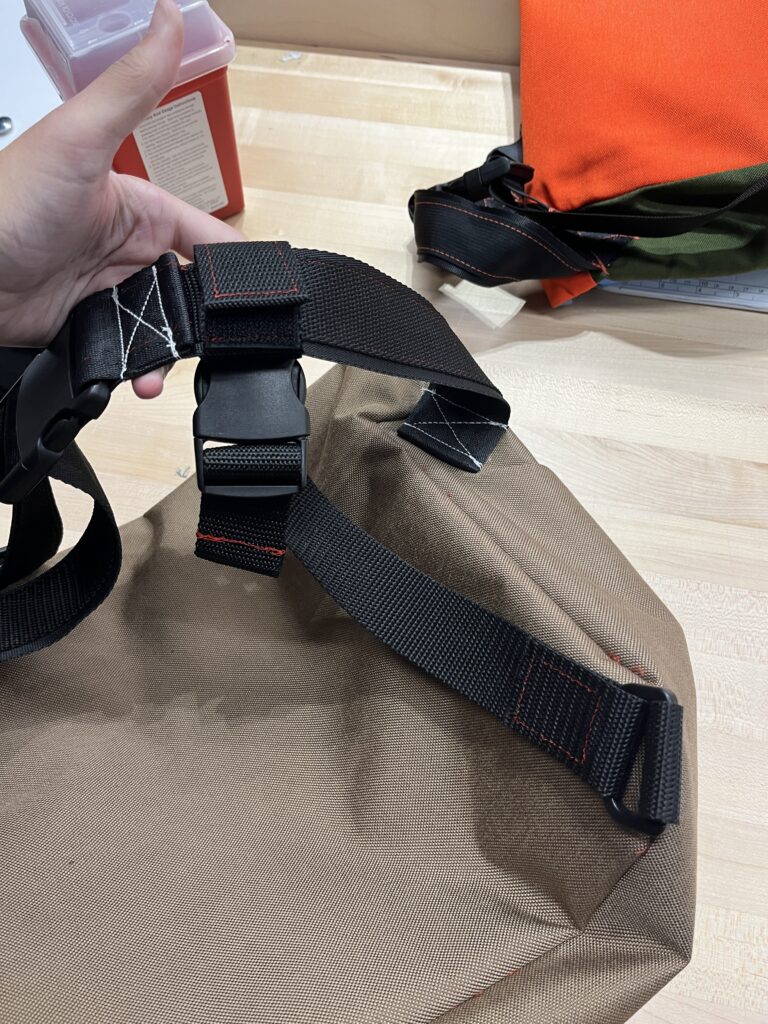
- Fold the 30” and 22” straps over themselves by 2” and sew to the marked spots below with a box stitch.
- If you want the shoulder strap to go over the left shoulder, make sure the longer strap is on the left
- If you want it to go over the right shoulder, make sure the longer strap is on the right (both as viewed from the back/ the view of the drawing below.
- When sewing these pieces, make sure to pull the other side of the bag away from the Sailrite so you don’t accidentally sew the bag closed.
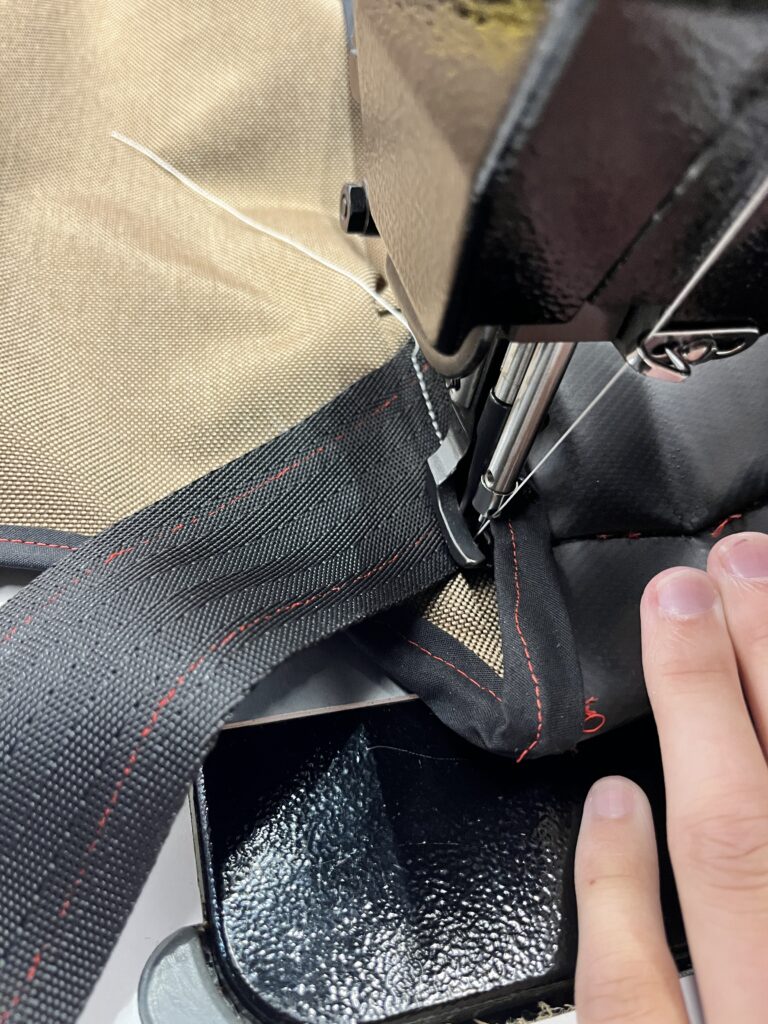
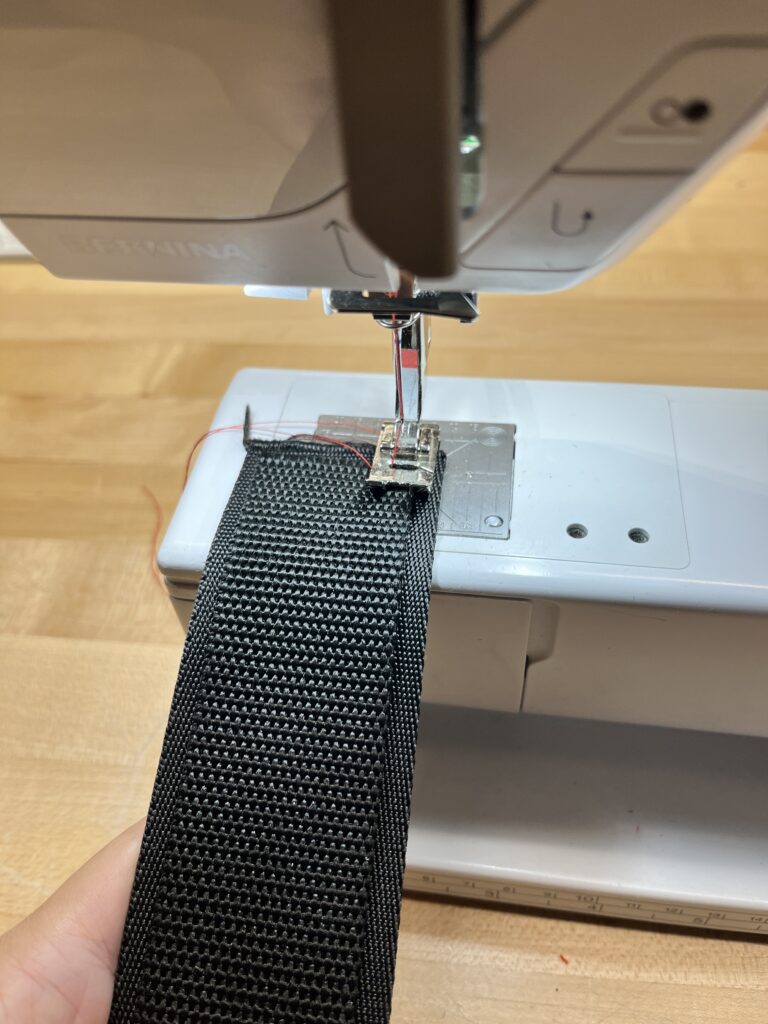
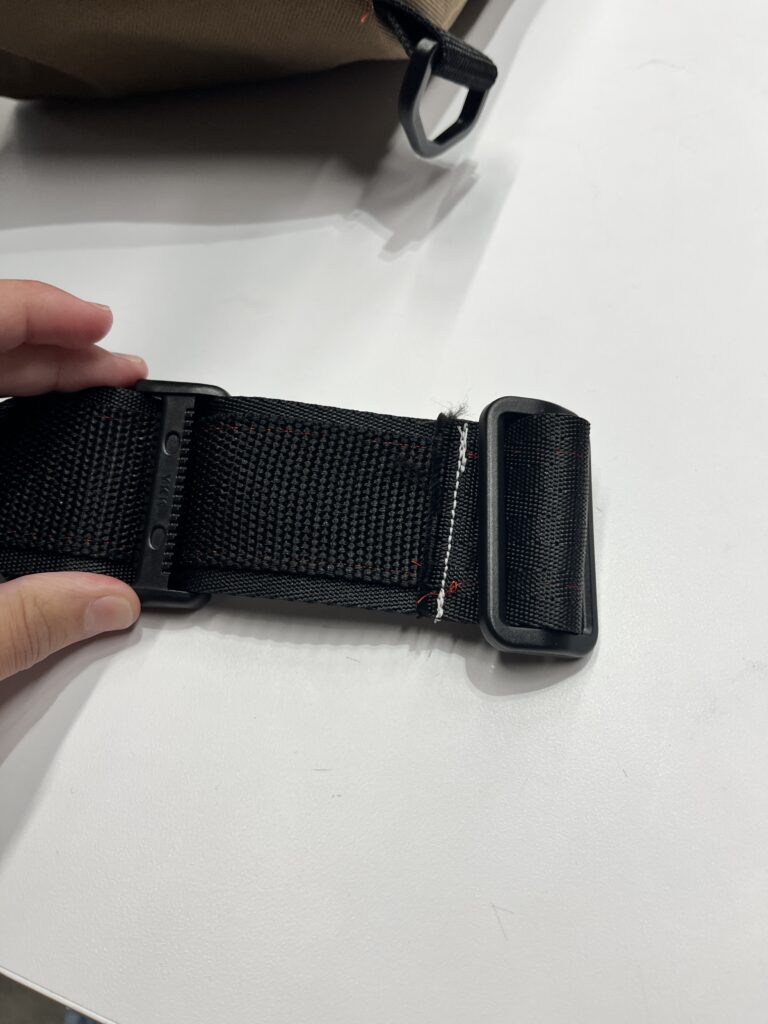
- Slide one part of the 2” buckle onto the 30” shoulder strap and then attach the 2” Tribar to the end by folding the strap over itself by ½” and sewing with the Sailrite. For the 22” strap, thread it through the other half of the 2” buckle, fold it over itself by 1”, and secure with a box stitch.

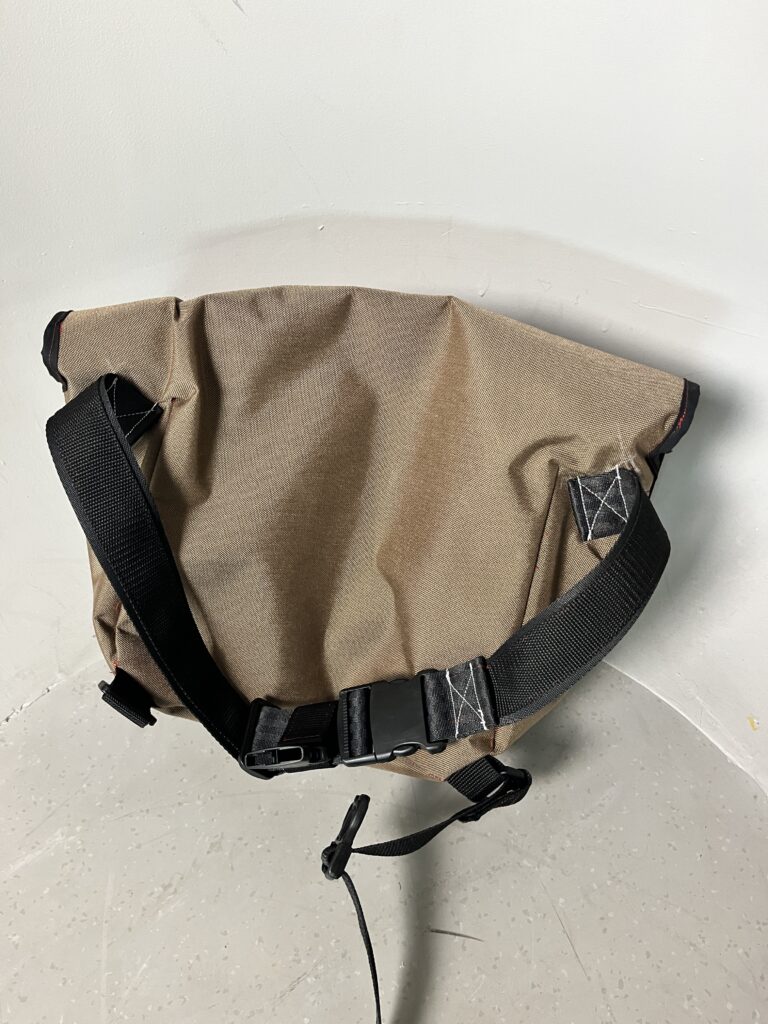
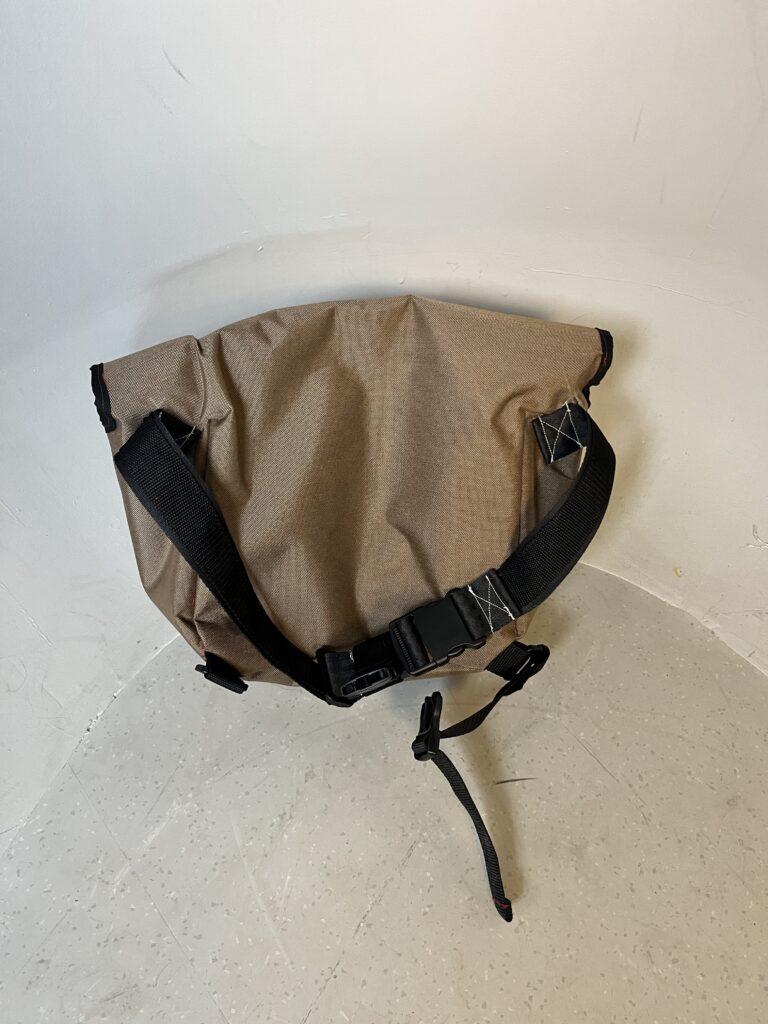
Done!
Feedback
Offer us feedback on our DIY trainings. Let us know if there was something you found hard to follow or confusing so that we can improve our trainings for future users