If you want to train yourself on our RISO Printer, you will need to have a thorough understanding of what is covered in this guide.
Text in blue boxes are steps you should actively be taking to practice these skills.
Risograph Printers
Risograph printing is often referred to as “digital screenprinting”. A thermal head will burn holes into a “master”, which is a sheet of very thin paper. Ink drums then push ink into the holes left in the master, directly onto your paper. This allows for interesting applications and layers of ink in your design.
Riso prints are best for printing large quantities of the same design. This is because you cannot reuse masters, so you can only print out one design at any singular time.
Risograph Printer Anatomy

- Master: A thin sheet of paper, which becomes the screen for which paper is pressed through
- Thermal head: Burns holes into the masters, which become your screens
- Pick up roller: Takes blank sheets of paper and runs them into you machine
- Ink cartridge: Holds ink.
- Drum: A rotating cylindrical drum with ink on its sides
- Pressure roller: Presses the ink drum against the master and your blank sheet of paper
Preparing your Paper Original for Riso Printing
Paper originals are used to be scanned by the risograph printing to make a master, which is the design that will be printed on print. We will go over how to set and create a paper original.
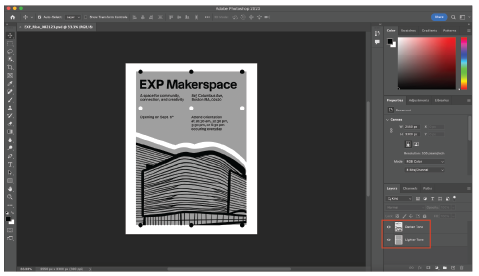
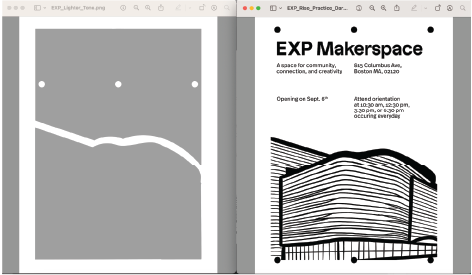
- Download and open our practice design (or, print your own design to scan into the printer!). As shown below (photo one) his photoshop file includes a duotone print that is split into two layers: the darker tone layer and lighter tone layer. Note that the design has a white border, which is important because if the design was to the edge, it could bleed outside of the paper and cause ink transfer between prints. So try to always have a white border, and you can always trim.
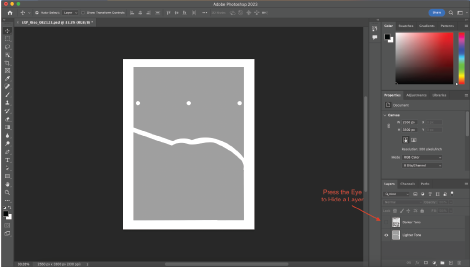
- Now, we will work on printing out the Paper Originals. We will be printing two Paper Originals. One for the darker tone and lighter tone. Press the eye to hide one of the layers. The picture below (photo two) shows the darker tone layer hidden.
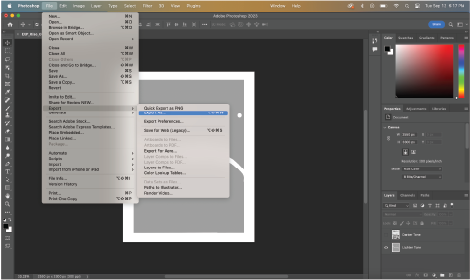
- Then, export by going to File>Export> Export As. Make sure the settings are at PNG and then hit export (photo three).
- Then, export by going to File>Export> Export As. Make sure the settings are at PNG and then hit export (photo three).
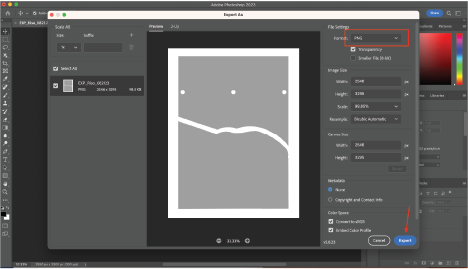
- Repeat steps 2 and 3 but this time hiding the other layer. As shown below, you should end up with two PNGs of the design, one with just the darker tone and one with just the lighter tone (photo four).
- Print out your design out on a normal printer on the size of paper that you would like the design to be at. We would recommend keeping the color of this print in grayscale.
Placing your paper in
This video walks you through how to load paper; these steps are also written down below.
- Lower the paper table on the left side of the machine, until there’s enough space to put your paper in.
- Move the metal guides outwards.
- Place your paper in. Make sure to fan out the paper before putting it into the machine; this prevents it from sticking together.
- Hit print to raise the paper up.
- If you are printing on non-standard printer paper, you’ll need to adjust the machine settings to account for paper weight and size. Our machine is set to standard print settings for printer paper.
- Lower the paper catcher on the right side of the machine and raise the walls of the catcher.
Print out your risograph using a paper original
This video walks you through how to print a two-color risograph flyer; these steps are also written down below.
- Turn the machine on with the on/off switch on the right side, next to the power cable port.
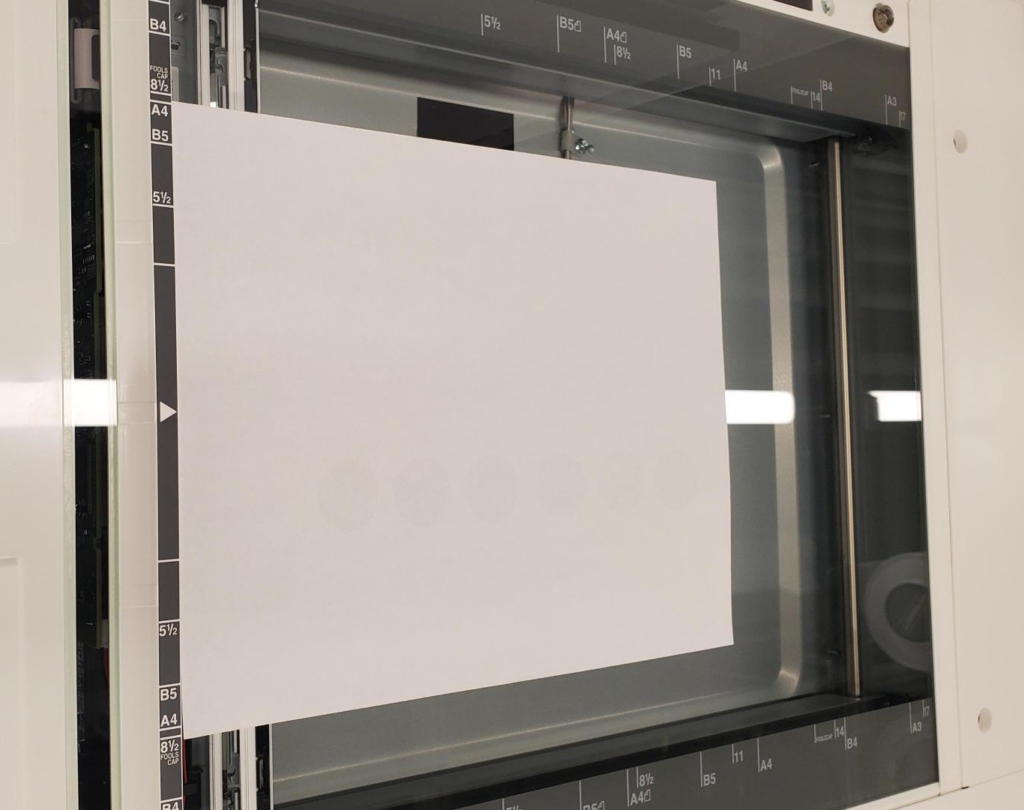
- Scan the first layer (the grey design) into the machine by lifting the top cover up. Make sure your design is CENTERED, not pressed up against the side– see the photo below.
- Using the interface, choose the option for two color print. Press start to scan the top color.
- Repeat the above steps to scan your second layer. If done successfully, a preview of your print will appear in the user interface. Press OK if the preview is what you want.
- Now, the printer will create your masters. It will print out the first layer separately from color drum one, then the two layers will print together.
- You can now set the quantity of how many prints you want, as well as the print speed. This affects the quality of your prints (explained below in the “Ink Settings: Explained” section).
- You can also adjust the placement of the masters using the “Print Position” arrow keys. This physically moves your master in the machine.
- Press start to print out your quantities!
- You do not need to move the ink drums out of the machine. Your flyers will be wet! It takes about 24 hours to completely air dry ink.
Replacing ink drums
We offer a few different colors of ink at the makerspace. Please let a staff member know if you want to swap out the colors in the ink drums.
Ink Settings: Explained
There are a few ways to change out the intensities of the colors you’re printing out.
Speed: The faster you set the speed, the less intense your colors are. Of course, this also increases how quickly all your prints come out.
Density: The higher your density settings, the more intense your colors are. This is because raising the density of your colors during the master making process will increase how many pores your master has, increasing the amount of ink that can get pushed through the master.
Workflow for separating colors and RISO printing
Printing from your laptop: Mac
This PDF contains the instructions for installing Macintosh printer drivers. This will allow you to print directly from your laptop.
Printing from your laptop: Windows
This PDF contains the instructions for printing from your laptop if you have a Windows computer.