Note: This tutorial assumes you’ve been trained on the vinyl cutter. For help, read the vinyl cutter DIY training at https://makerspaces.northeastern.edu/create/library/vinyl-cutter-diy-training/
Text in blue boxes are steps you should actively be taking to practice these skills.
Heat Transfer Vinyl
Heat transfer vinyl cuts a plastic film with the vinyl cutter then bonds it to fabric with a heat press.
Safety Considerations
Setting up your file:
First, find the image you want printed. Keep in mind that this image will be cut out of vinyl and placed on a T-shirt, so you should pick something that has one foreground color and one background color. It’s totally possible to layer heat transfer vinyl to get multiple colors, but we’ll start with just one, and I recommend going with black and white.
I’ll be using the print Flowers, Lilies by M.C. Esher
- Import your image into Illustrator
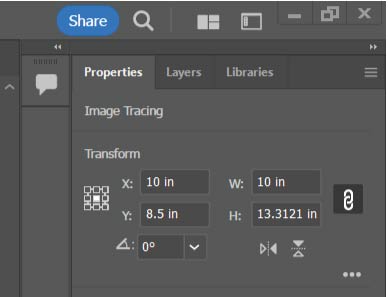
- If you want to resize your image without changing dimension, check under the properties tab that the chain icon next to the image height and width boxes is enabled
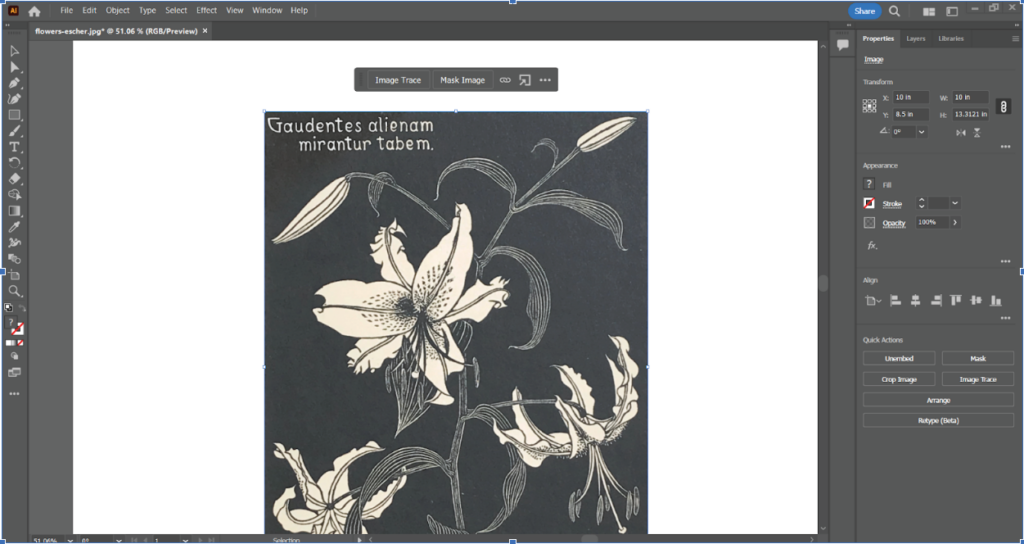
- Hit the “Image Trace” button that should hover over your image when you select it. This will trace the foreground parts out in white, with the background in black.
- Send the file to Cutting Master 5 and make sure your design is mirrored! If it is not, any text will transfer backwards onto the final product.
- Export to a USB drive
Cutting:
If you know what type of heat transfer vinyl you’re using, you should look up the recommended settings before cutting. The manufacturer will often have suggested cutting settings for different types of machines. Our vinyl cutter is a Graphtec Cutting Plotter CE7000. If you’re using the Siser Easyweed or Sparkle vinyl we have here, these are the settings:
Basic heat transfer vinyl:
Blade: 45°
Gram Force: 8-9
Tool: CB09U+0
Speed: 30 cm/s
Sparkle:
Blade: 45°
Gram Force: 9-10
Tool: CB09U+0
Speed: 30 cm/s
- Load your material into the vinyl cutter. There is a clear backing on the heat transfer vinyl. If you’re using a roll, this will always be on the inside of the roll, but if you’re using a sheet make sure the side with the backing faces down, so you are not cutting through it.
- Adjust the settings, then from the settings menu press the left arrow key, which will bring up a menu to do a test cut. Hit 1 (Force), and the cutter should cut 3 small triangles in the corner of the vinyl
- Ensure you can peel off both the outline of the triangle and the triangle itself. If so, your settings are good to go!

- Plug in the USB and start your cut
Transfer:
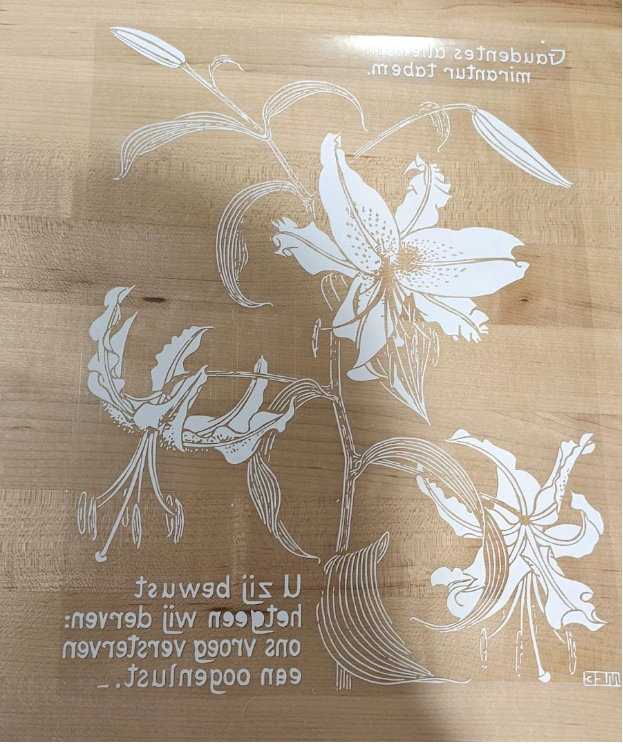
- Once you have your design cut, you should weed it, similar to how you’d have to for regular vinyl. Leave the parts you want to apply to your fabric stuck to the transparent backing and remove everything else. You should end up with something like this:
Now move over to the heat press.
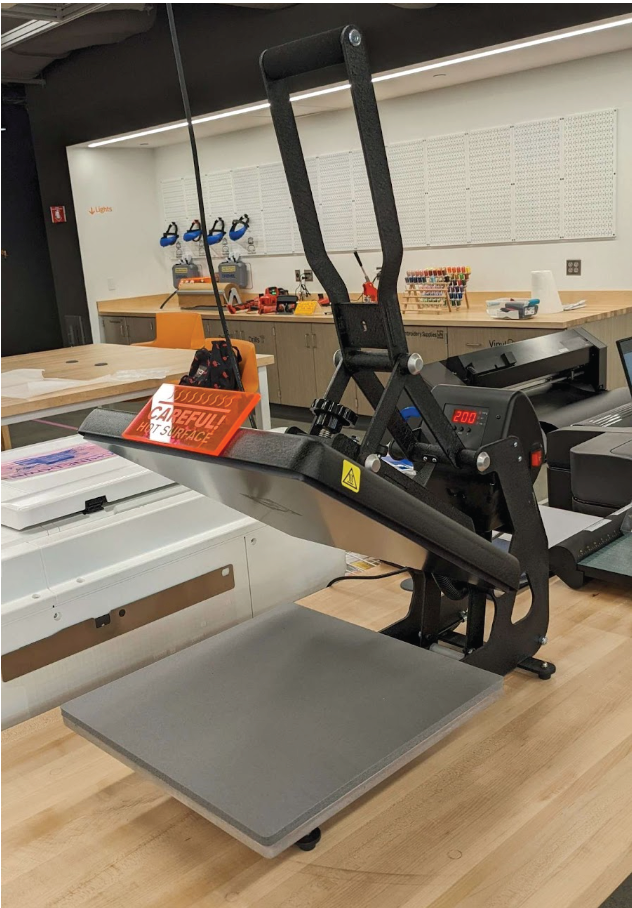
- The knob by the handle adjusts the pressure of the press. Set it to about medium.
- Adjust the heat to 305 degrees F, and the time to 15 seconds
- Once the heat press has heated up, set your fabric down in it and close the press to preheat garment and flatten out any wrinkles
- Get a roll of parchment paper (should be in the vinyl supplies drawer) and cut a sheet to match the size of your design. This will protect your design from heat as you apply it
- Position your design on the fabric with the transparent backing facing up and the vinyl against the fabric. Cover it with the parchment paper
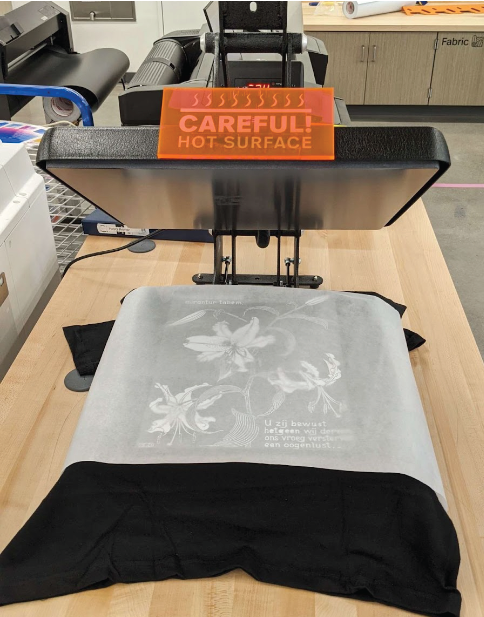
- Close the press and hold it shut for 10-15 seconds
- Remove your fabric and pull the transparent sheet off. This should leave the vinyl behind. If some of the vinyl sticks to the backing, put it back under the heat press for another few seconds, then try again
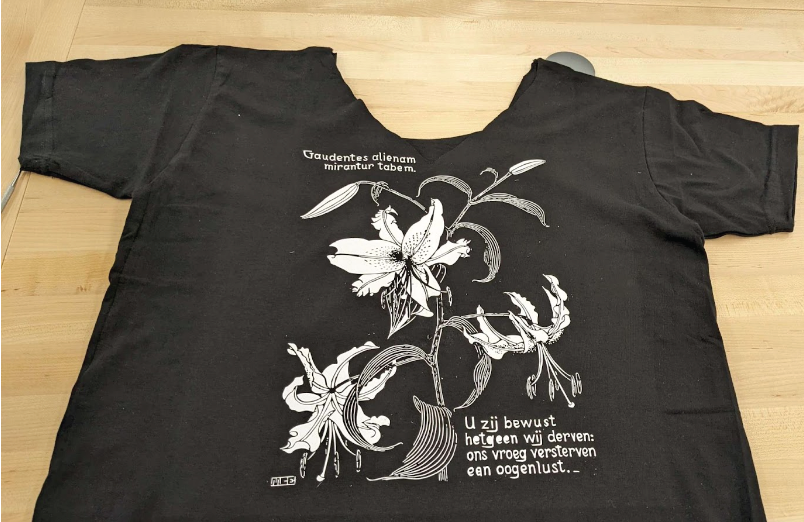
Congratulations, you’re done!
Don’t wash your garment for 24 hours to allow the vinyl to set, and then wash it inside out.
Clean Up
- Please replace any uncut vinyl used and label it if it’s unlabeled.
- Turn the heat press off when you are finished.
- Leave the area free of any material scraps or other junk.