If you want to train yourself on our vinyl cutter, you will need to have a thorough understanding of what is covered in this guide. This document will walk you through the basics of vinyl cutting. You’ll need to have Adobe Illustrator installed for this.
Text in blue boxes are steps you should actively be taking to practice these skills.
Vinyl Cutting
Vinyl is a material that can stick to walls, computers, tables, the floor, or any smooth surface. One side is a matte or glossy finish, while the other is adhesive and covered by a peel-off backing. The vinyl cutter uses a small blade to cut the vinyl, which follows a path input from the connected computer. A software called Adobe Illustrator can be used to create sticker designs and send them to the vinyl cutter.
Safety Considerations
Vinyl Cutter Parts
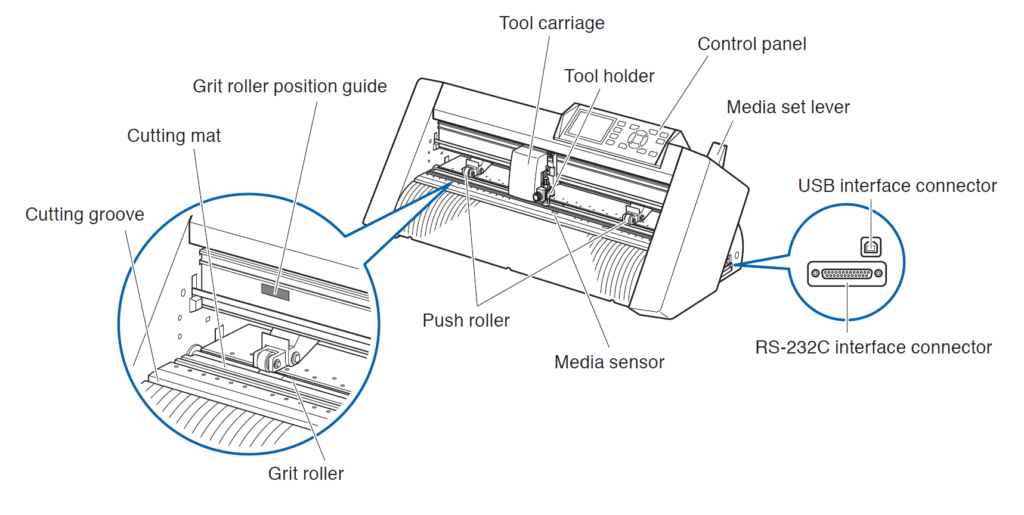
- Control Panel: Controls the vinyl cutter’s settings.
- Grit Roller: A roller that pushes the vinyl through the cutter.
- Push Rollers: Wheels that hold the vinyl against the grit roller.
- Media Sensors: One on the front, one on the back. Detect both ends of the “media,” or the vinyl piece.
- Tool Carriage: Moves side-to-side with the blade in the tool holder.
- Tool Holder: Holds the blade and engages/disengages it from the vinyl.
- Grit Roller Position Guide: Blue marks show the acceptable placement for the push rollers, where they can fully engage the grit rollers.
- Cutting Groove: A straight groove is used to line up the media when you load it.
- Media Set Lever: Raises and lowers the push rollers to clamp or release the media.
- USB interface Connector: A USB interface cable is used to connect the vinyl cutter to the computer.
- RS-232C interface Connector: Used to connect the vinyl cutter to the computer with an RS-232C interface cable.
Downloading Software
- Cutting Master 5 can be downloaded on your laptop here. It interfaces with Adobe Illustrator.
Download and Process Your File
- Download a test file from here and open it in Illustrator.
- In Illustrator, go to File → Cutting Master 5 -> send to Cutting Master 5. The Cutter Master Software should automatically open.
- For Illustrator to work, you must close Cutting Master.
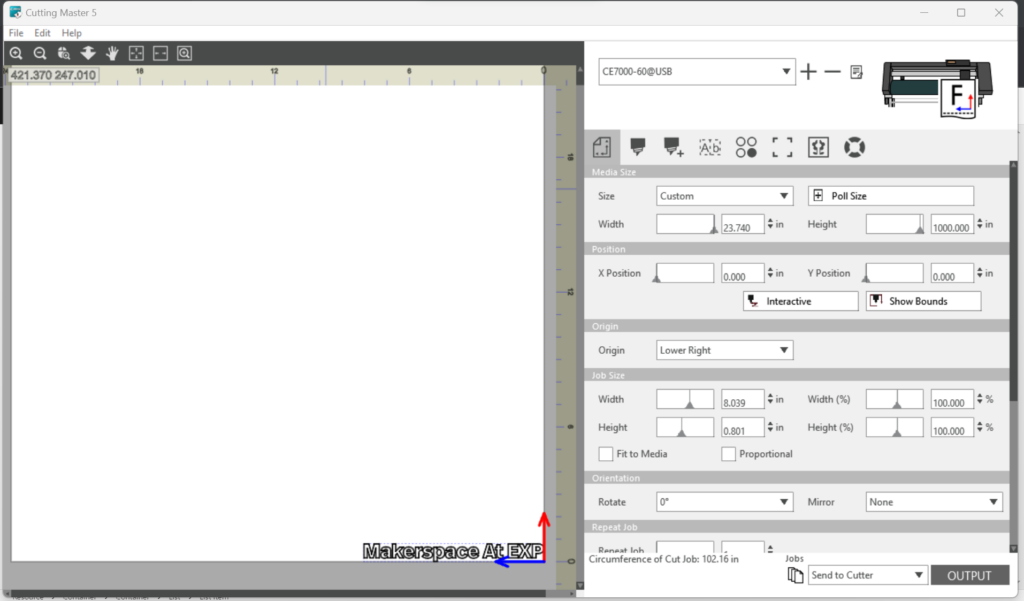
- You will see your design appear inside a large white rectangle; this space represents the available area to cut. You can move your design around in this space, but to conserve material, it’s best just to leave it in the corner. The controls on the side can resize and move around your design.
- Rotate your sticker so that the text horizontal on the bottom right of the screen.
- Add the printer at the top right of the screen: hit the plus button and select ‘CE7000 (40/60/130/160)’
- Change the drop down next to “Output” to read “Send to File” instead of “Send to Cutter”. This allows you to save the print job with all your settings to a USB drive instead, which you can plug directly into the machine.
Loading the machine
- Turn the machine on with the on/off switch on the left side, right above the power cable port.
- The control panel screen should have a message telling you to load media.
- If you have a FULL vinyl roll: Place a vinyl roll on the rollers behind the machine. Feed the roll through the back of the vinyl cutter and guide it through, so it sticks out the other side, aligning the front edge of the vinyl (see below). Move the wheels to both edges of the machine. Press “Roll-1 Front edge”.
- If you have a vinyl roll with a piece cut out: “Press-2 Current Position”
- If you have a sheet of vinyl: Set the sheet media, so the paper’s edges line up with the guideline on the front side. Make sure that the sheet media completely covers the media sensor. Make sure that the left roller is UNDER the blue above the cutter, or else you’ll get an error message.
- Raise the Media Set Lever to clamp the material in place.
- A menu should appear on the screen with items corresponding to the numbered buttons: Press 1 for “Roll-1 Front Edge” if the front edge of your sheet is in a perfectly straight line. Press 2 for “Roll-2 Current Position” if a section is cut out of the front edge (this option will set the workspace up in whatever configuration you have loaded the roll without moving the roll). Press 3 for “Sheet” if your piece is a sheet and not a roll of material.
- Lower the media set lever. The sensors in the cutter will automatically determine the width of the roll (the length is however much material is left on the roll). It is a good idea to make a note of this value.
Test your settings and cut your sticker
- Navigate to Menu and hit the Condition/Test Key. Sometimes you’ll need to play around with your force and speed settings. To test our a small triangle on your vinyl, change your settings in the Condition menu using the arrow keys. When your settings are where you want, hit the Left arrow key.
- You will be asked to reposition the carriage to wherever you’d like, and it will cut cut out a small triangle on your vinyl. Sometimes you may want to cut all the way through, and sometimes you want to cut through just the vinyl, so play around with your settings. For this project, we want to cut through the vinyl and not through the backing.
- When you’re ready, make sure to move the blade and reset the origin by navigating to where you want to start cutting, then hitting origin.
- If you’re using a file on a USB, plug in your USB and navigate to Menu -> Link -> Destination -> USB Drive. Then go back to the Menu -> Link -> Selects Data File to get the data file you want.
- Hit “Enter” on your desired file to begin the cutting process.
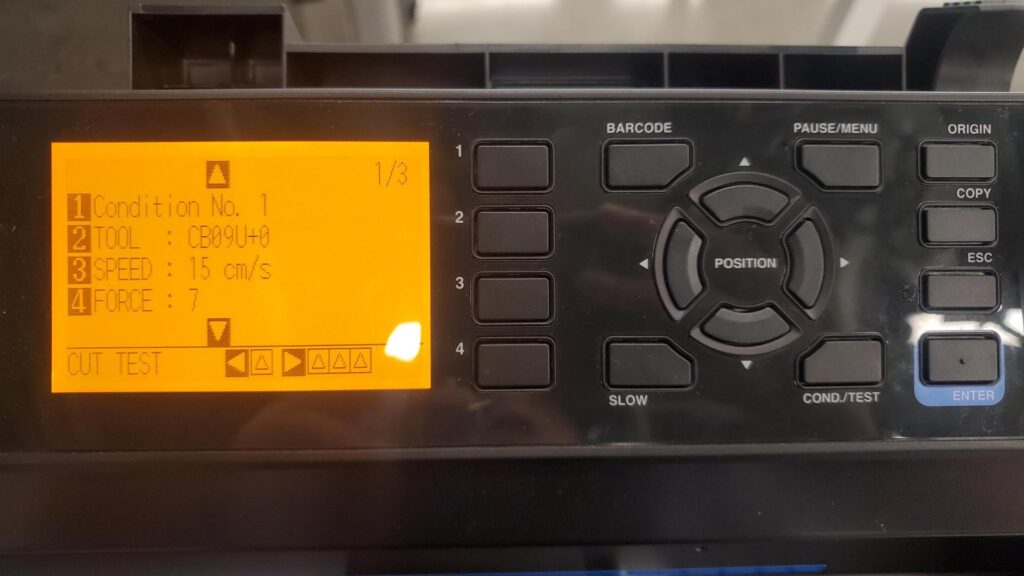
The condition menu of the vinyl cutter. Here, condition number 1 has a speed of 15 cm/s and a force of 7.
Prep and Apply Your Sticker!
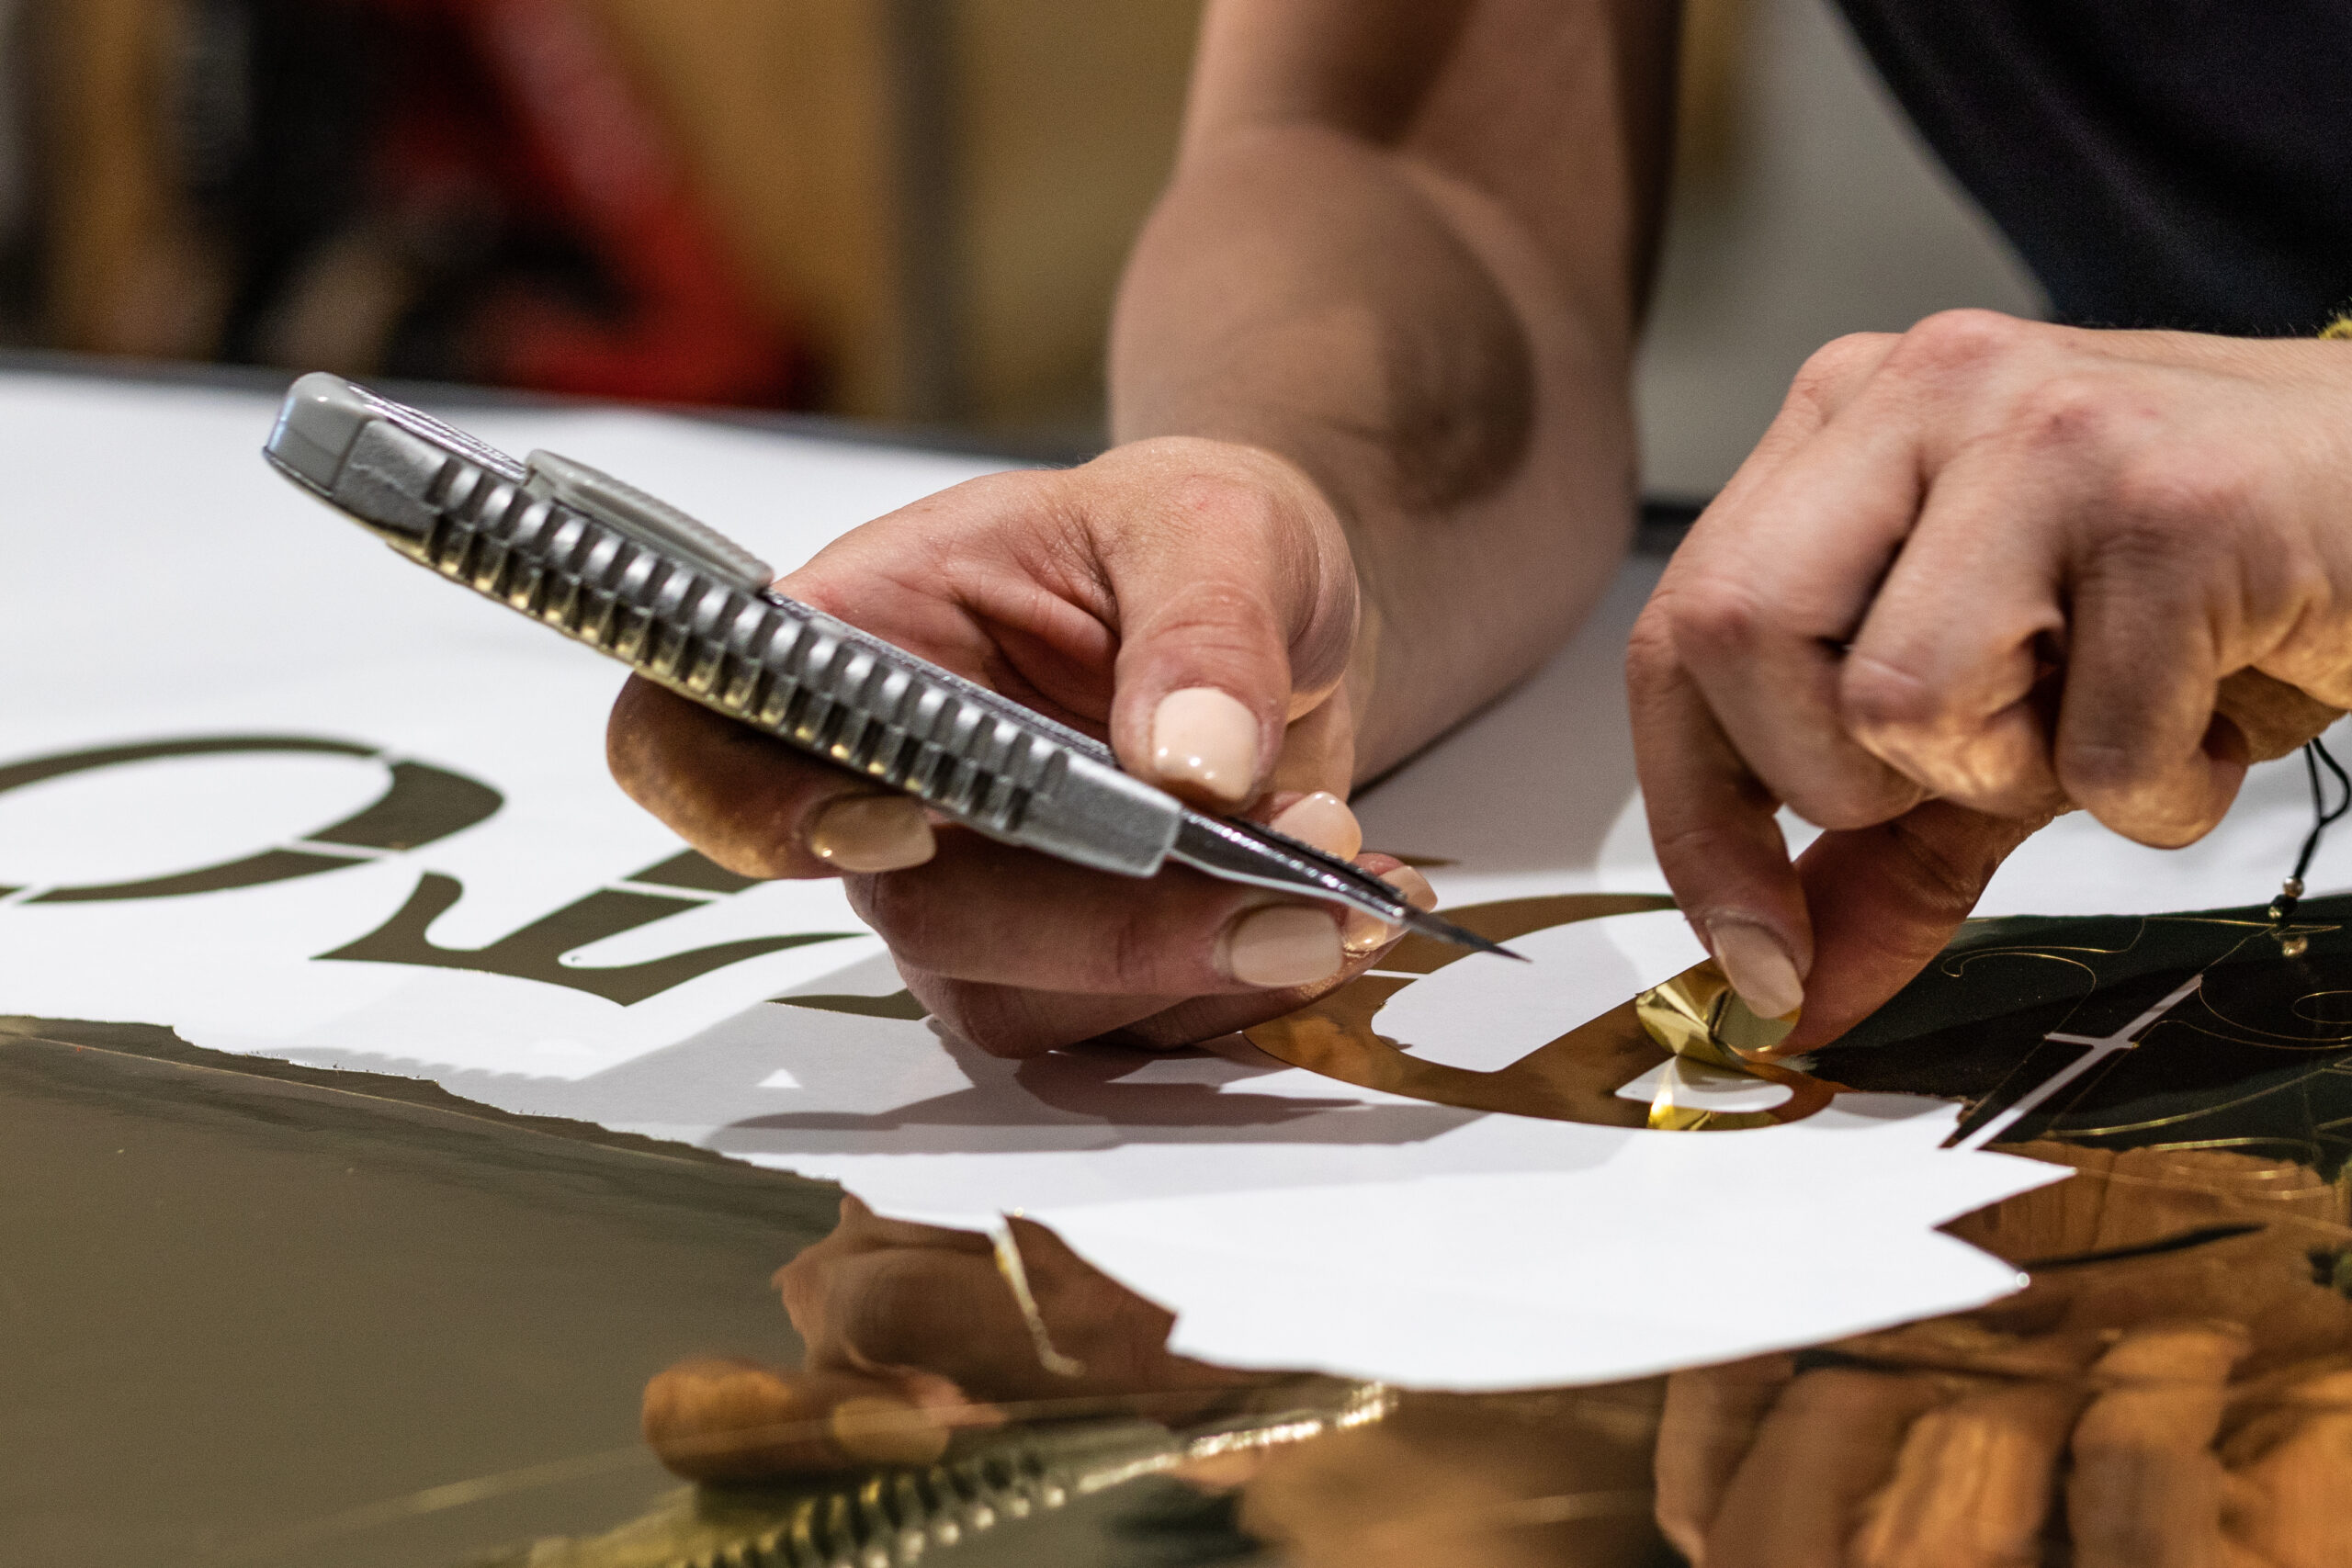
- When the machine finishes cutting your design, grab some scissors and cut out the square of vinyl enclosing your design. If your design takes up the entire width of the roll, you can use an X-Acto knife and slide it across the sheet in the small groove on the front of the machine.
- You may need to lift the Media Set Lever and pull out some more material to cut out your design easily.
- Grab some tweezers and peel away the parts of the vinyl that aren’t a part of your design. Double-check before peeling that the piece you are peeling is supposed to come off!
- Gently peel back a piece of transfer paper and cut it off from the roll. The idea of the transfer paper is that it is just sticky enough to grab onto the vinyl from the backing paper but weak enough that your design will transfer off of it onto a surface. Be careful—this stuff is very sticky and will easily stick to itself.
- The piece you peel back should be large enough to cover your entire design.
- Carefully lay down the piece of transfer paper on top of your vinyl. This works best by laying it down from left to right, applying gentle pressure as you go, and ensuring you don’t get bubbles.
- Once your transfer paper is down, smooth out any bubbles and apply pressure to the design. Using a card (e.g., a credit card or your student ID) is a great way to do this.
- Flip your design over and peel away the backing from the vinyl. This works best if you move slowly and peel the backing off so that you’re pulling it parallel to the design (keep it flat against the table as you pull it).
- If pieces of your design get peeled up with the backing paper, lay the backing back down and apply more pressure with your card. Keep doing this until it sticks.
- Your design should now be sticky-side-up on the transfer paper.
- Now you’re ready to apply your sticker! Place the design with the transfer paper against the desired surface, laying it down smoothly to avoid creating bubbles.
- Apply pressure again with your card, then slowly peel away the transfer paper. Again, if pieces are sticking to the transfer paper and not to the surface, lay the transfer paper back down and apply more pressure.
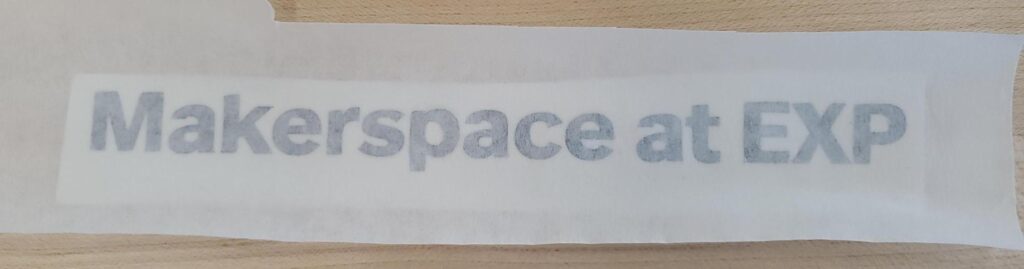
A weeded makerspace at EXP sticker with transfer paper on it. Peeling off the transfer paper will allow you to stick this sticker onto any smooth surface.