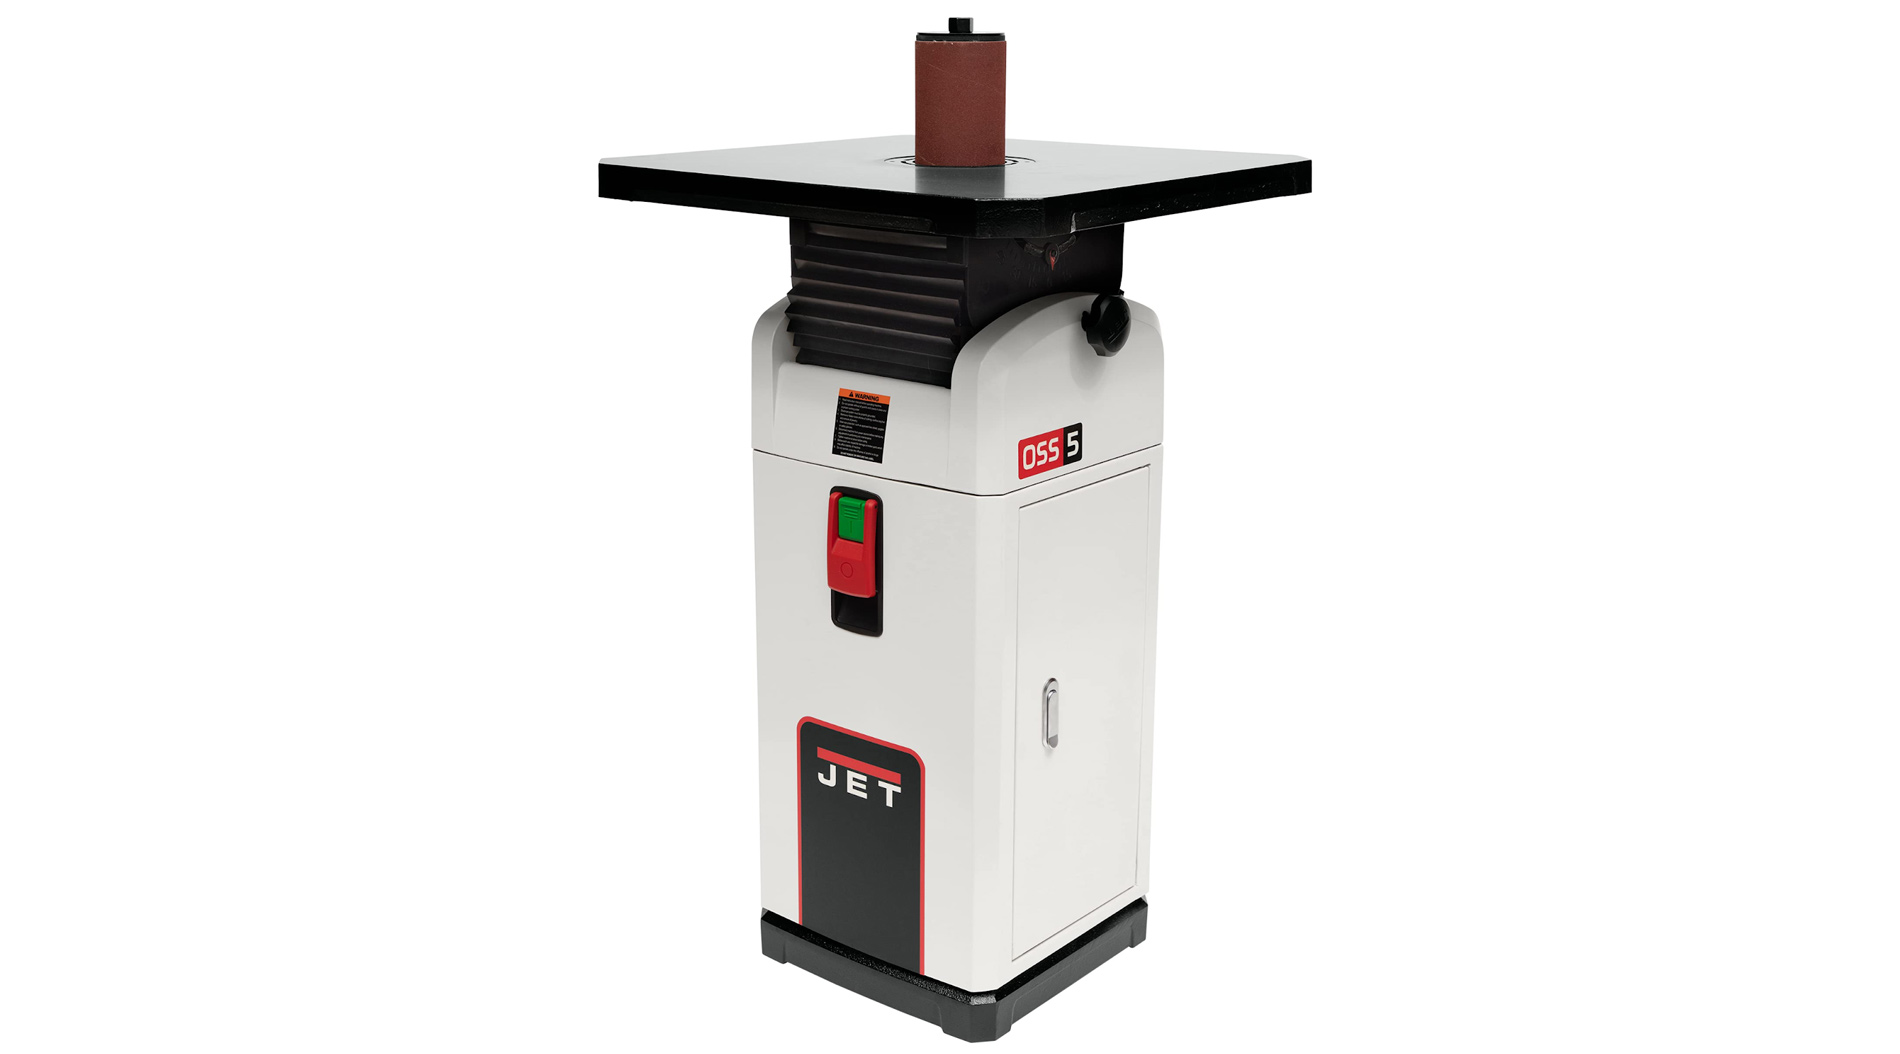
The spindle sander uses a motor to spin a fast moving cylinder with sandpaper on it for shaping, smoothing and finishing wood and other materials. In Woodworks, only wood and certain plastics are the only materials permitted for use on this machine.
Safety Considerations
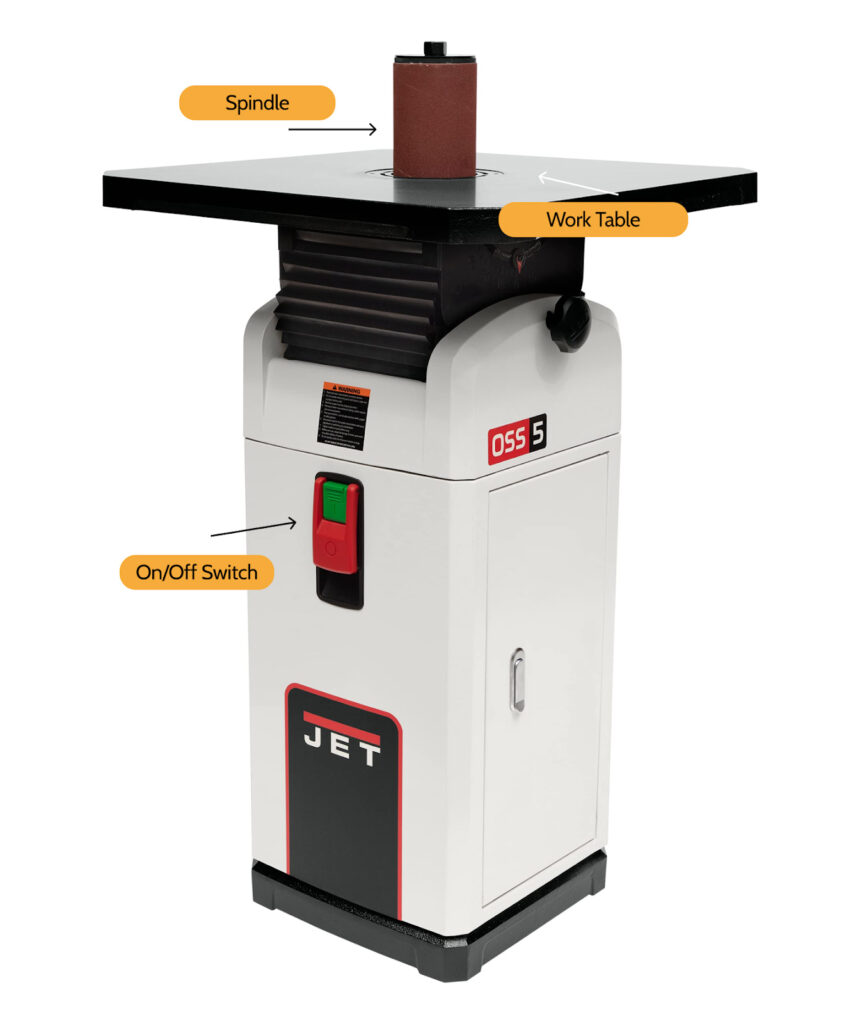
Machine Anatomy
Spindle: Spins clockwise to remove large amounts of material roughly.
On/Off Switch: Turns the belt and disc on/off together.
Work Table(s): Stationary metal platforms that you must brace your pieces on while sanding. If you want to angle your piece, you MUST angle the work table.
Operating the Machine
- Determine what size spindle you will need. There are five sizes, each of which will create a different radius curve. The sanding surface of the larger spindles moves faster, because it is farther from the center of rotation.
- Remove the black circular spindle plate from the table of the sander. Choose a plate with a hole that your spindle will fit through and place it into the table. Line up the notch in the plate with the notch in the table so that it lies flat.
- Insert your spindle into the top of the machine. One end has a nut: this is the bottom of the spindle.
- Use the wrenches on the wall next to the sander to tighten the spindle in place. One wrench is used on the nut, the other is used on the collar the nut is sitting on. If the spindle is tight enough, you shouldn’t be able to lift it out.
- The spindle screws in the opposite direction from normal screws, so make sure you are actually tightening.
- If you need to remove a spindle before putting a new one in, simply lift the plate off (careful not to bump the spindle), unscrew the collar with the wrenches, and lift the spindle out the top of the machine.
- Start the machine. The spindle will start to spin.
- Place your piece flat on the table and press it towards the spindle. Be careful – unlike the belt or disc sander, there is no backstop on the spindle sander, so it is easy to lose control of your part.