Soldering is a process that makes connections between wires and electrical components. Soldering involves the use of several tools, primarily the soldering iron, to melt and apply solder, a quick-melting alloy of lead and tin. Solder is a very conductive material, and can be used to connect wires and create electrical circuits.
Safety Considerations
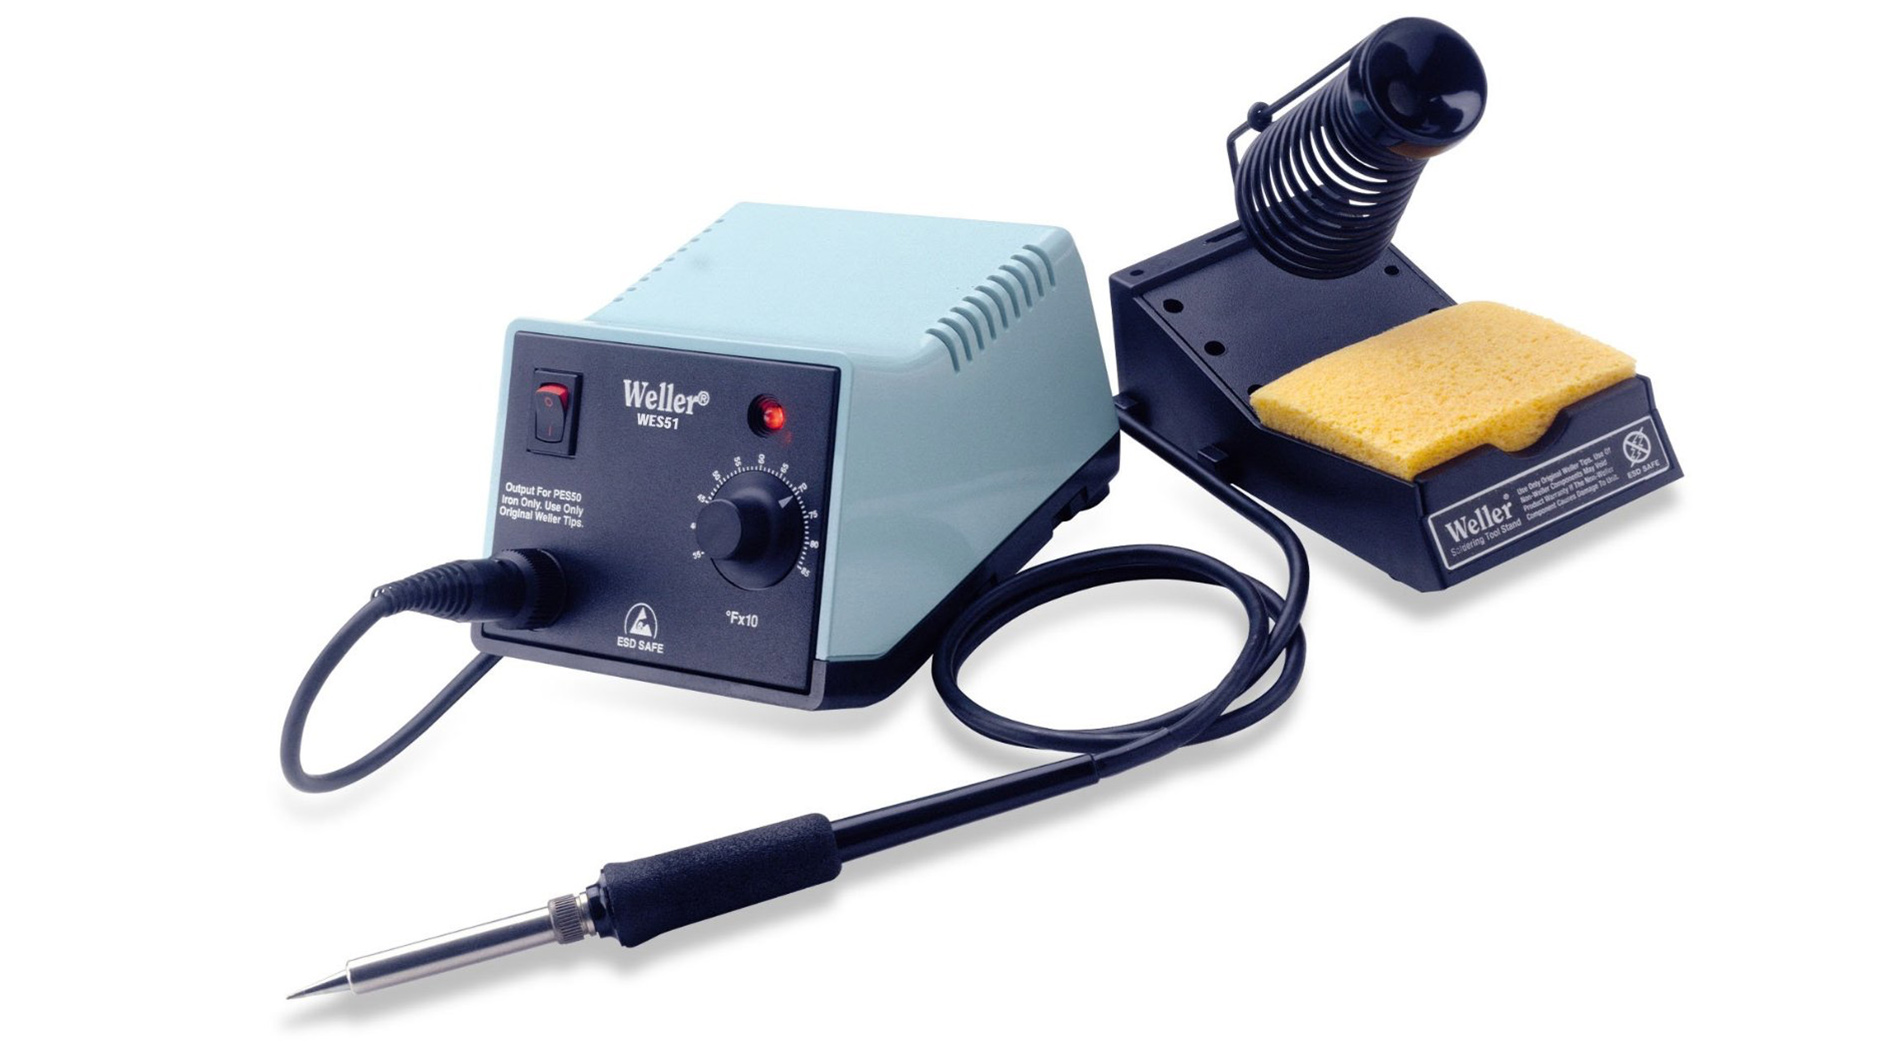
Machine anatomy
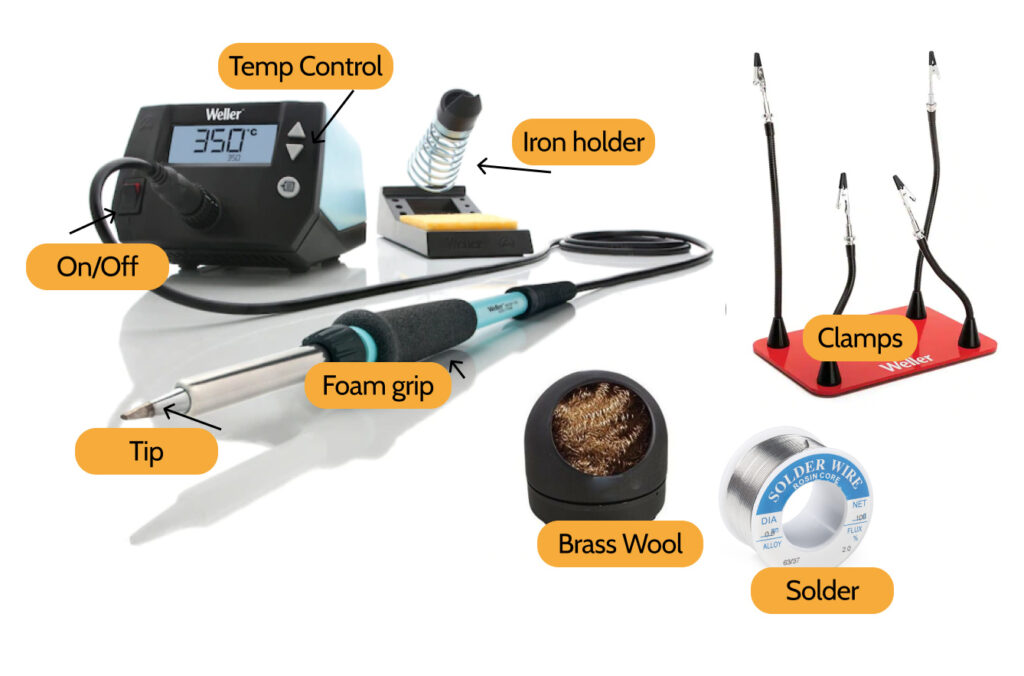
- Solder: The solder is the spool of tin-lead wire that melts and hardens quickly.
- On/Off switch: Turns the heat on and off. After you flip the switch, it will take a minute to heat up or cool down.
- Temperature control knob: Changes the temperature of the iron.
- Tip: The end of the wand and the easiest part to control. The only part that should be touched to the circuit.
- Foam Grip: The foam is insulated, so you can hold it by this part without getting burned.
- Iron holder: Made to keep the iron out of reach with anything that can burn.
- Brass wool: Dip the iron in this to clean any solder off the wand.
- Fume extractor: Sucks away the toxic fumes. Always turn this on before you solder.
- Clamps (aka “helping hands”): Used to hold up a wire so you can use one hand for the solder and one for the iron.
Operating the Machine
Setup (for the iron)
- Make sure you are wearing safety glasses.
- Make sure the table is clear. All the tools you will use should be accessible, you should have a clear workspace in front of you, and there shouldn’t be any flammable materials close by.
- Make sure you turn on the fume extractor, which will vacuum up any toxic fumes.
- Flip the switch to turn the soldering iron on, and wait for it to heat up.
- Set the temperature dial based on the solder you are using.
Setup (for the wires)
- Using a wire stripper, line up the wire in one of the grooves and cut the front centimeter of the rubber coating.
- Slide the wire strippers off the end of the wire to remove the coating.
- If the exposed part of the wire (called the lead) is frayed, pinch it smooth again.
- Do this for each lead you will need to use.
Connecting two wires
- Place the wire or piece in a clamp so that the lead is exposed.
- Hold the soldering iron in one hand and the solder in the other. Unspool a foot or so of the solder so you only need to hold the front few inches.
- Hold the tip of the iron against one side of the lead. Touch the tip of the solder to the other side of the lead. The heat will conduct through the lead, so you don’t have to touch the solder directly to the iron.
- The solder will start to melt. The flux inside the solder should make it spread out around the lead. Melt just enough to cover the lead.
- Repeat this for the other lead. This is called tinning, and it helps make a secure connection.
- Arrange the pieces you want to connect in the position you want them in, with the leads touching. You will likely want to use one or both clamps to hold the wires in place.
- Touch the iron to one side of the touching leads. Since they already have solder on them from the tinning, they should melt onto each other, forming a connection.
- Let the piece sit for a few seconds. This will give the solder time to harden completely.
- Since the solder melts and solidifies so easily, you can touch up a messy soldering job with the iron.
Clean Up
- Clean the soldering iron in the brass wool to clean off any solder that got on the tip. Be aggressive with the soldering iron and the brass wool– solder is hard to take off!
- Turn the iron off.
- Put the iron back in the holder.
- Turn off the fume extractor.
- Wait a few seconds, and then put any usable wires back. Throw out any wire scraps too short to use.
- If there are wire shavings on the table, sweep or vacuum the worktable.