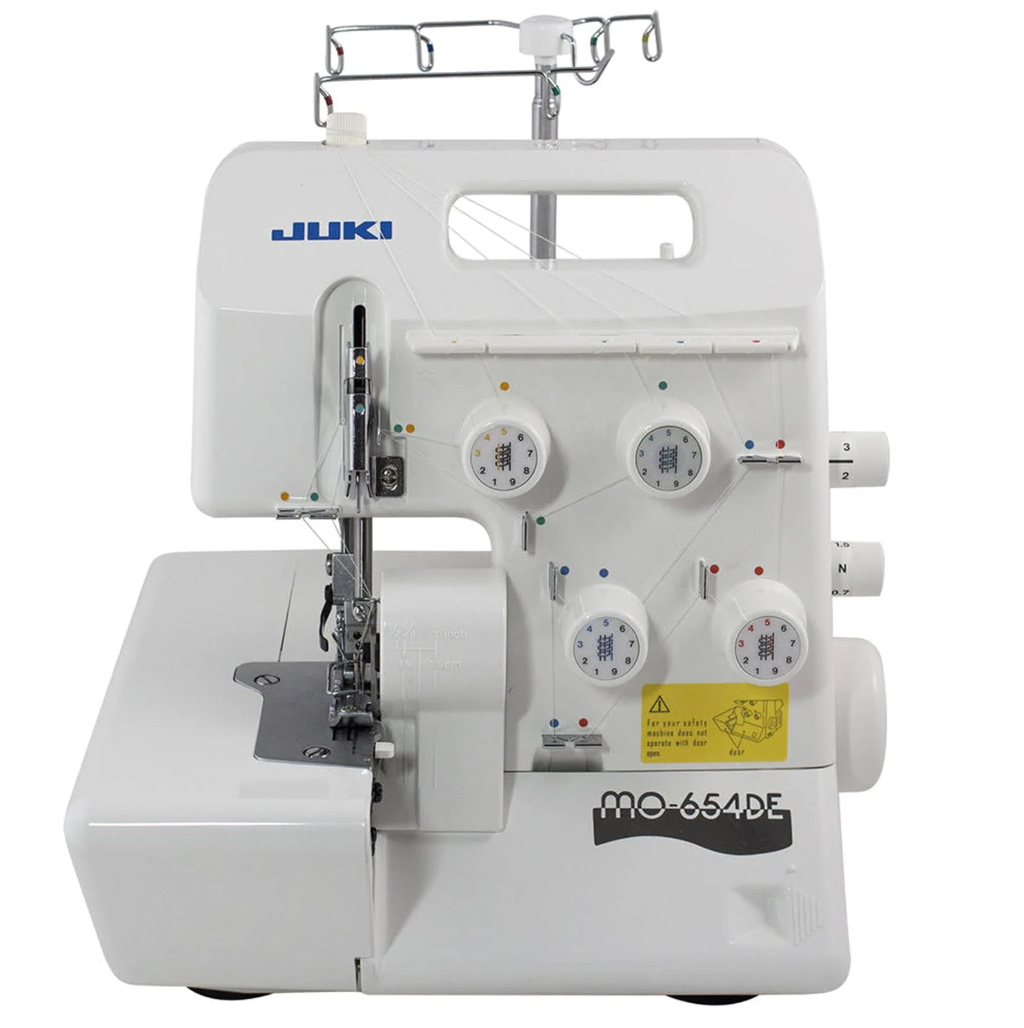
If you want to train yourself on a serger, you will need to have a thorough understanding of what is covered in this user guide. A staff member can give you a credential allowing you to use a serger sewing machine independently if you can demonstrate an understanding of the sewing process.
Please do not rethread the machine— this is something our staff can do for you.
Text in black is general information about the machine.
Text inside blue boxes are steps you should actively take to guide you through this process.
How do sergers work?
A serger is the type of sewing machine commonly used in industrial settings to sew your clothes. It differs from a sewing machine in the way it sews, slicing extra fabric off as it moves and sewing around the edges of the fabric. It also moves faster than a sewing machine, making it much more efficient once you know what you’re doing. The most difficult part of using a serger is threading it, as the machine uses four spools of thread rather than the one that sewing machines use. This part will be explained to you by an Explorer, so feel free to ask for help!
Safety Considerations
Key parts of the machine:

- 1: Looper cover: Door that covers internal components of the machine. You’ll need to open this to thread it.
- 6: Presser foot: The fabric goes under this while you sew
- 24: Presser foot lever: Raises or lowers the presser foot. Raise it to slide fabric underneath, and lower to clamp the fabric down
- 7-10: Tension dials: Each one corresponds to one thread out of the four. They’re color coded, so it’s easy to remember which is which.
- 15: Power switch
- 16: Needle handwheel: Used to manually raise or lower the needle.
- 18: Thread spool holder
- 26: Stitch length knob: Adjusts how far apart your stitches are. In general, don’t touch this.
- 27: Differential feed knob: Adjusts the machine to sew stretchy fabric. If you’re using basic cotton fabric, don’t touch this.
Getting started: Cut your fabric
- Find a piece of scrap fabric and cut a rectangle of about this size. It doesn’t need to be perfect!
- Fold your rectangle in half to make a square


Start to sew!
- Lift the presser foot lever, and slide one corner of your fabric underneath the presser foot. Lower the lever to clamp your fabric in place. (See photo on the right.)
- Slowly step on the pedal, and sew along the entire edge. Continue past the end of the fabric and make a thread chain about as long as the edge of your fabric. – Notice that the knife on the right trims the edge of the fabric.


- Allow the machine to sew off the bottom edge of the fabric, then cut the resulting chain of string to free it. Do not pull on the string chain.
- Repeat for the other edges.


Finishing up
You should have a rectangle with three serged edges. Great job! You’ve mastered the basics of using a serger. Trim off any hanging thread chains. Show an Explorer and get your Serger Credential!
Note: Tucking the thread underneath the foot to secure it isn’t required, but it will prevent the edges of your stitches from coming loose. If it looks a little messy on your square, don’t worry, it’s much easier with a larger amount of fabric.
