Importing and Vectorizing the Image on Illustrator
- Choose a picture that you want to build the puzzle with (preferably in .png,.jpeg, .jpg format).
- Open Adobe Illustrator
- Create a new file with your preferred dimensions.
- Go to File > Place and choose the image that you previously chose
- You should now be able to click on the file and place your image
- Click on the selection tool in the toolbar (look below) to resize your image
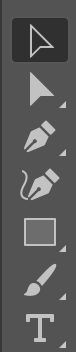
- After getting the appropriate dimensions for your image, click on it again with the selection tool and choose “Image Trace” (look below.)
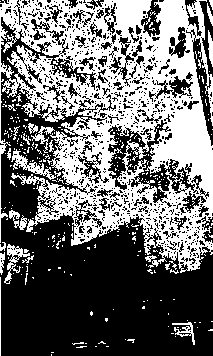
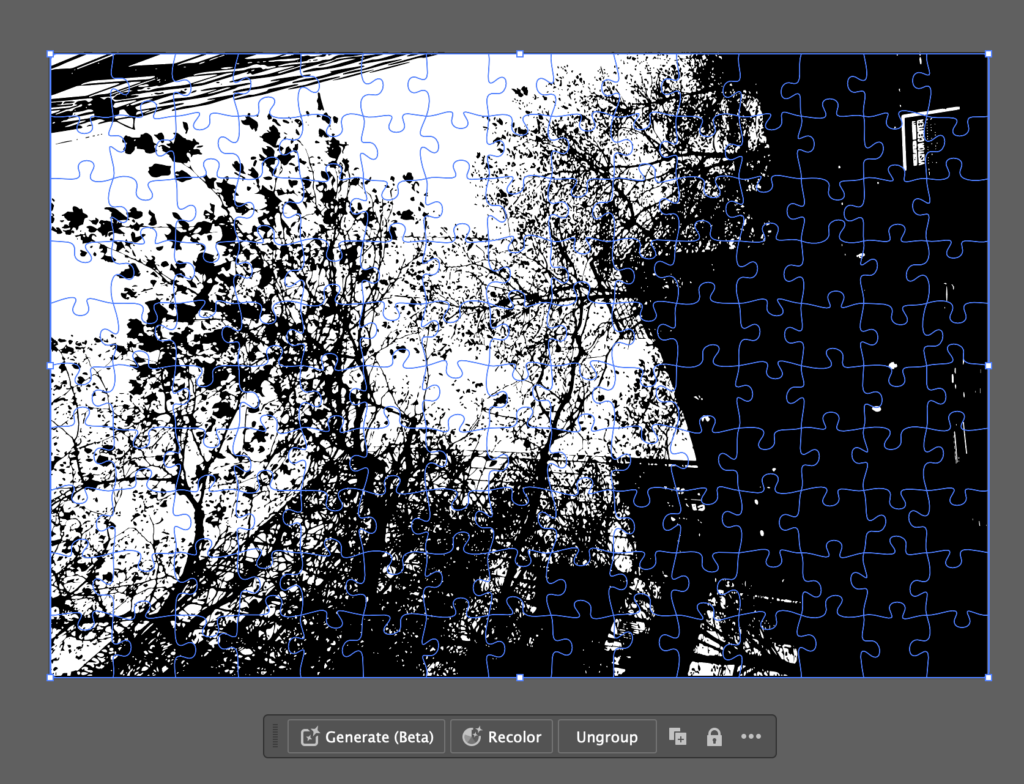
- Your image should now be black and white. For our illustration, this is what the black-and-white image looks like:
Making the Puzzle Design
- Head to this link to customize your design. Curious about what each option means?
- Seed: the seed number for randomizing the puzzle edges
- Tab size: how big the circular tabs of the puzzle are
- Jitter: how curvy the edges of the puzzle are
- Corner radius: how circular the corners of your full puzzle are
- Tiles: how many pieces are on each side of the puzzle
- The first box is for the width
- The second box is for the height
- Size: the size of the puzzle in millimeters
- The first box is for the width
- The second box is for the height
- Download the SVG file
- Place the SVG file on your image in Illustrator
- Resize the puzzle to match the desired size
i. You should have a screen that looks like the picture below:
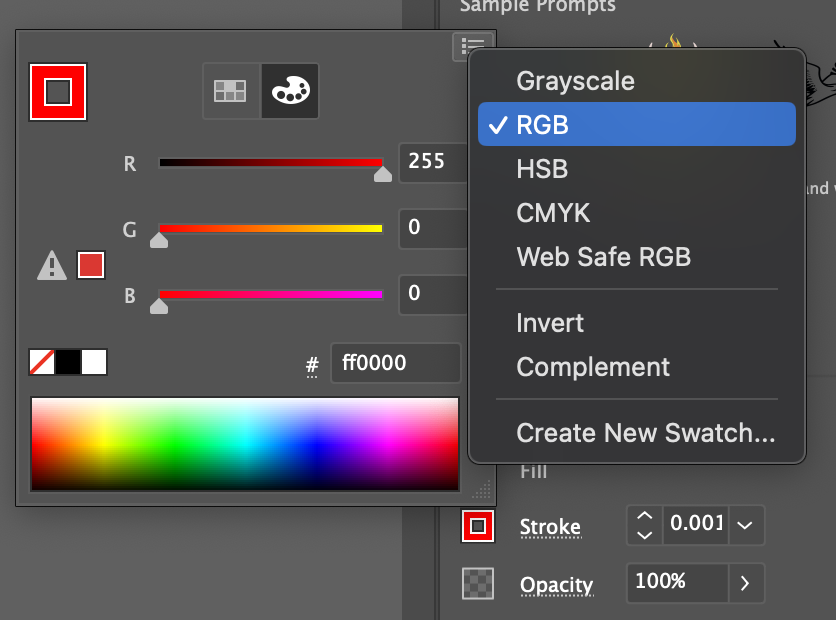
- With the puzzle outline selected, change the stroke to red (#FF0000) (NOTE: make sure that it is in RGB) and change the width to 0.001. Look below for what it should look like.
- Save the .ai file to a flash drive.
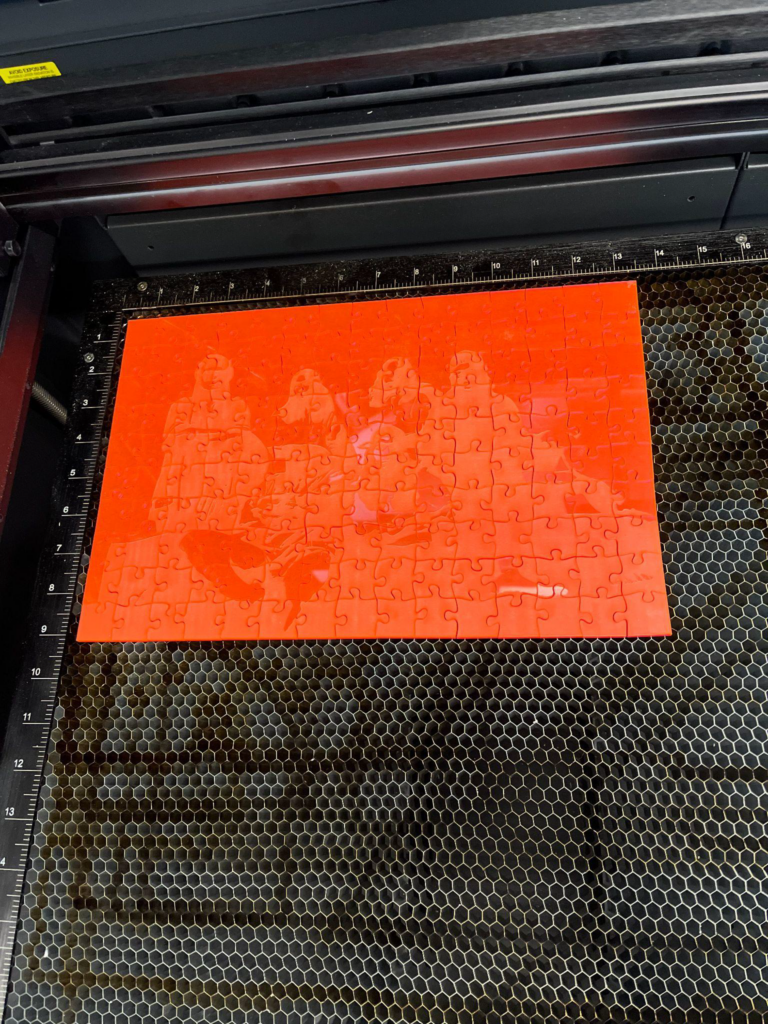
Laser cut the puzzle
- Use the file from the flash drive and follow the procedure for laser cutting to laser cut your puzzle. Here is mine : )