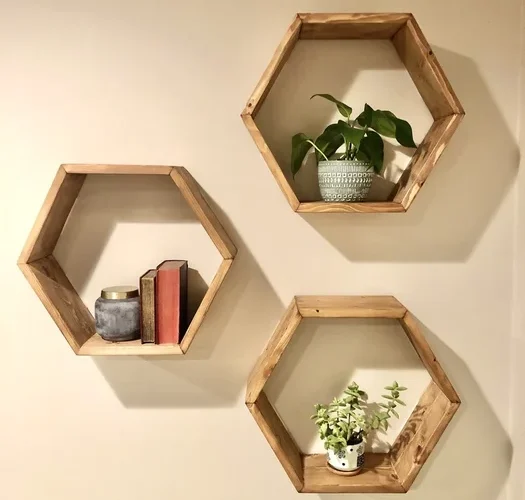
Use this project guide to walk through how to make a hexagon shelf! You will need the following skills/credentials to complete this guide:
Miter Saw – Novice
Brad Nailer – Novice
Sander – Novice (Hand or Belt fine)
Safety Considerations
Materials
- 1×6 pine: 4′ length
- Wood glue
- Painters tape
- Brad nails
Tools
- Tape measure
- Miter Saw
- Brad Nailer
- Razor blade
Project Steps
Step 1
Use the miter saw to cut your board into 6 pieces that are 8″ long. While this is an inefficient step and not typically how we would begin, this will make your pieces easier to handle in our small shop, and also give you more practice with the miter saw.
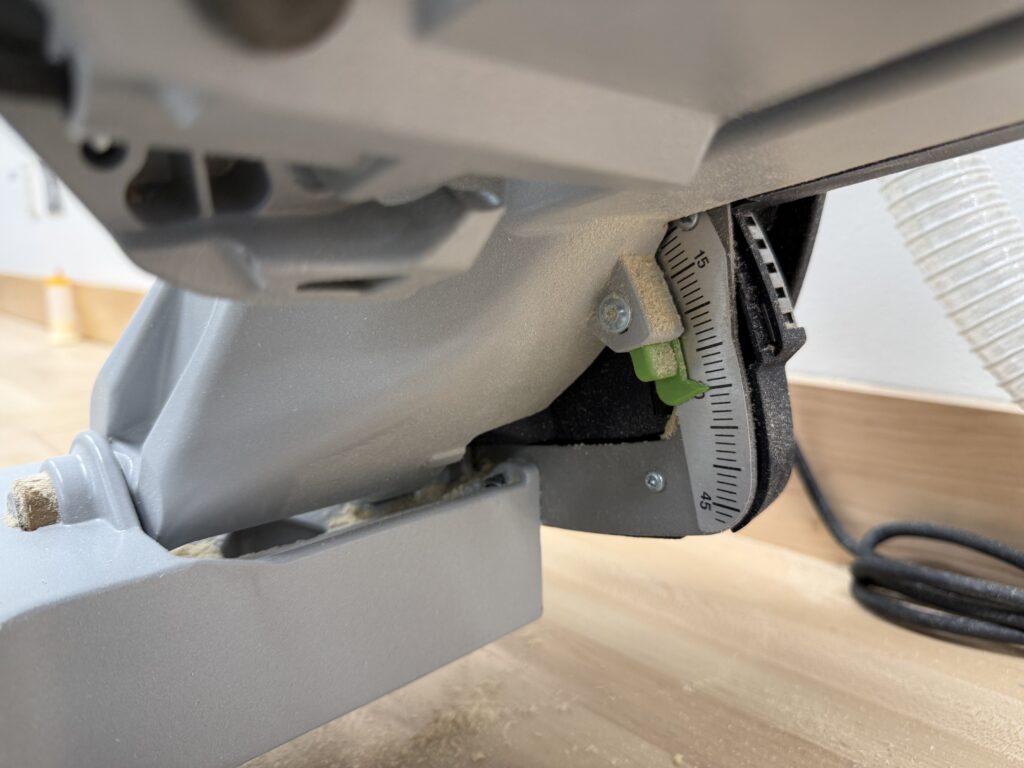
Step 2
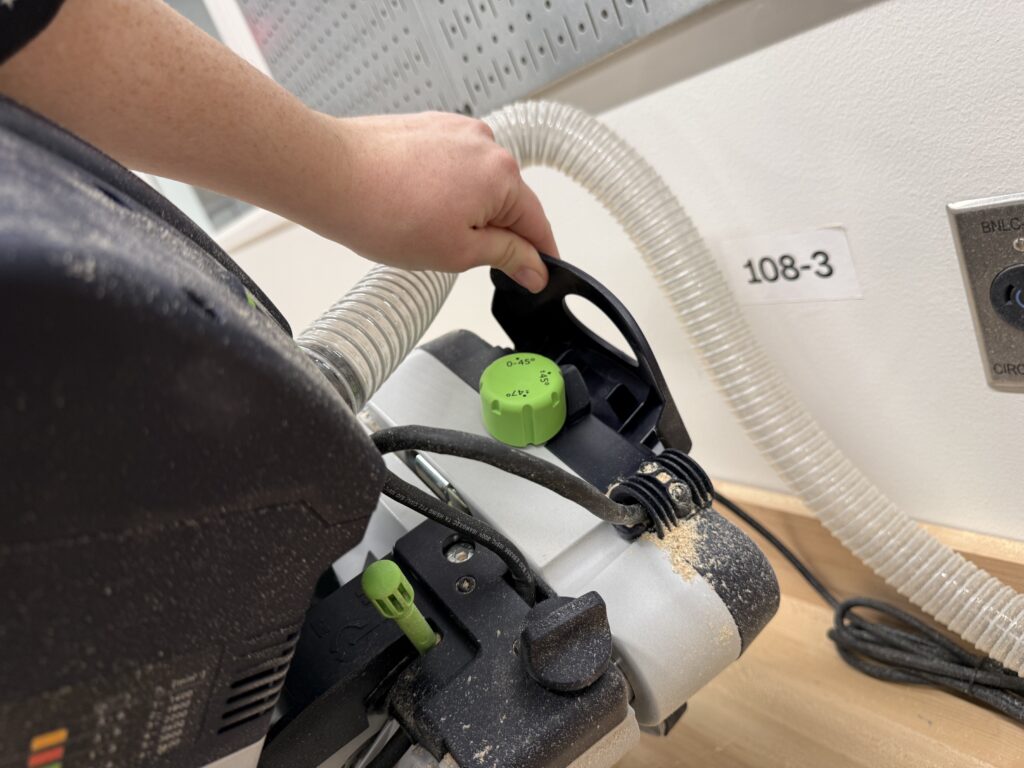
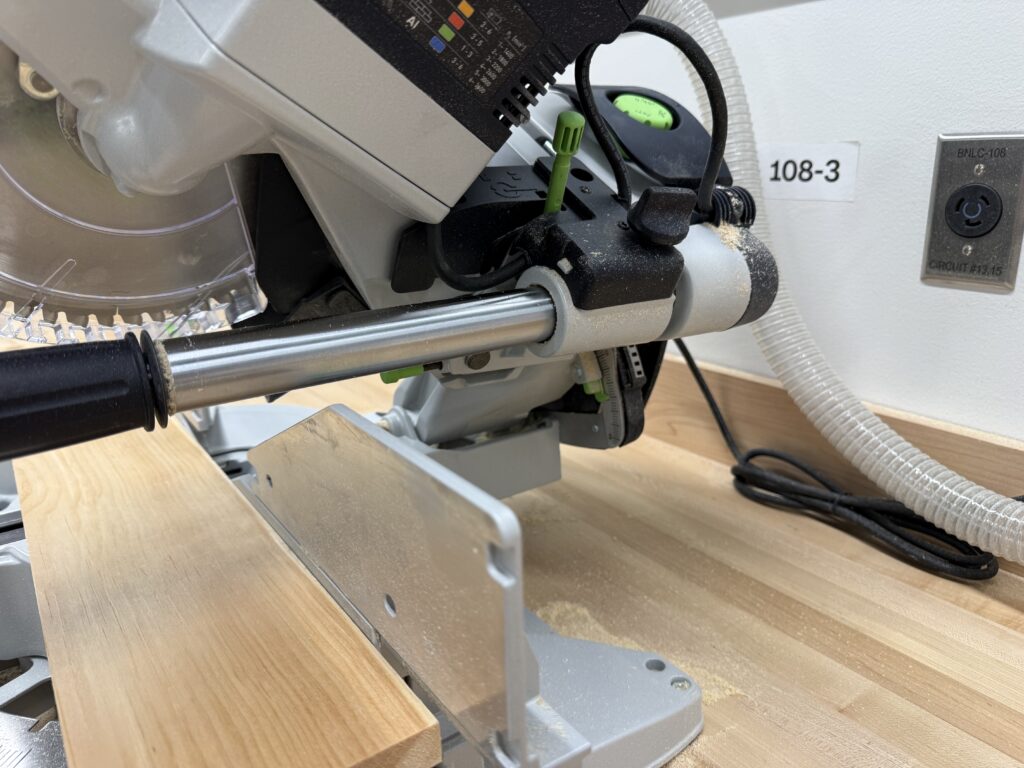
Set your miter saw to a 30 degree bevel. Cut the edge of your first board to that 30 degree bevel, right at the edge of your board.

Step 3
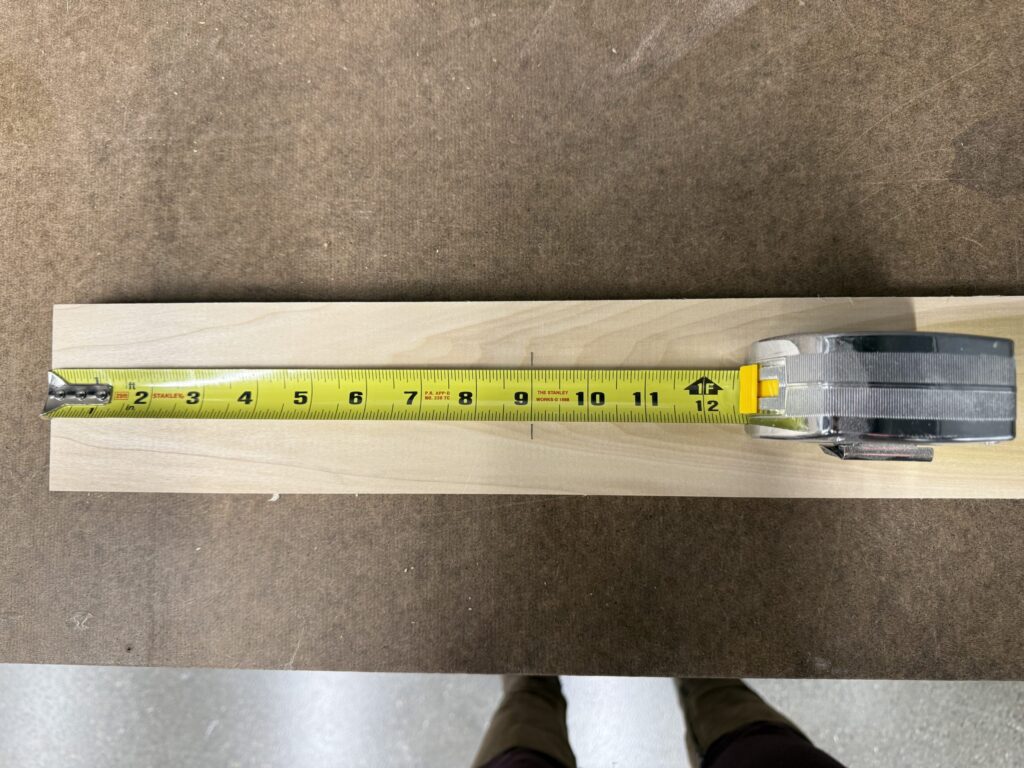
Hook the end of your tape measure onto the top edge of your bevel. Measure 7″ from the edge you just created. Give yourself a mark.
Marking the way the board is marked in the picture will help you cut accurately with the miter saw. Get in the habit of marking in the middle of your board when you are using a miter saw!
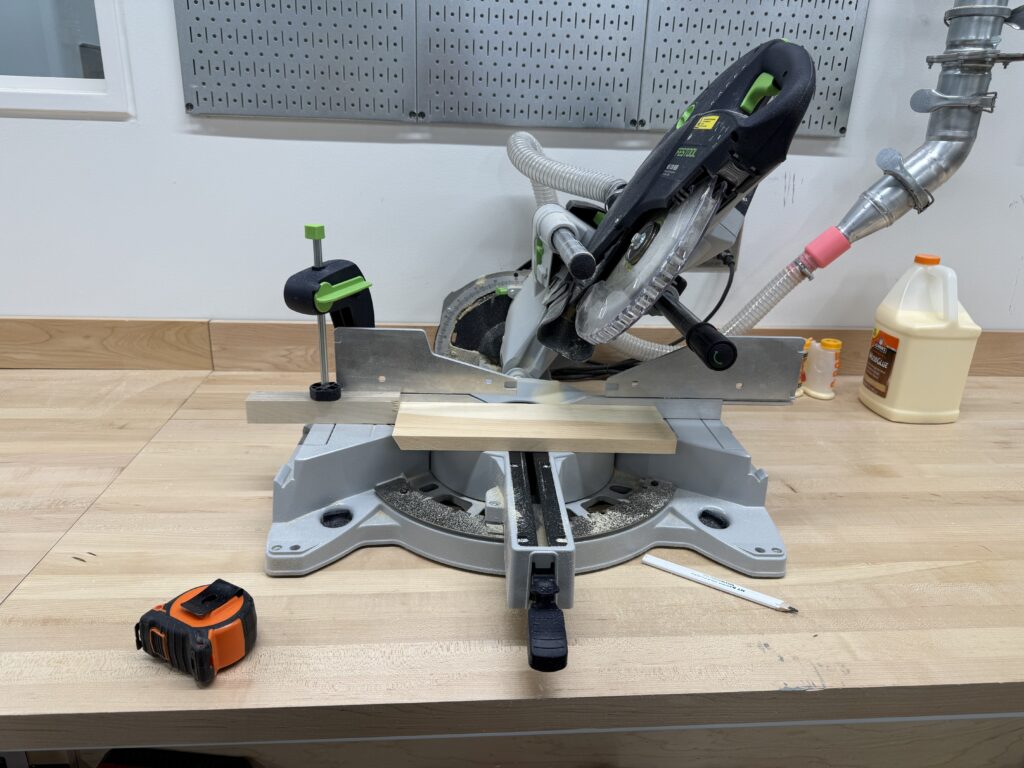
Step 4
Flip your board so the square edge is ready to be beveled with the miter saw.
Make sure the long edge is facing up! You want to create a trapezoid, not a rhombus.
Cut along your line with the miter saw.
You can also set up a stop block, but since the point of this is to get lots of experience with the miter saw, you should consider cutting everything as a one-off cut!

Step 5
Repeat Steps 2-4 for all of your pieces.
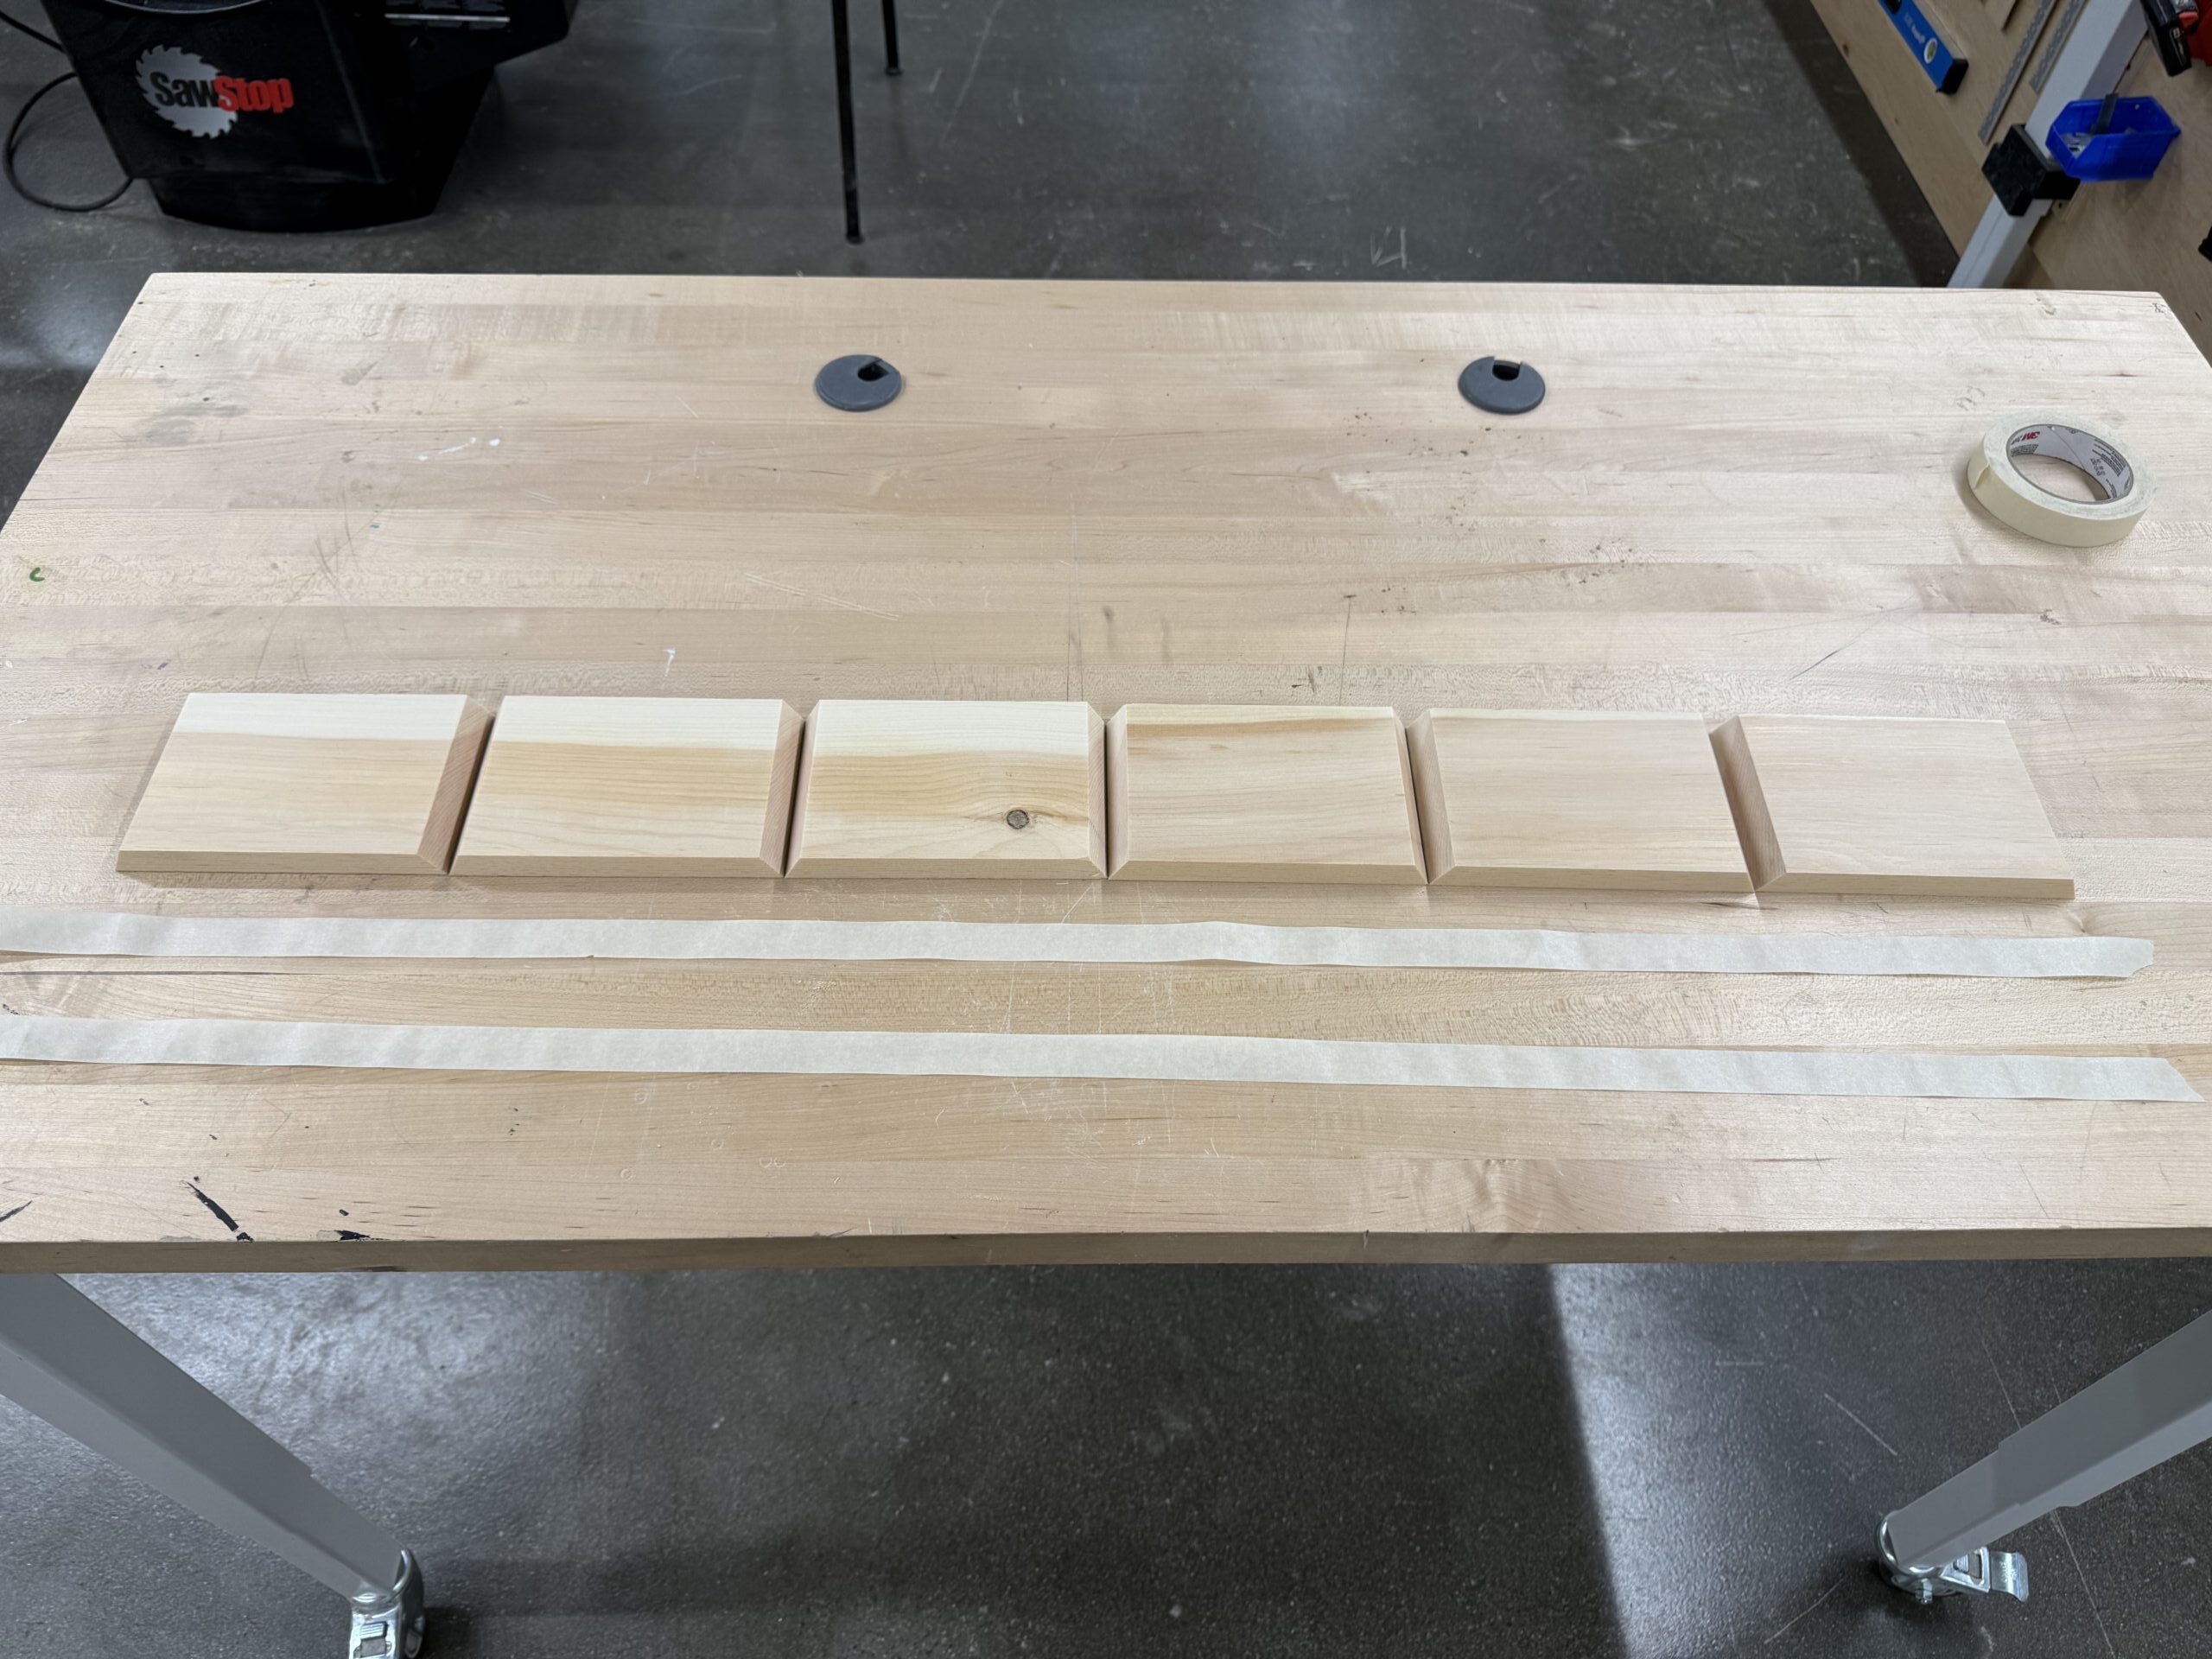
Step 6
Lay out your six pieces in a row, with all of the long beveled edges down. Lay down two pieces of tape that run the length of your pieces, sticky side up. Carefully place each piece onto the tape in a line, making sure you are flushing up all of the edges of your bevels.

Step 7
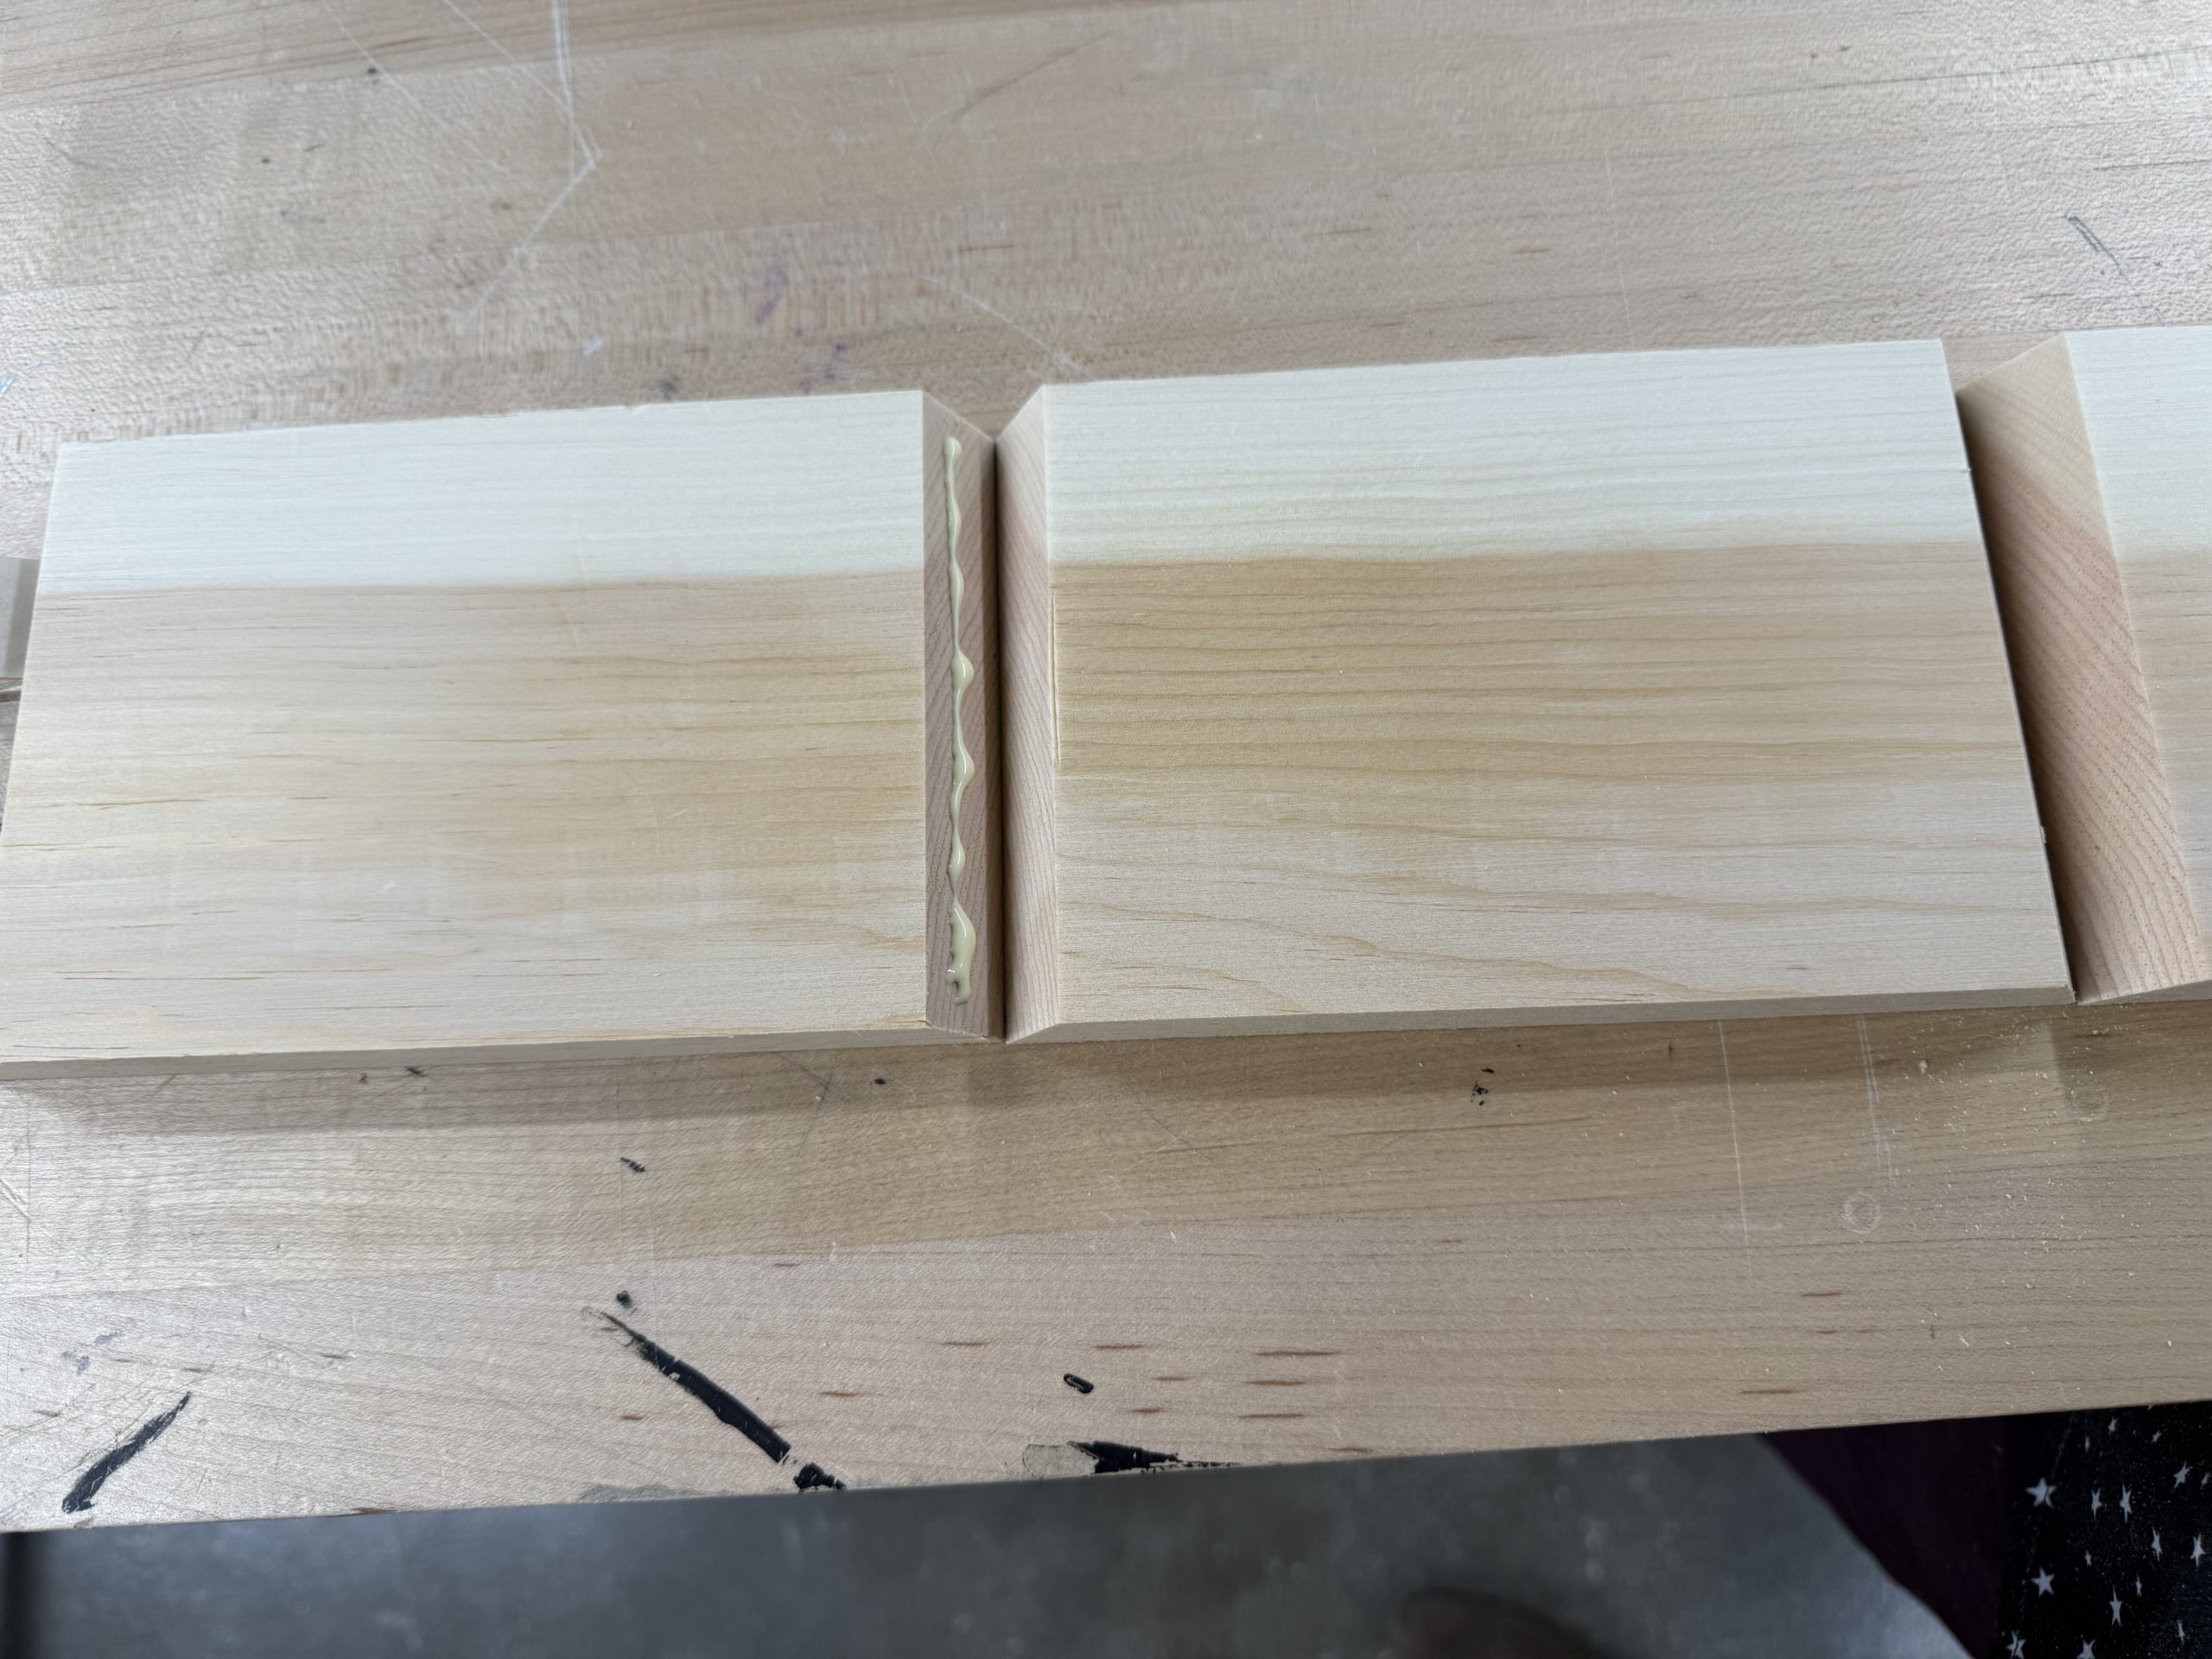
Add a bead of glue to one side of each of your seams, including one of your outer sides. You can use your finger to gently spread the glue, but work quickly – you don’t want it to dry too much!
Step 8
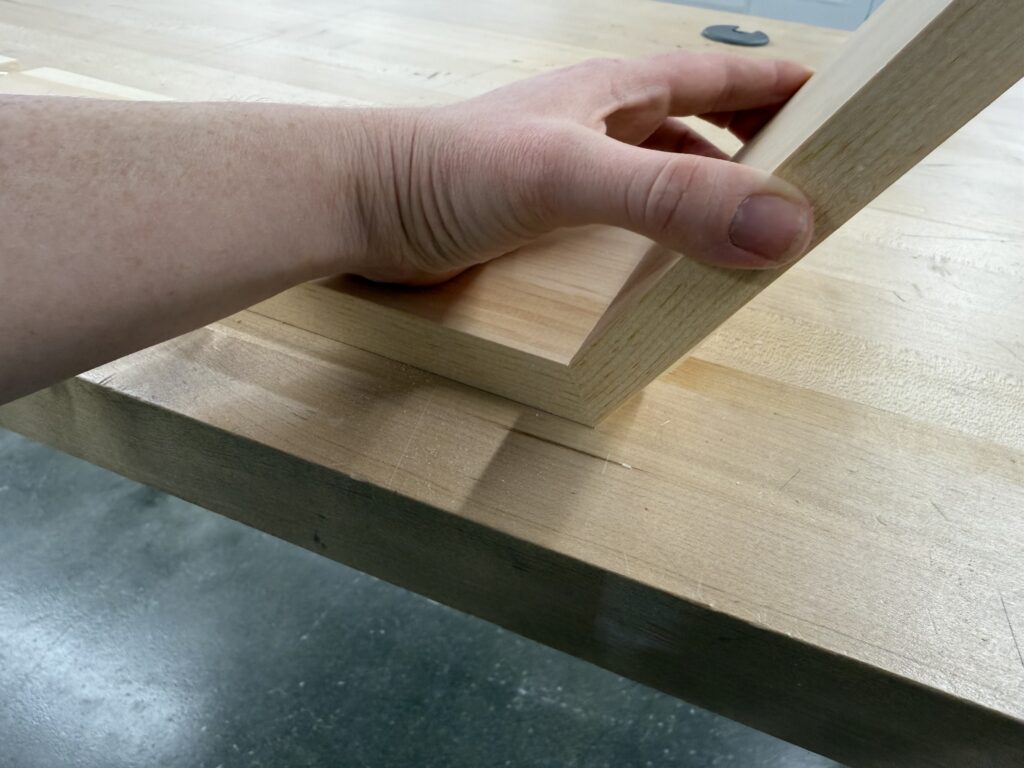
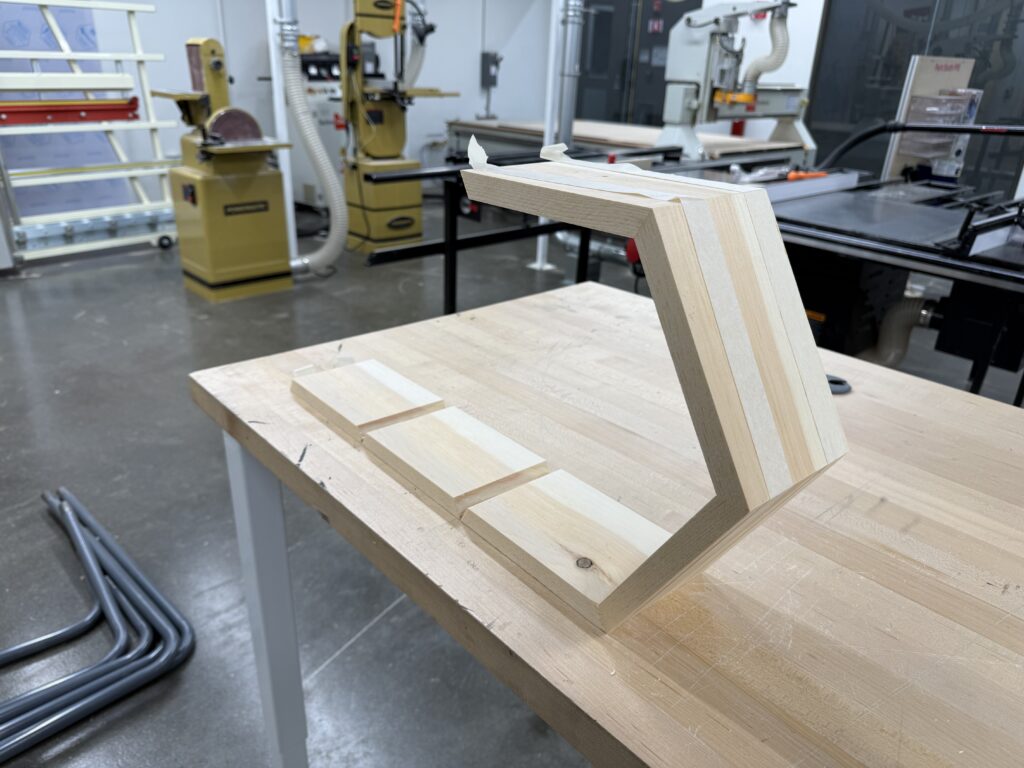
Slowly start to fold up your boards so your angles meet. Continue until your boards are now a hexagon, and use your extra tape to hold the final edges together.
Step 10
Use a brad gun to nail your edges together. Fuss your edges and get them as flush as you can before nailing. Keep your brad nailer parallel to the second board the nail is entering, and keep your fingers clear when you pull the trigger!

Step 11
If there is glue beading on the inside of your joints, take a moist rag and scrub the glue off.
Step 12
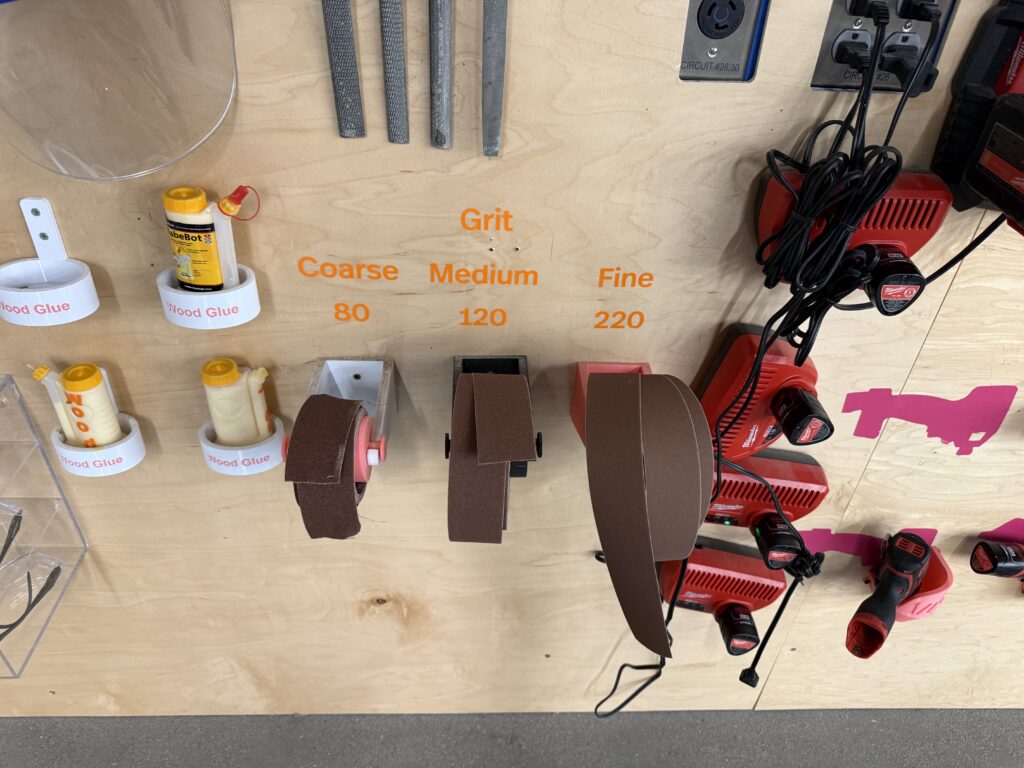
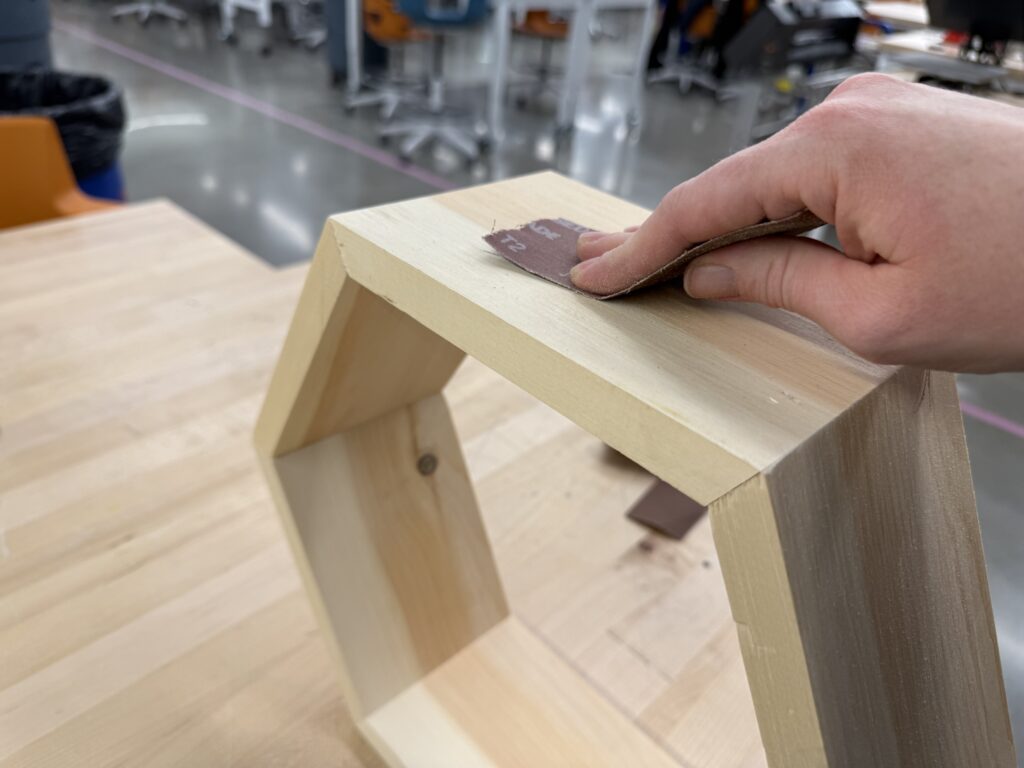
Remove the tape and sand the outside of your shelf until you are satisfied with its finish. You always want to sand with the grain, and sand with progressively finer grits. Never sand finer than 220 grit if you are planning to put finish (stain, paint, oil, shellac, polyurethane, etc) on a piece.
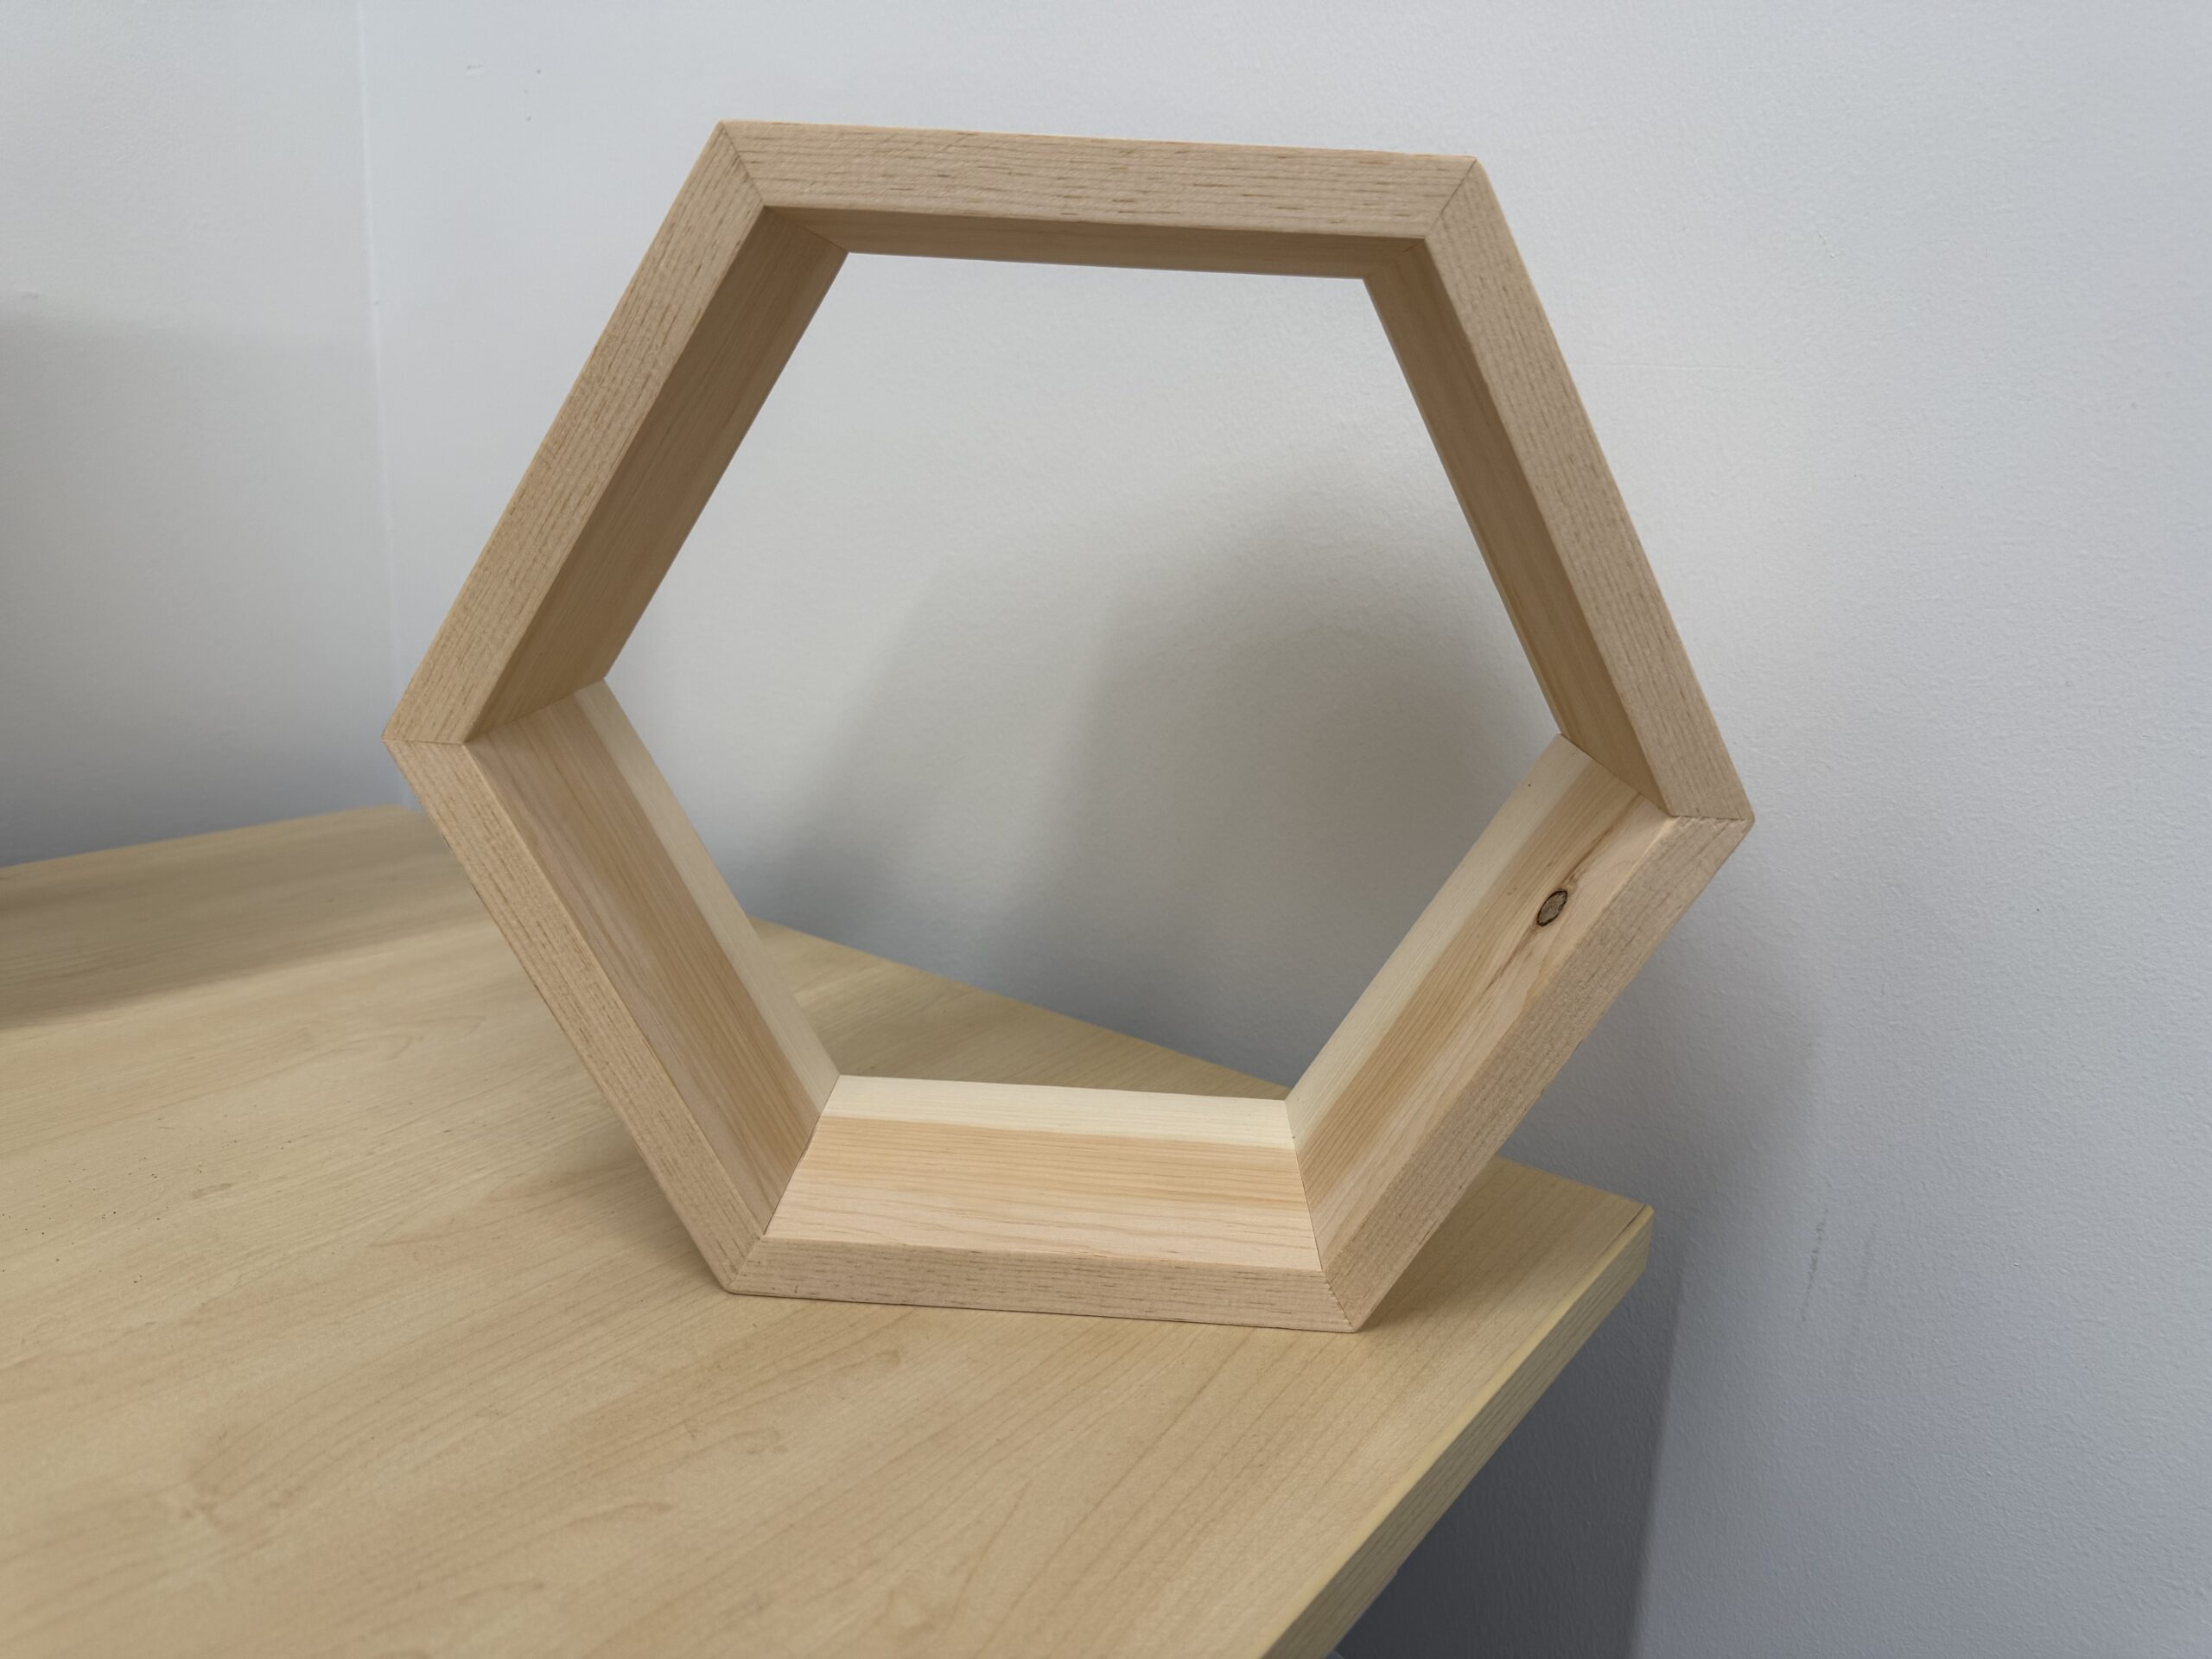
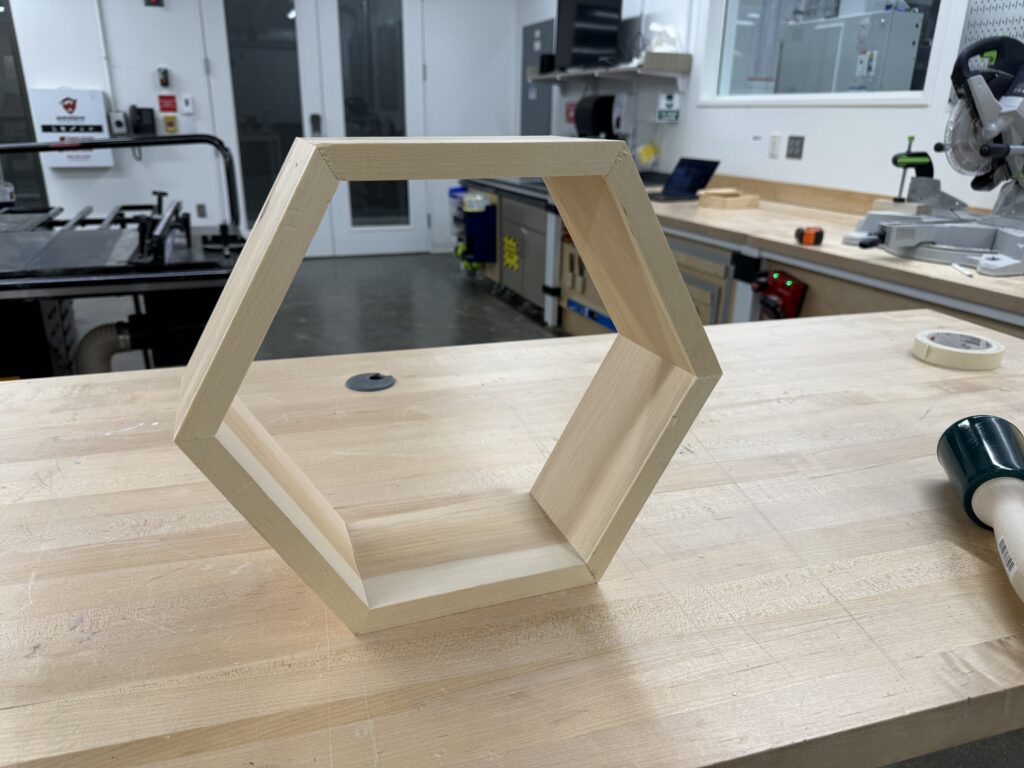
Congrats! You made a hexagon shelf!