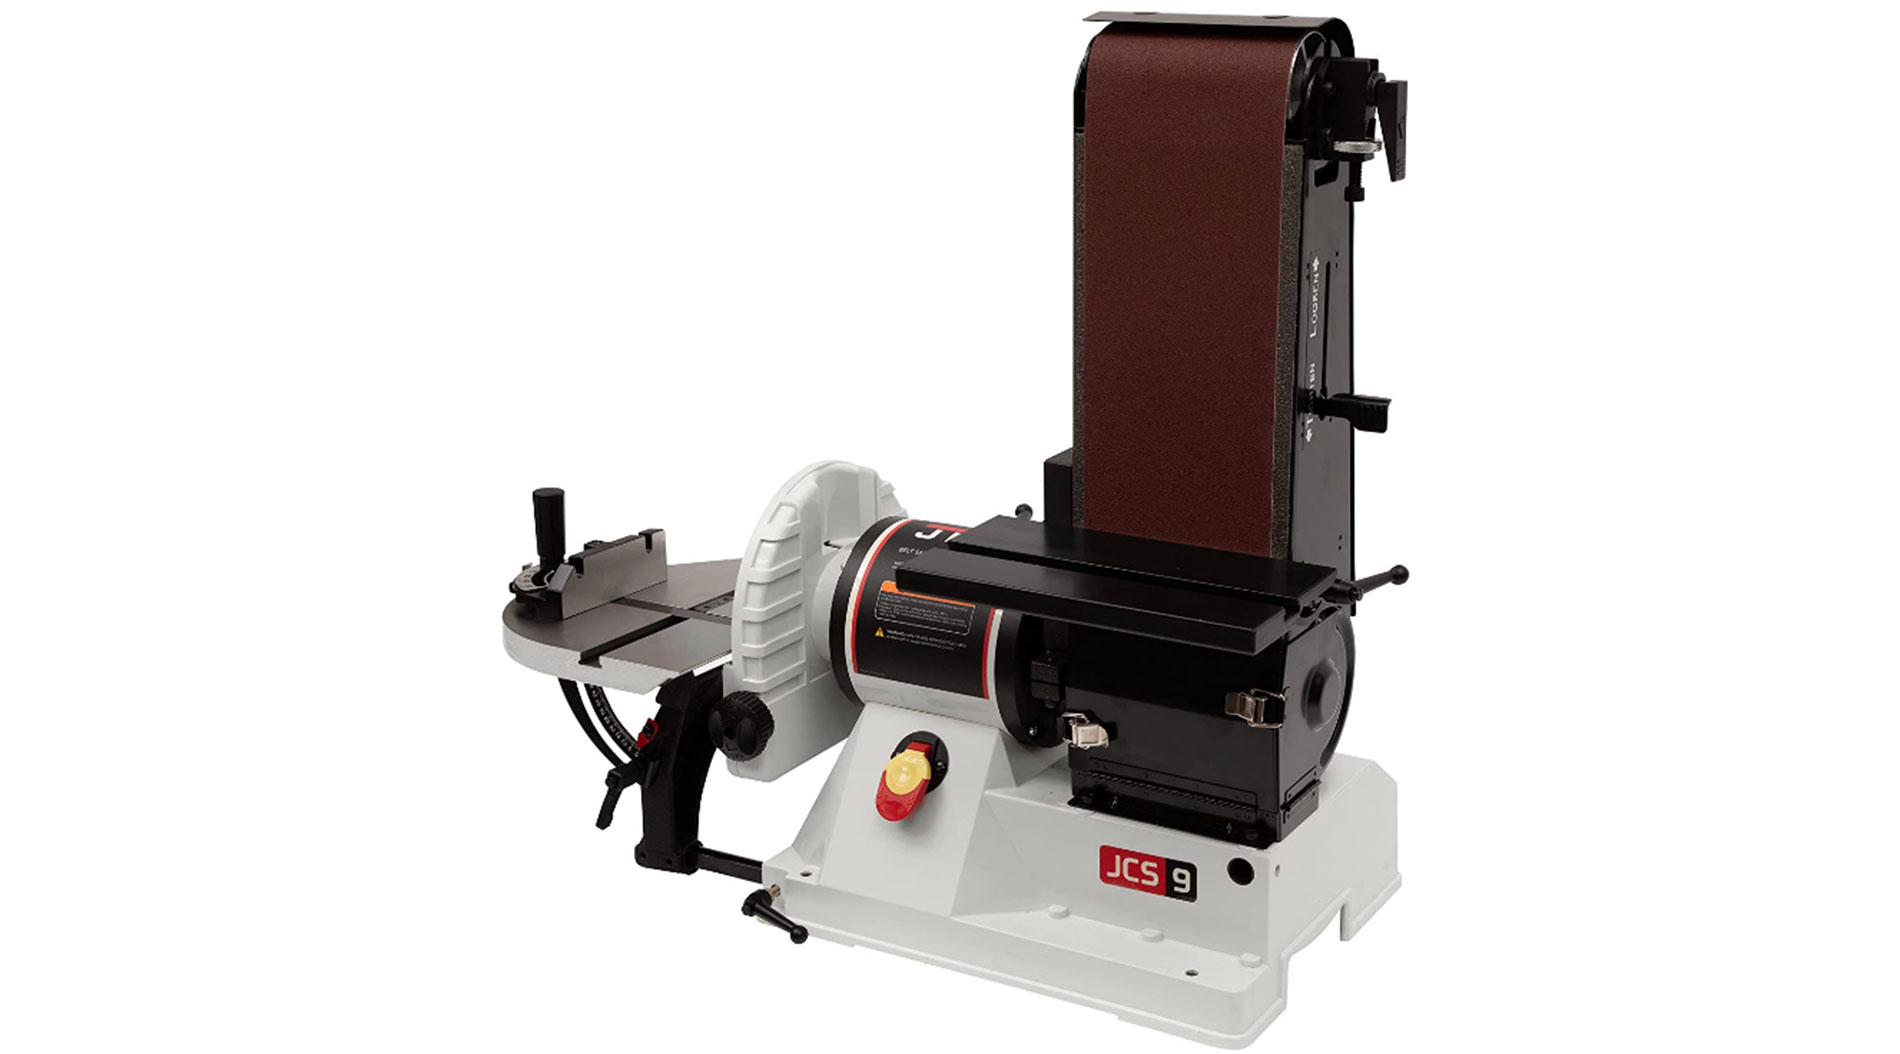
The belt & disc combination sander uses a motor to spin fast moving, abrasive sheets used in shaping, smoothing and finishing wood and other materials. In Woodworks, only wood and certain plastics are the only materials permitted for use on this machine.
Safety Considerations
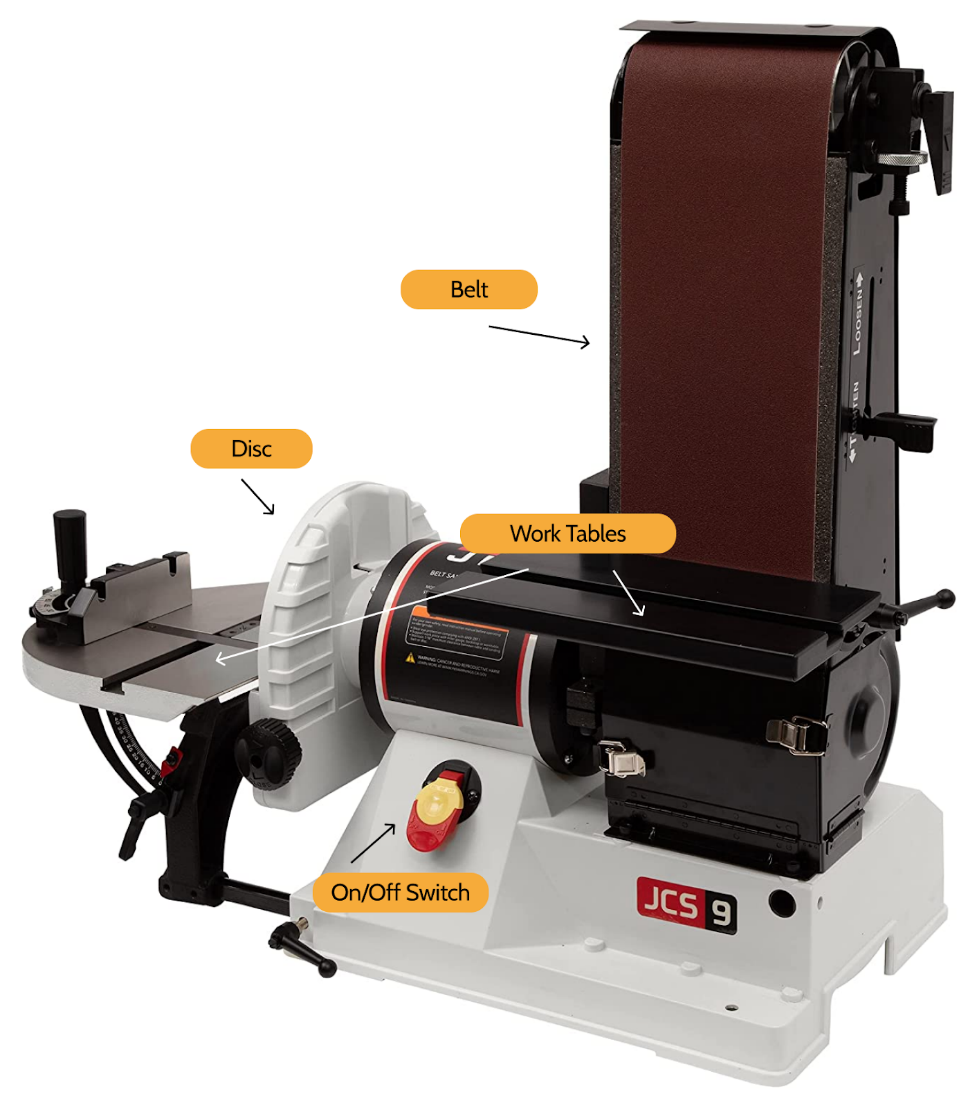
Machine Anatomy
- Belt: Spins downward to remove small amounts of material.
- Disc: Spins clockwise to remove different amounts of material depending on where you are located on the disk.
- On/Off Switch: Turns the belt and disc on/off together.
- Work Table(s): Stationary metal platforms that you can brace your pieces on while sanding. If you want to angle your piece, angle the work table or freehand sand in the air.
Operating the Machine
Sanding with the Belt Sander
- Before turning the machine on, make sure the work table is set to the desired angle relative to the belt.
- Make sure the gap between the work table and the belt is ⅛”.
- If your piece is small or difficult to handle, or narrower than the gap between the table and the sandpaper, use vice grips or a clamp to hold your piece. Just make sure to not sand the vice grips!
- Switch the machine on and give it a few seconds to gain speed, standing clear of the machine.
- Place your piece down flat on the work table and slide it towards the belt.
- While sanding, always hold your piece down flat on the table
- Move your piece side to side across the entire belt to ensure the sanding belt is worn-down equally. If the sandpaper seems gunked up, run the abrasive cleaning stick (looks like a large rubber eraser) over the belt while the motor is on until the sandpaper appears clean.
- Once you’ve finished sanding, pull your piece clear of the belt.
- Switch the machine off and wait until the machine comes to a complete stop. Never leave the machine unattended while the belt is still moving.
- Once the belt and the disc are completely still, clean up the work area with either the shop vac or a dust pan/brush.
Sanding with the Disc Sander
- Before turning the machine on, make sure the work table is set to the desired angle relative to the disc.
- Make sure the gap between the work table and the disc ⅛”.
- If your piece is small or difficult to handle, or narrower than the gap between the table and the sandpaper, use vice grips or a clamp to hold your piece. Just make sure to not sand the vice grips!
- Switch the machine on and give it a few seconds to gain speed, standing clear of the machine.
- Place your piece down on the work table and slide it towards the disc.
- Only use the right half of the disc (the side of the disc that’s moving down towards the worktable). Do not use the left side of the disc that is spinning up, as the disc can launch your piece up towards your face.
- When shaping your piece, be mindful that the disc has different cutting speeds. The disc is moving slower towards its center and gains rotational speed at its periphery. This means that more material will be removed, more quickly, at the periphery than towards the center of the disc where less material will be removed, more slowly.
- Once you’ve finished sanding, pull your piece clear of the disc.
- Switch the machine off and wait until the machine comes to a complete stop. Never leave the machine unattended while the disc is still moving.
- Once the belt and the disc are completely still, clean up the work area with either the shop vac or a dustpan/brush.