This document will walk you through the basics of printing with a Prusa MK4S with a MMU unit attached. Text in black explains the basics of how to use it.
This doesn’t grant a separate credential, but is the instructions for how this machine will be used at the Makerspace at EXP.
Text in blue boxes are steps you should actively be taking to practice these skills.
What is a MMU Printer?
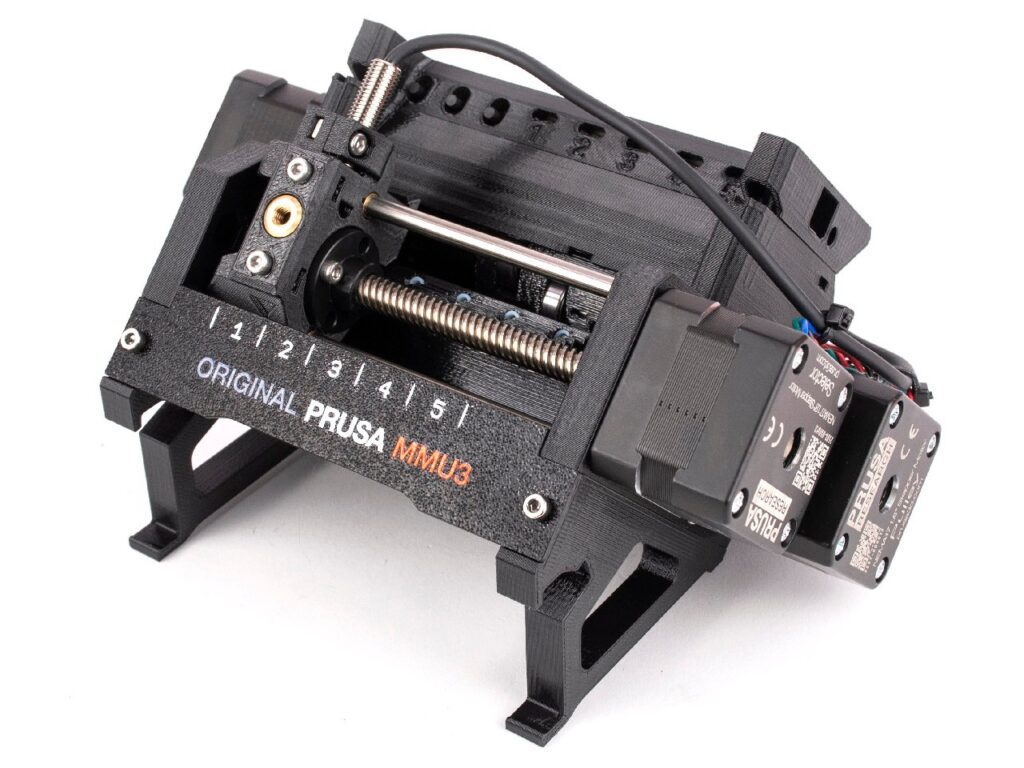
MMU stands for Multi Material Upgrade. Our unit is specifically a MMU3. This is an attachment that you can add to a Prusa printer allowing it to switch between many different colors of filament in one print.
Safety Considerations
Separating Colors in Prusa Slicer
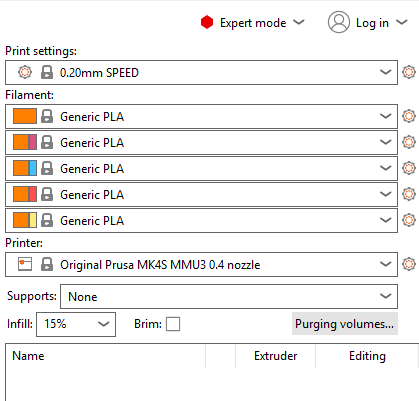
When you open the slicer you will need to select Original Prusa MK4S MMU3 0.4 nozzle from the Printer dropdown menu on the right. Above Printer you will see Filament. These should all be set to Generic PLA. If you are not using PLA you may set it to whatever elsa you are using.
To insert your print click file>import>Import STL.

If you want to import many objects at once this notification will pop up:
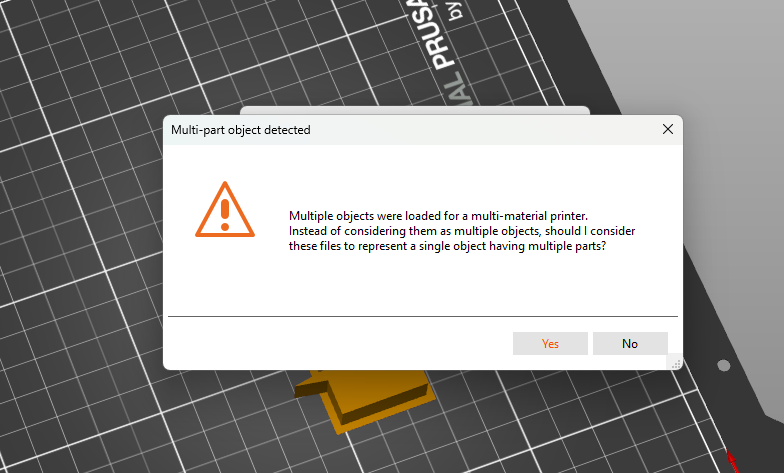
You will want to hit No and keep them separate objects. Once both objects are placed where you want you can change the color they will extrude as on the right panel. You can also change their color by right clicking on the object and clicking change extruder and select a color that way.
Printing
- Export G-code on the bottom right and save to a flash drive
- Once inserted into the printer and selected it will prompt you to make sure the g-code matches the MMU filament. If it does not you can click on the filament to change it.
- Print!
Separating Colors in Fusion
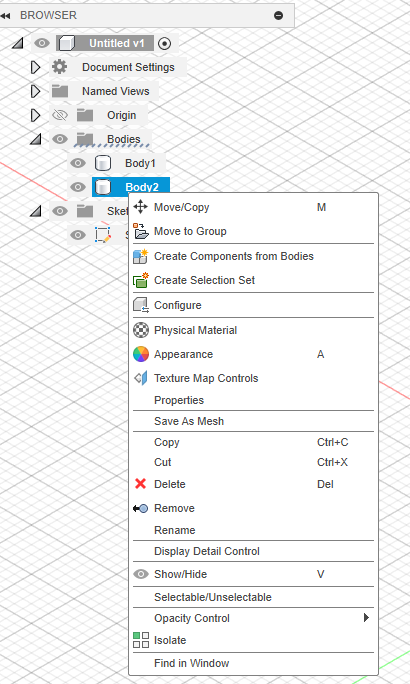
In Fusion to get things to print as different colors you need to make sure they are different bodies. Once they are separated you can either right click on each one and Save as Mesh and open each separately in the Prusa slicer or…
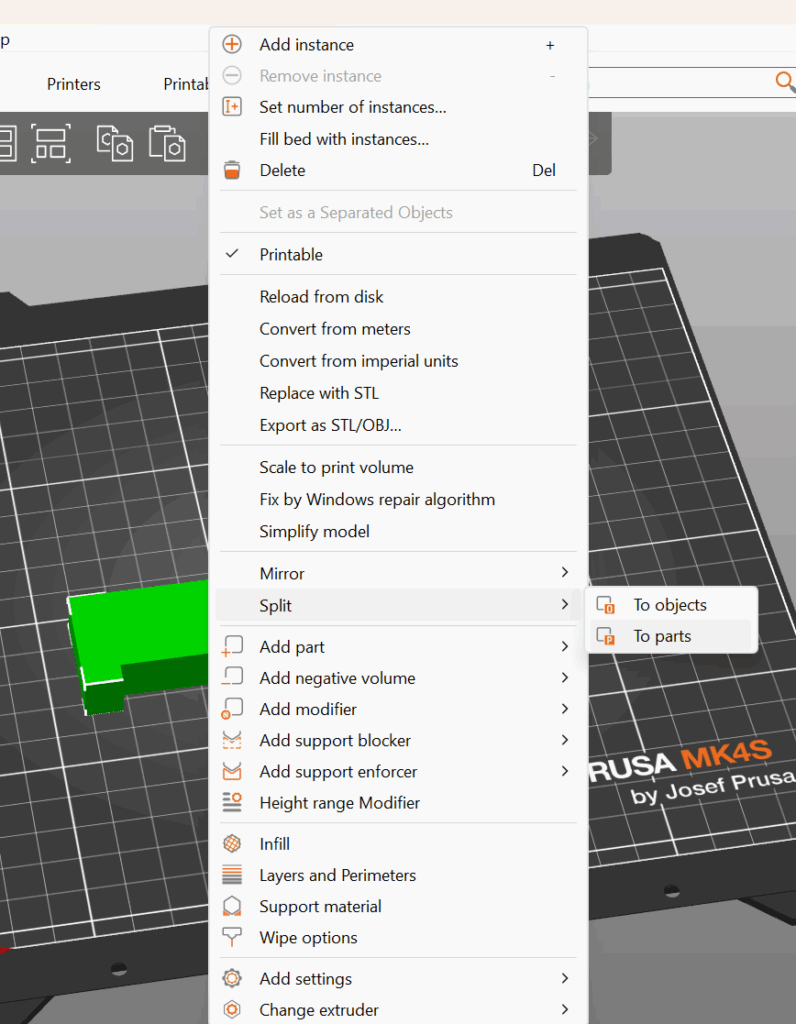
…Export the entire file and when you get to the slicer right click on the part and select Split>To Parts. This will highlight each of the bodies of your part a different color and you can change the extruder colors on the right panel.
Making Text a Seperate Color
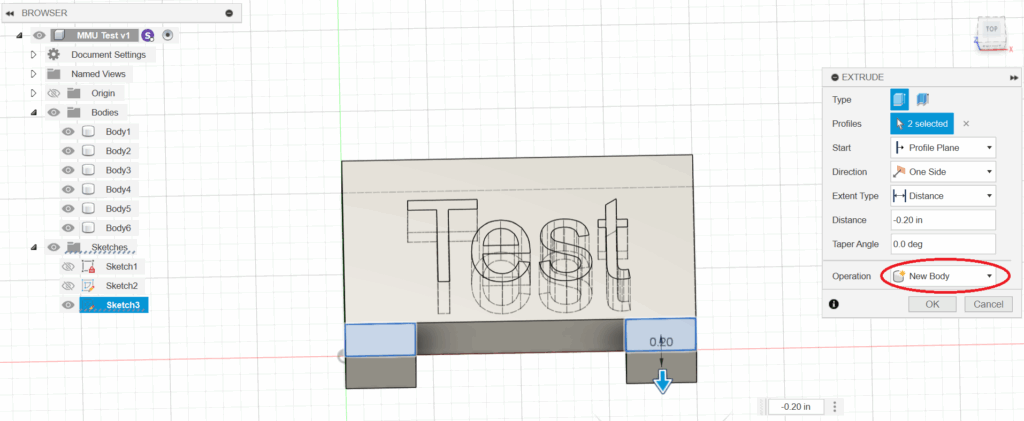
- Extrude text into your part as far as you want the other color to go.
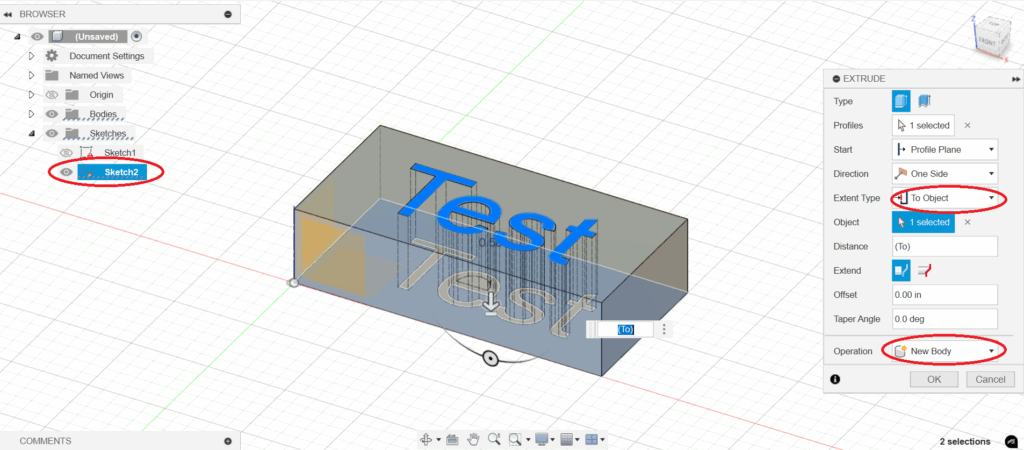
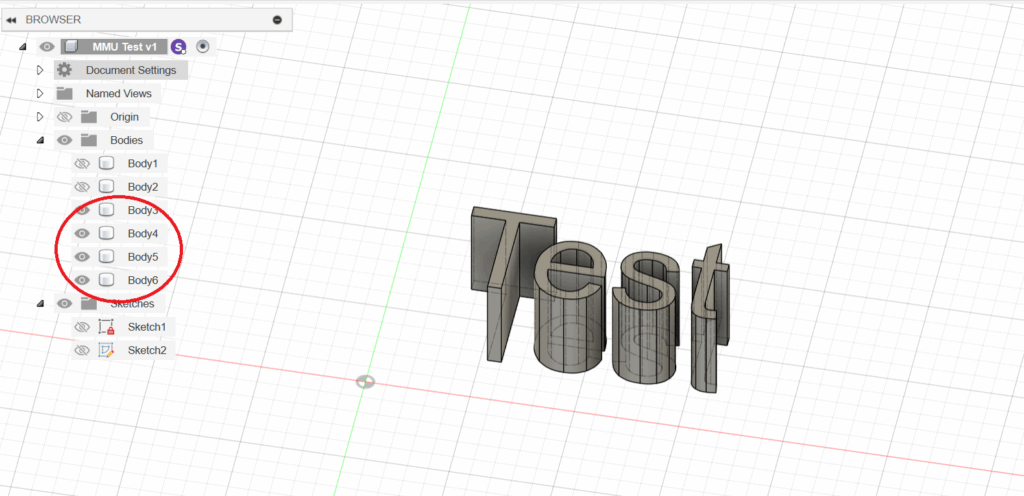
- Make sure the text sketch is visible and extrude it again, this time as a New Body. For Extent Type click To Object if you want your text to go all the way through your part. Make sure your text and base are separate bodies. Words will typically separate into many bodies.
- Like with the text any time you add a part to your object that you want to be a different color make sure it is New Body
- Once your design is all set export as .stl and open in prusa slicer. Once you have placed your part right click on it and Split -> To Parts.
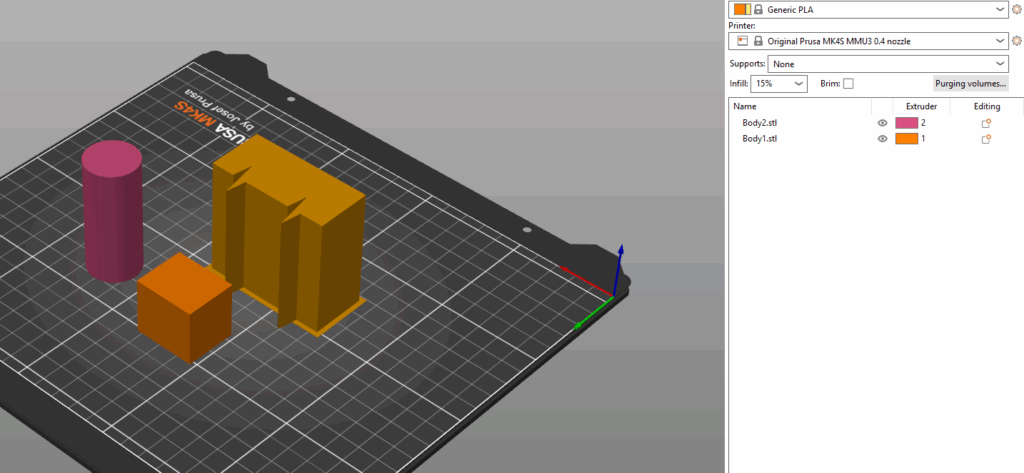
- It should look like this:
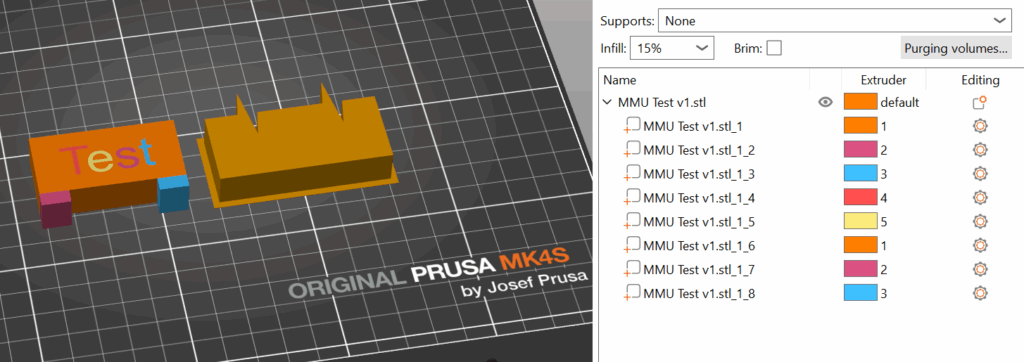
- Then you can click on the colors under the extruder to set what color you want each part to be. You can see the number each color is at the top of the printer in the MMU.
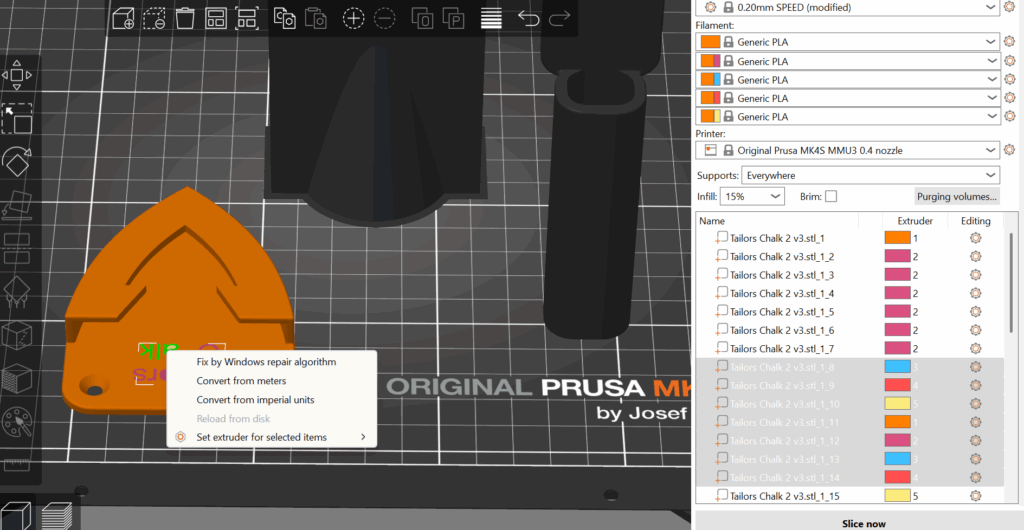
- Select multiple by shift clicking all the parts you want, right click on the part and set extruder for selected items.