What Is a Clean Bench?
A clean bench (also known as a laminar flow hood) helps maintain sterile conditions by directing HEPA-filtered air over the workspace to protect samples from biological contamination but does not protect the user from exposure to hazardous materials. Therefore, clean benches are suitable only for non-hazardous chemicals and BSL1 biologicals.
What Clean Benches are Available in the Wet Lab Makerspace?
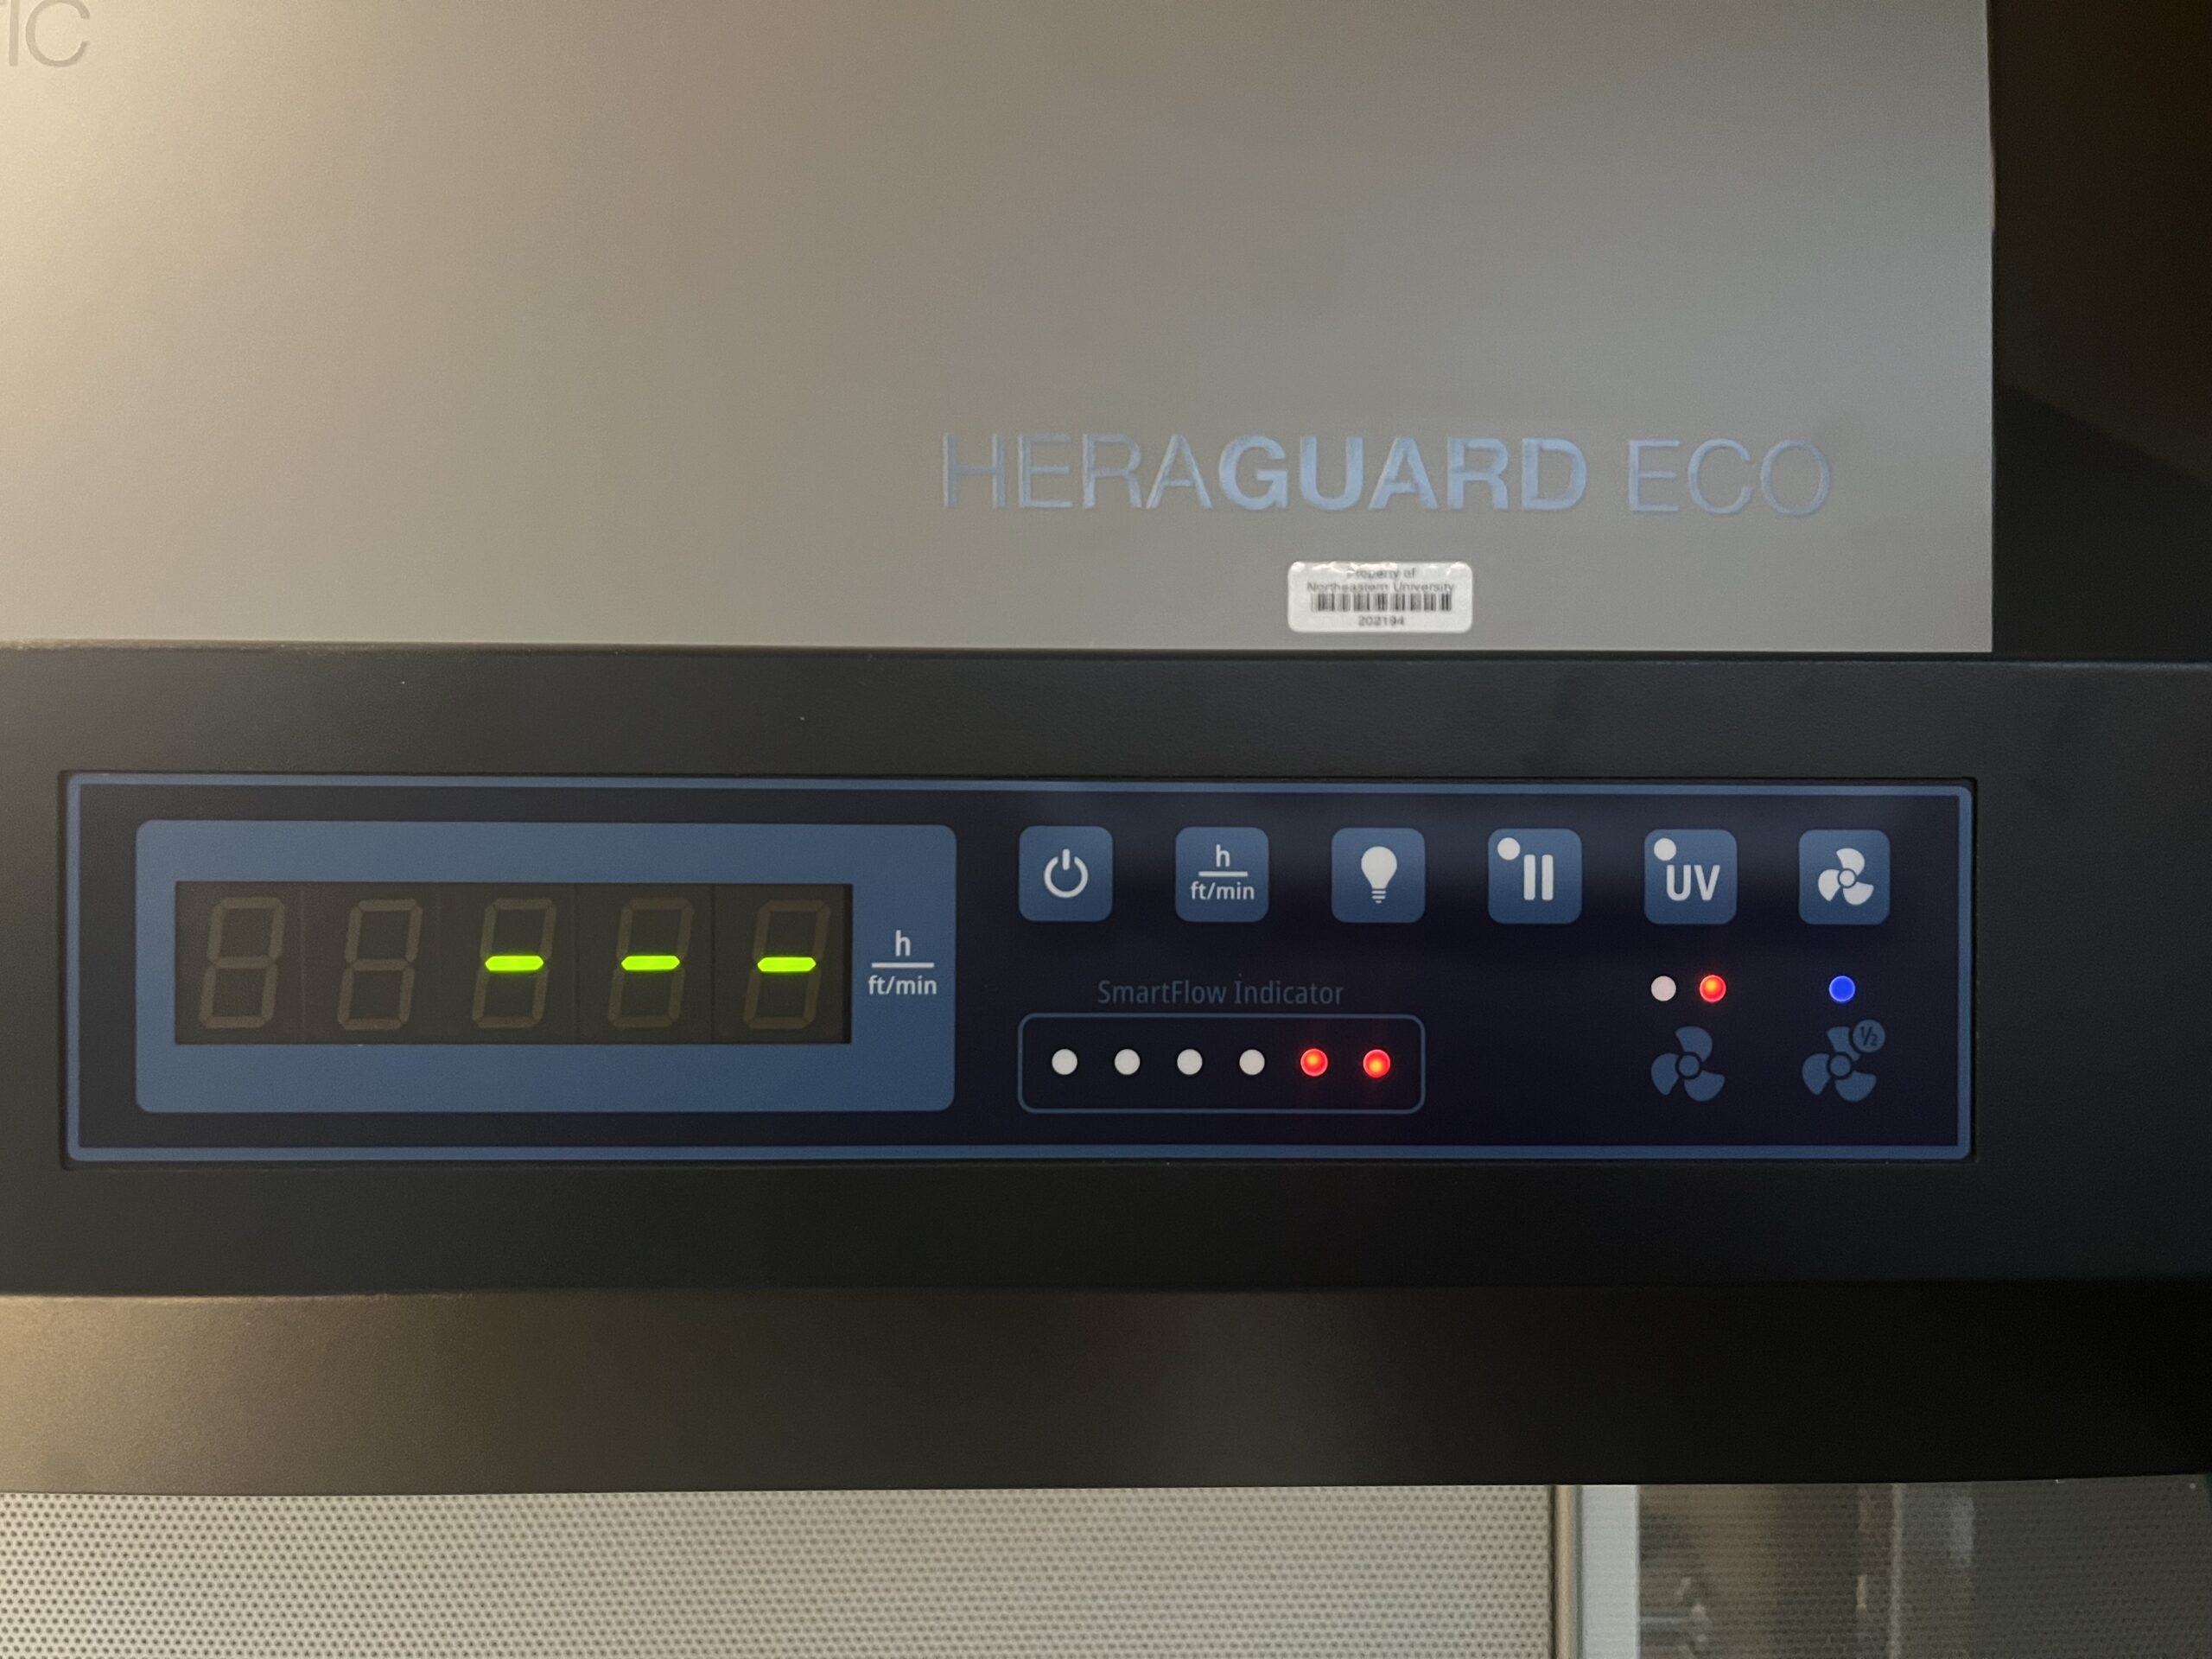
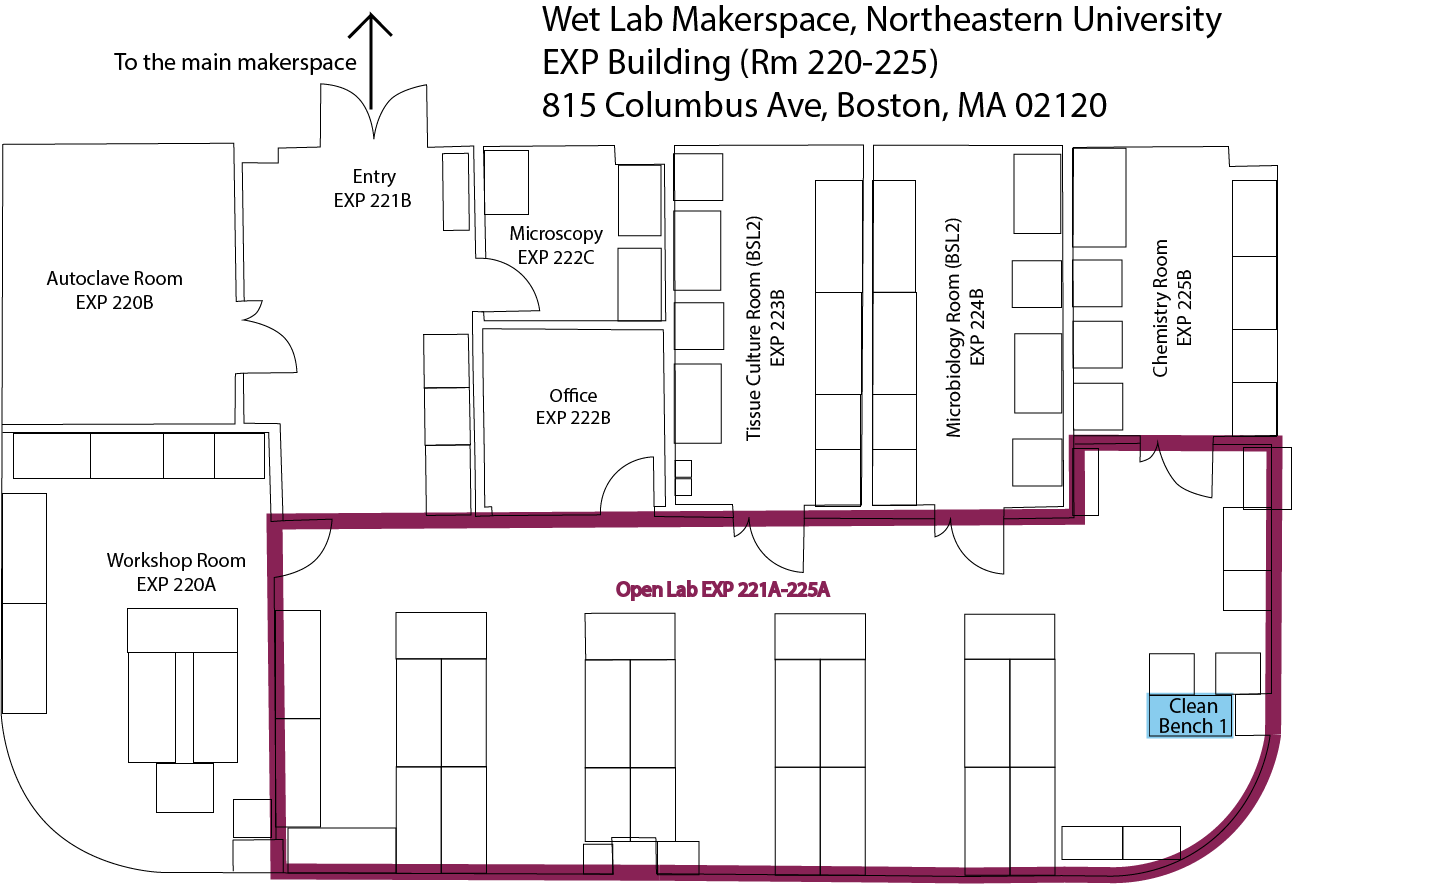
In the Wet Lab Makerspace, three clean benches are available in the Open Lab, one of which is a Heraguard Eco Clean Bench. This user guide pertains only the Heraguard Eco. The other two clean benches are Air Clean PCR Workstations.
Safety Considerations
Parts of the Clean Bench

- HEPA filter: Ensures that the air flowing into the workspace is free of particulates and contaminants, providing a sterile environment.
- Blower/fan unit: Draws air into the clean bench and pushes it through the HEPA filter to create laminar airflow.
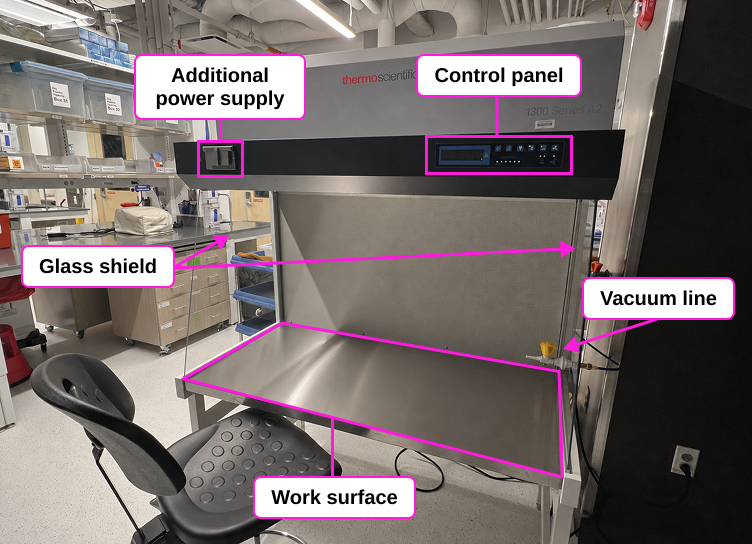
- Work surface: The sterile area where experiments or sample preparations are conducted, usually made of stainless steel or other easy-to-clean materials.
- Glass shield: Provides a physical barrier to protect the samples from external contaminants, while allowing visibility and access to the workspace.
- Control panel: Contains switches, airflow controls, and indicators to monitor the operation of the clean bench.
- Power Button: Turns the clean bench on or off, initiating or stopping airflow and other operations.
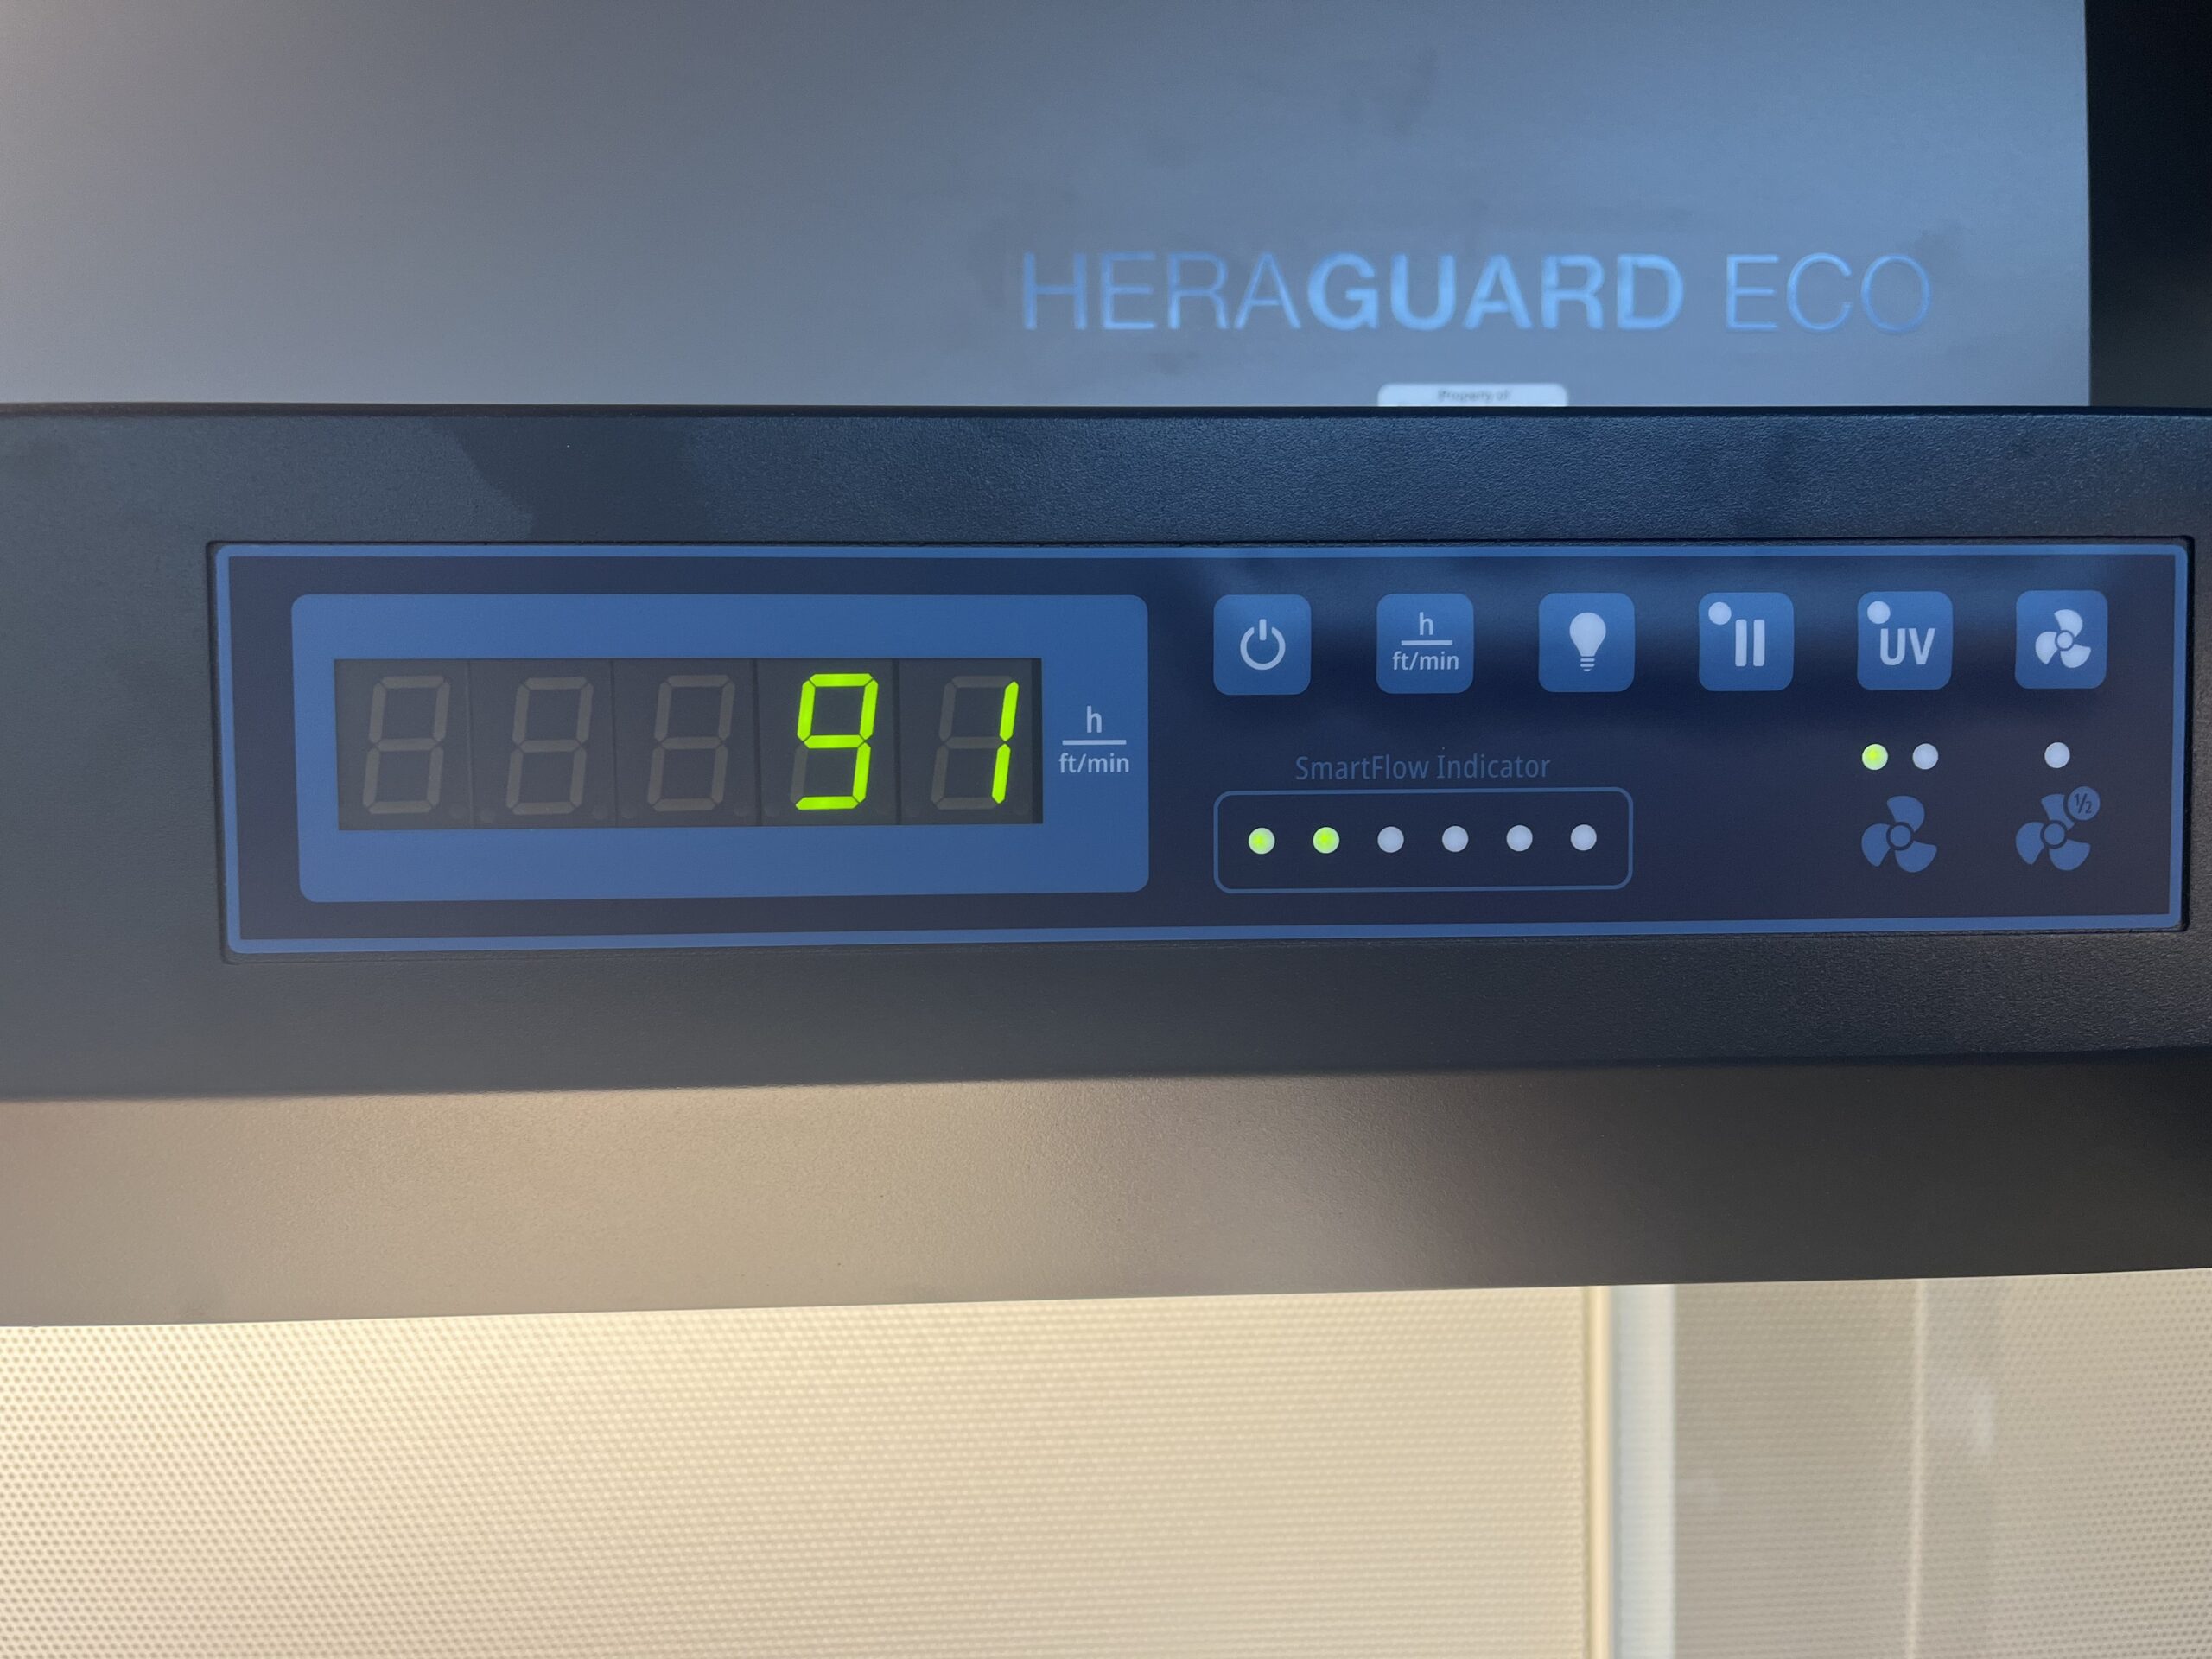
- Data Button (h | ft/min): Toggles the display between total operating hours and current airflow speed in ft/min.
- Lighting Button: Controls the workspace lighting for better visibility.
- Pause Button: Temporarily stops airflow without completely shutting off the device.
- UV Button: This bench does not have a UV light, so this button does nothing.
- Fan Speed Button: Adjusts the airflow speed, allowing customization of the laminar flow strength.
- SmartFlow Indicator: Monitors airflow and system status.
- Two green lights (left) = fully operational
- Two yellow lights (center) = filters almost exhausted
- Two red lights (right) = filters need replacement
- Airflow Status Indicator: Displays the rate of airflow.
- Green light (right) = airflow is steady
- Red light (middle) = airflow is not steady
- Blue light (right) = operating at reduced capacity.
- Vacuum line: Provides access to vacuum suction for applications like filtration or aspiration during experiments.
- Additional power supply/outlets: Built-in power sockets allow the connection of additional laboratory equipment.
Tips for Success
- Clean and disinfect all surfaces, tools, and your hands before starting. Always handle the cleanest items first and move toward less clean areas to avoid spreading contamination.
- Know how the clean bench works and check airflow indicators before use.
- Alert an Explorer or supervisor if the indicator lights display a not-operational status for longer than 5 minutes.
- Minimize unnecessary airflows and currents while working. Avoid speaking and fast body movements.
Operating Instructions
1. Turn On the Clean Bench
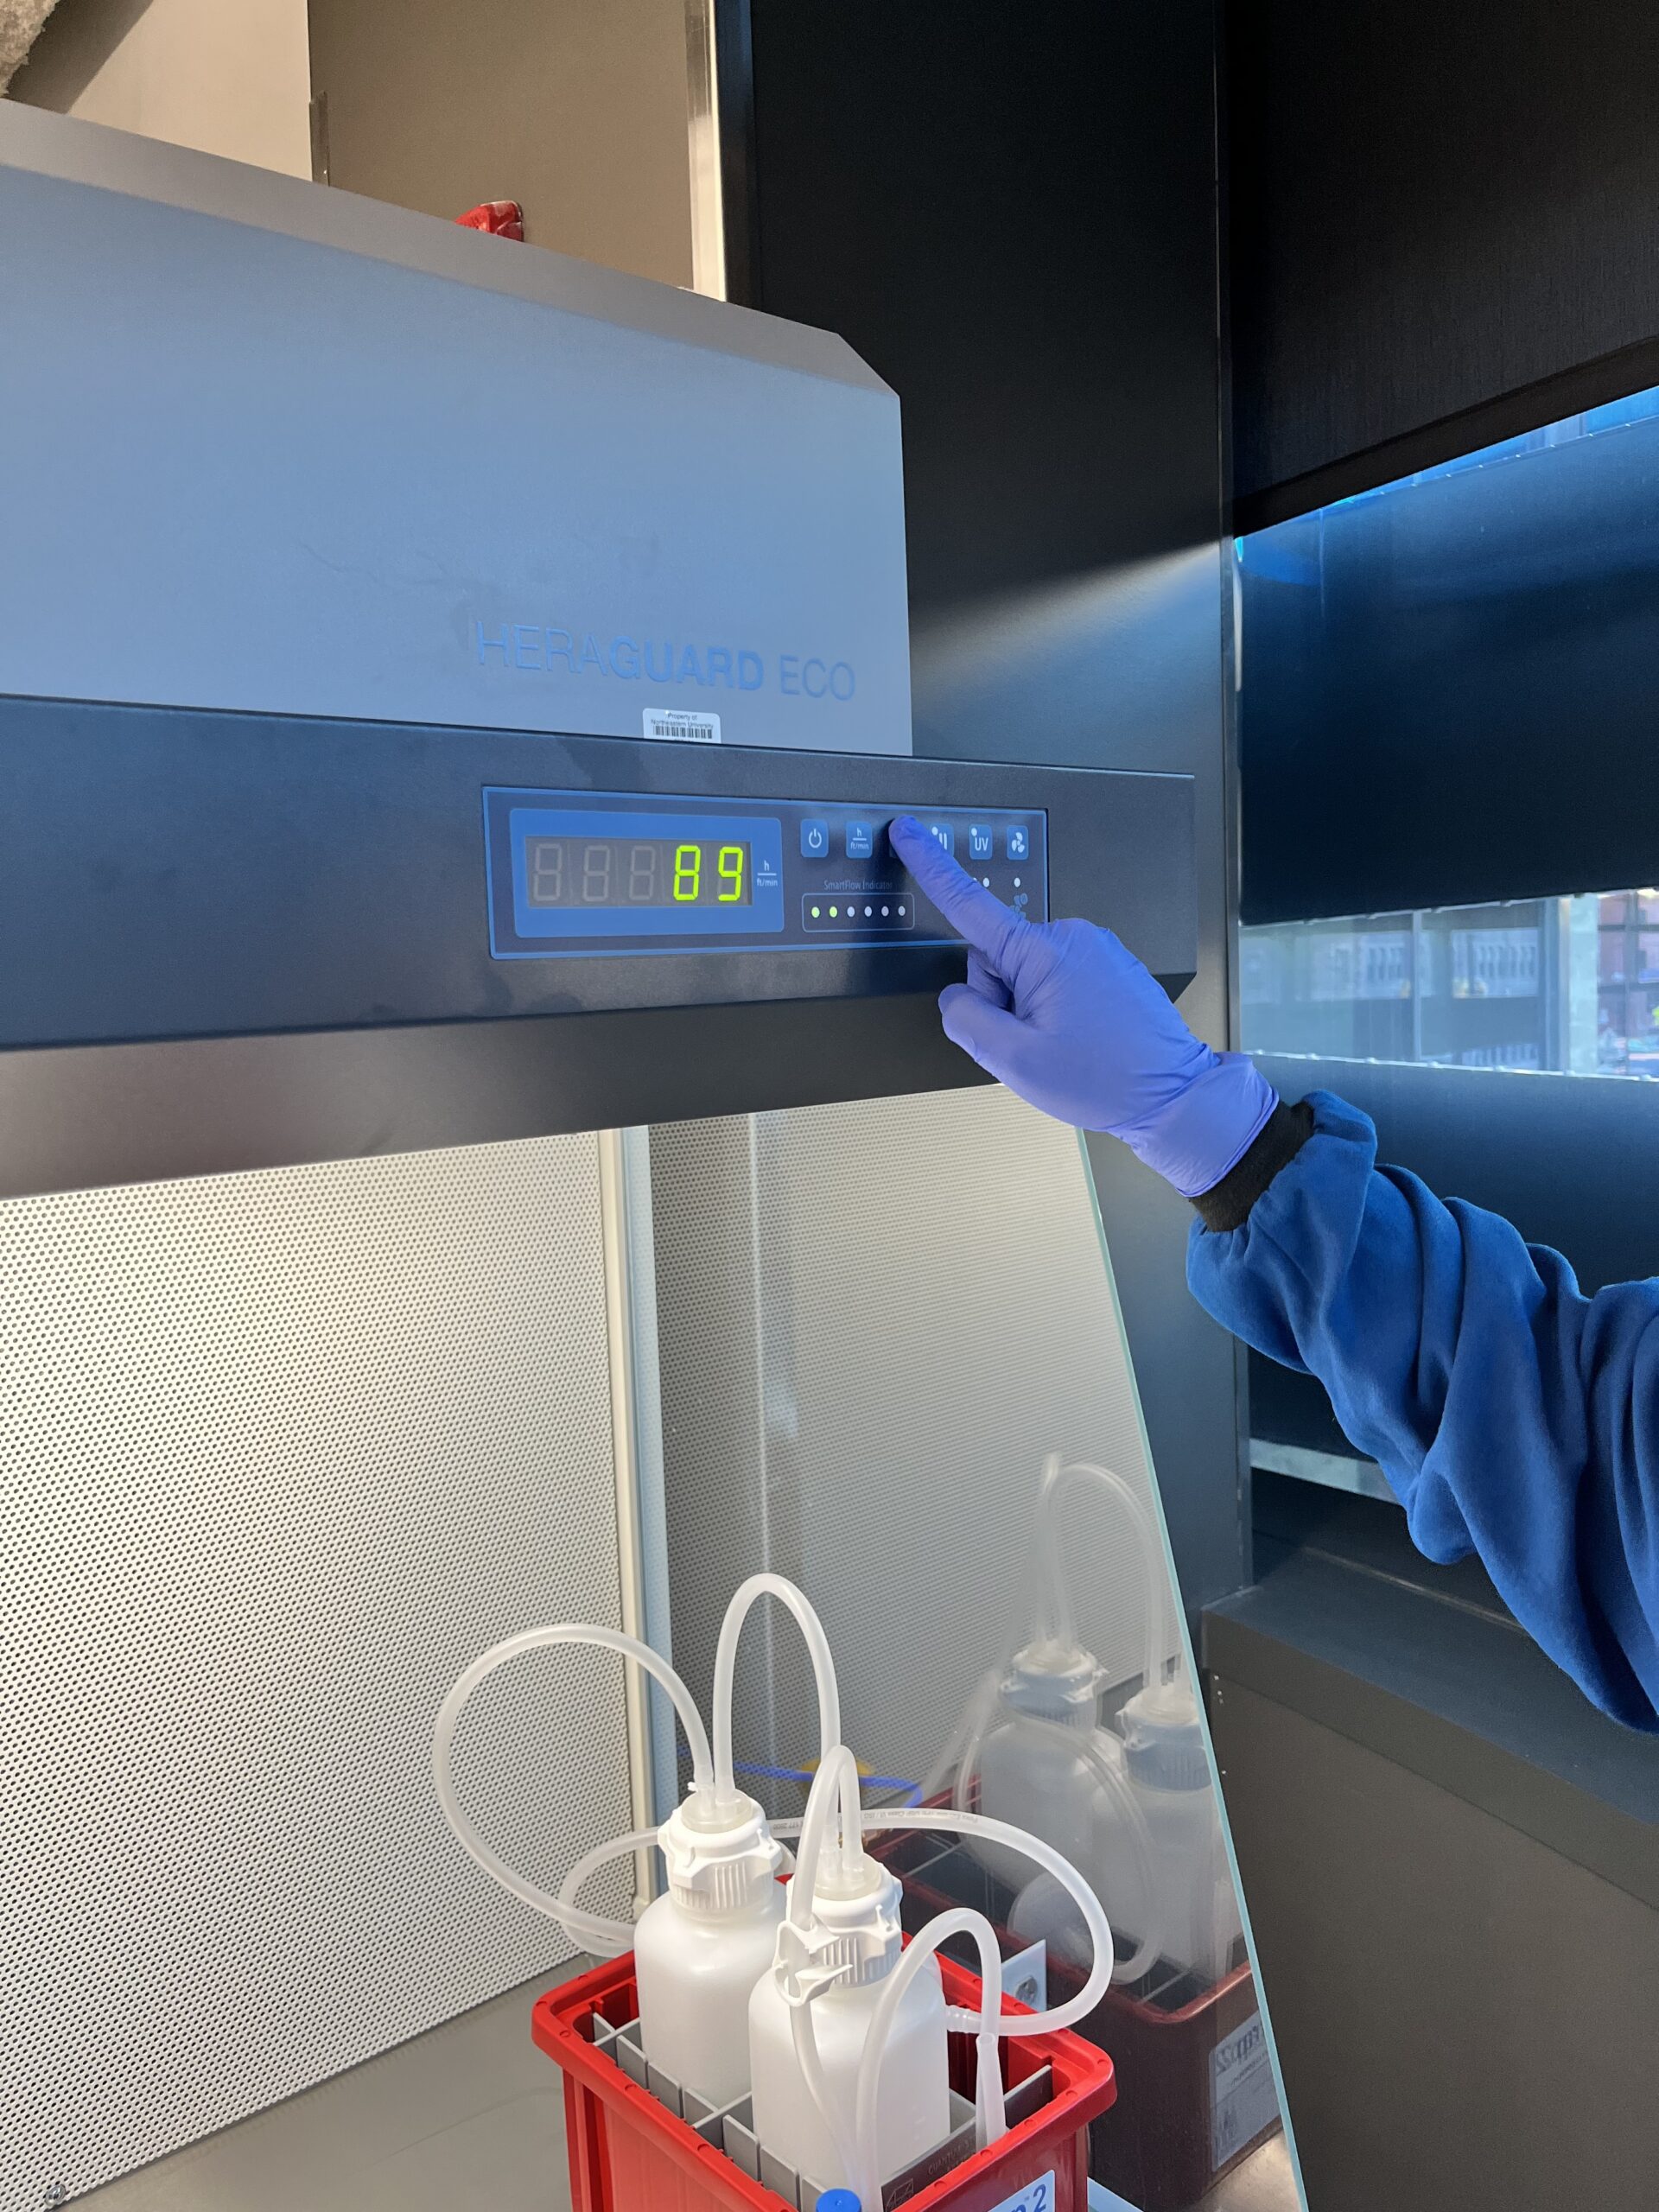
Typically, the clean bench will be left on and in Standby mode (display on, fan quiet) — tap the Fan Speed button to bring it to Ready mode (display on, fan running). If the clean bench is fully off (display blank, no sound), press and hold the Power button for 5 seconds to turn it on.
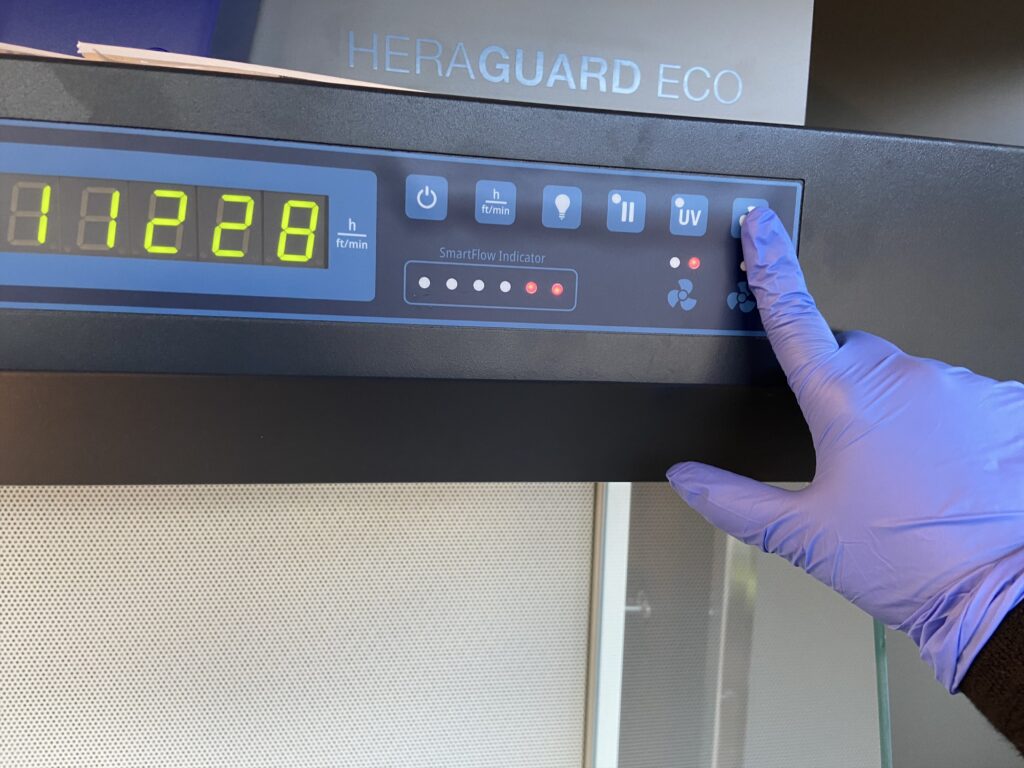
Tap the Light button to turn on the workspace light.
2. Wait Until the Bench Is Operating at Full Capacity
The airflow will take a couple of minutes to reach full capacity. Wait until the “Air flow is steady” green LED is illuminated above the fan logo and the two green LEDs in the SmartFlow Indicator are illuminated.
3. Clean the Workspace
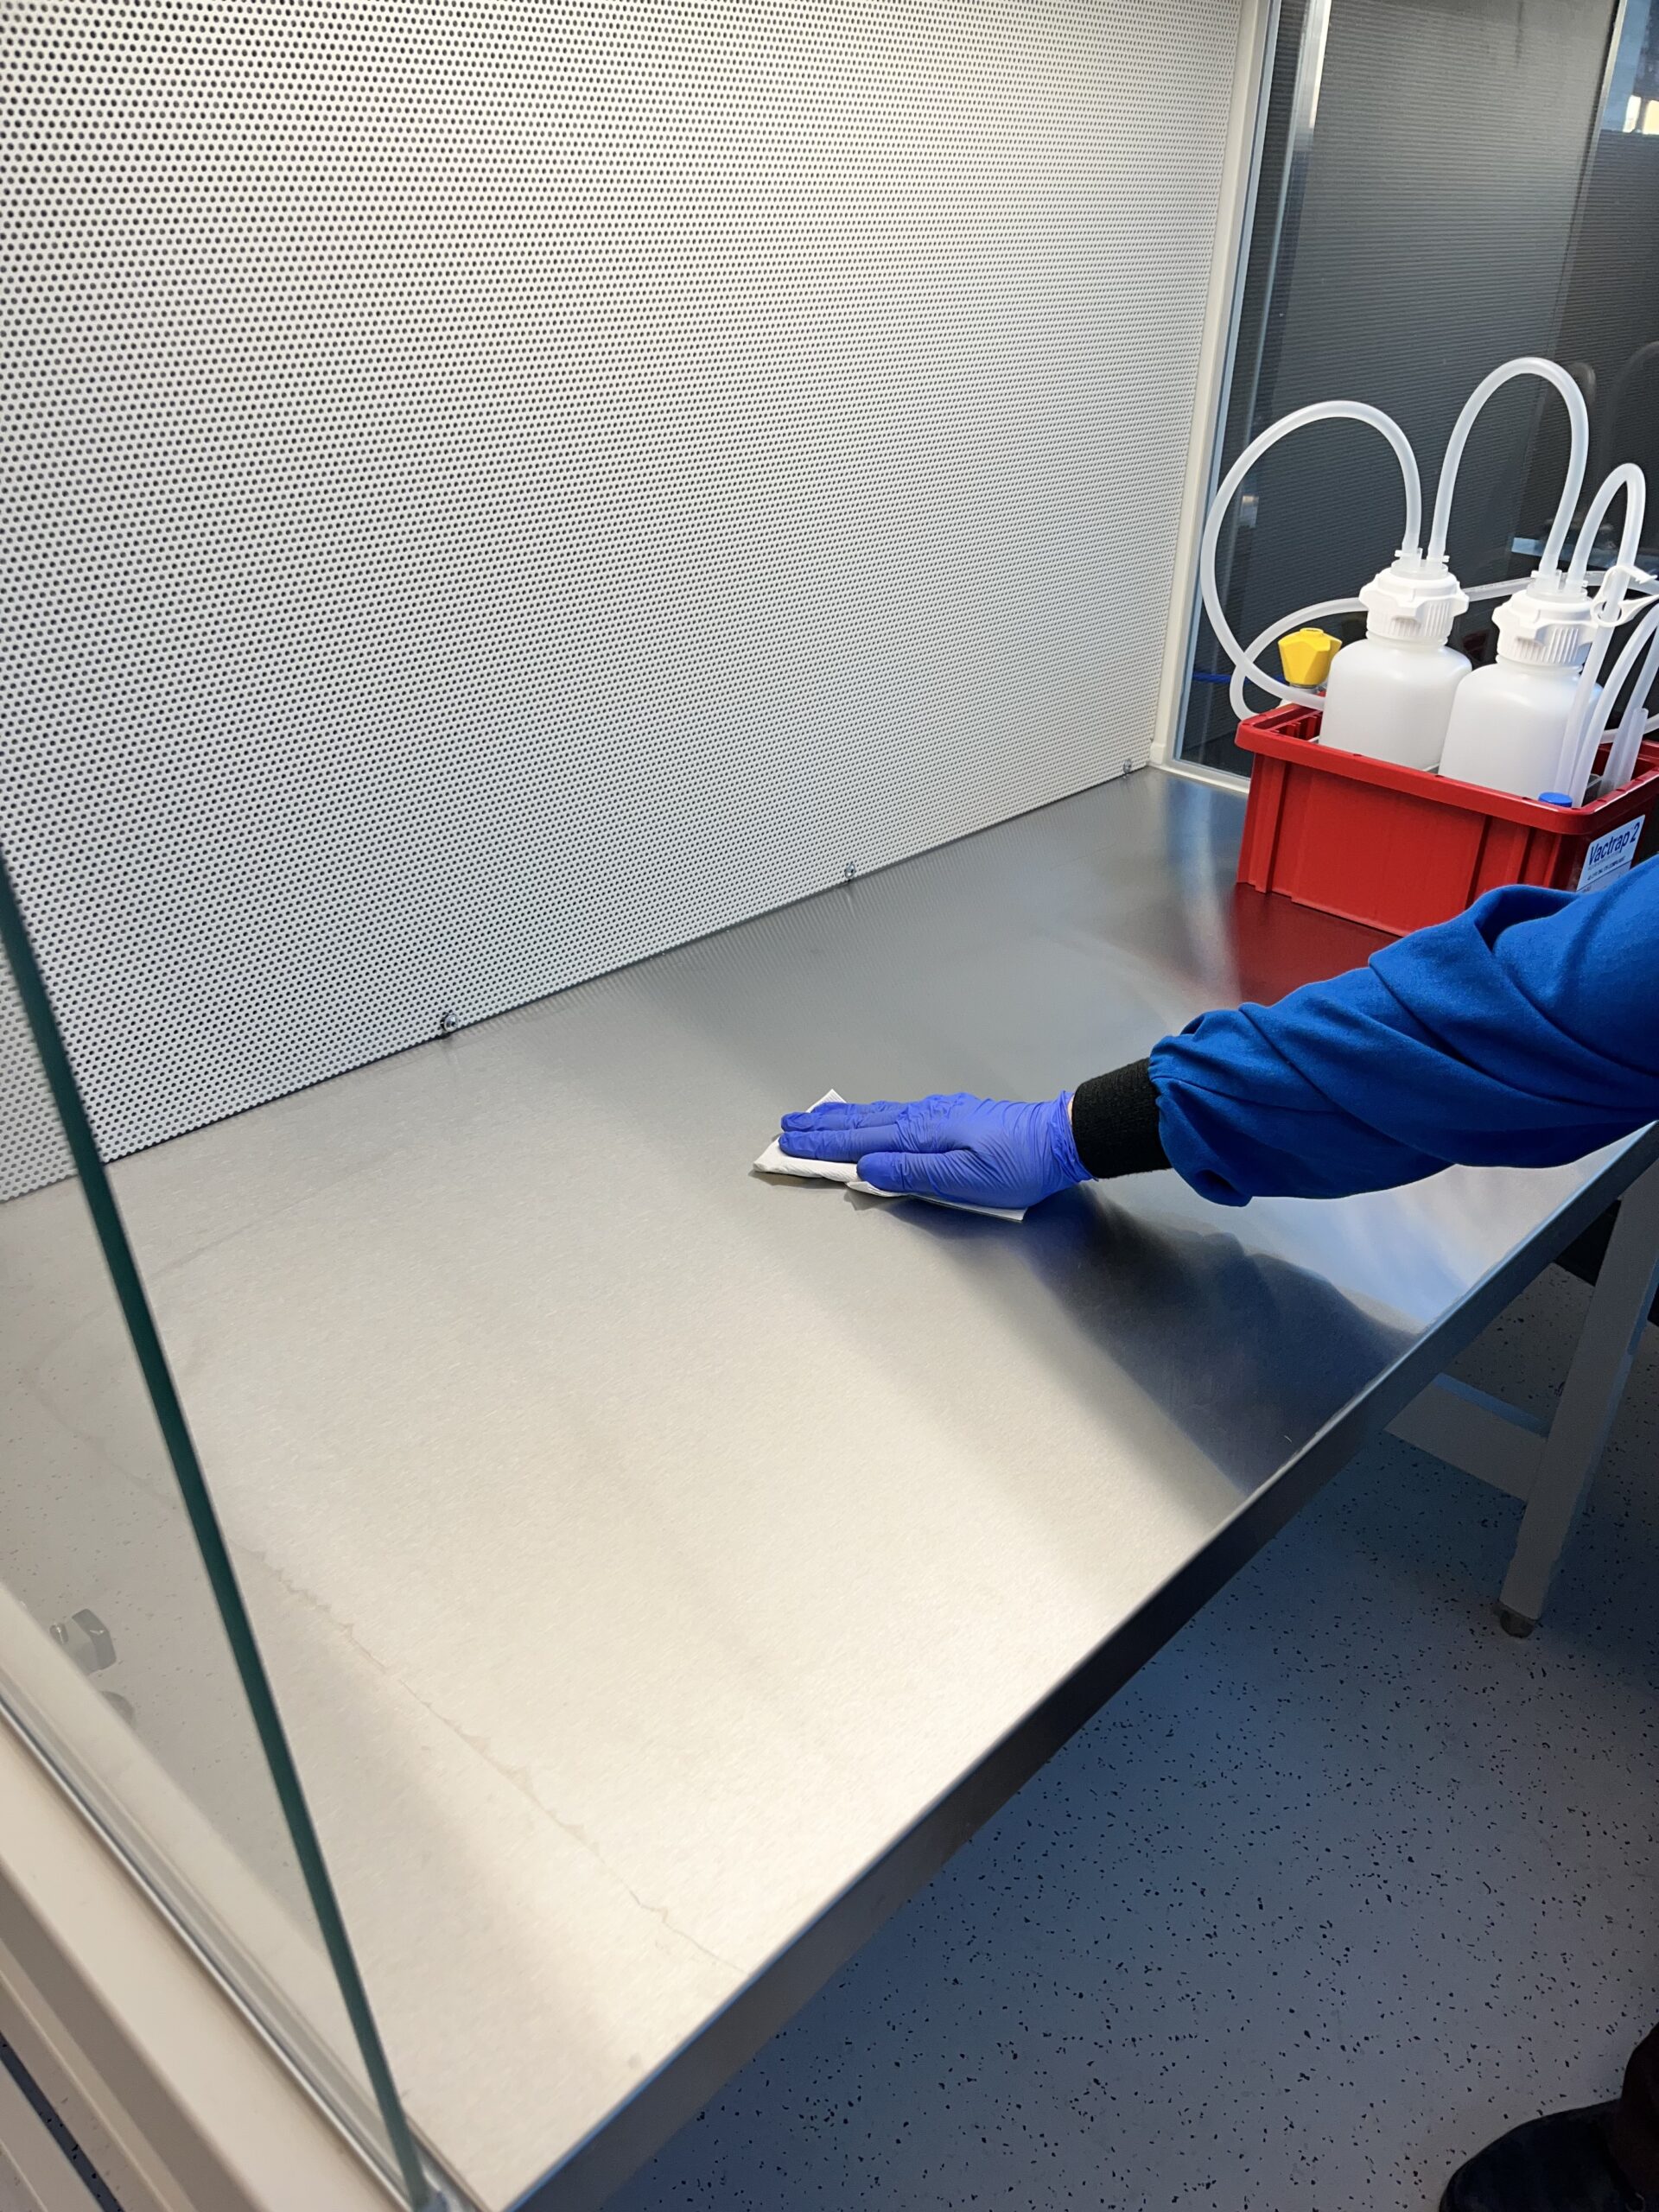
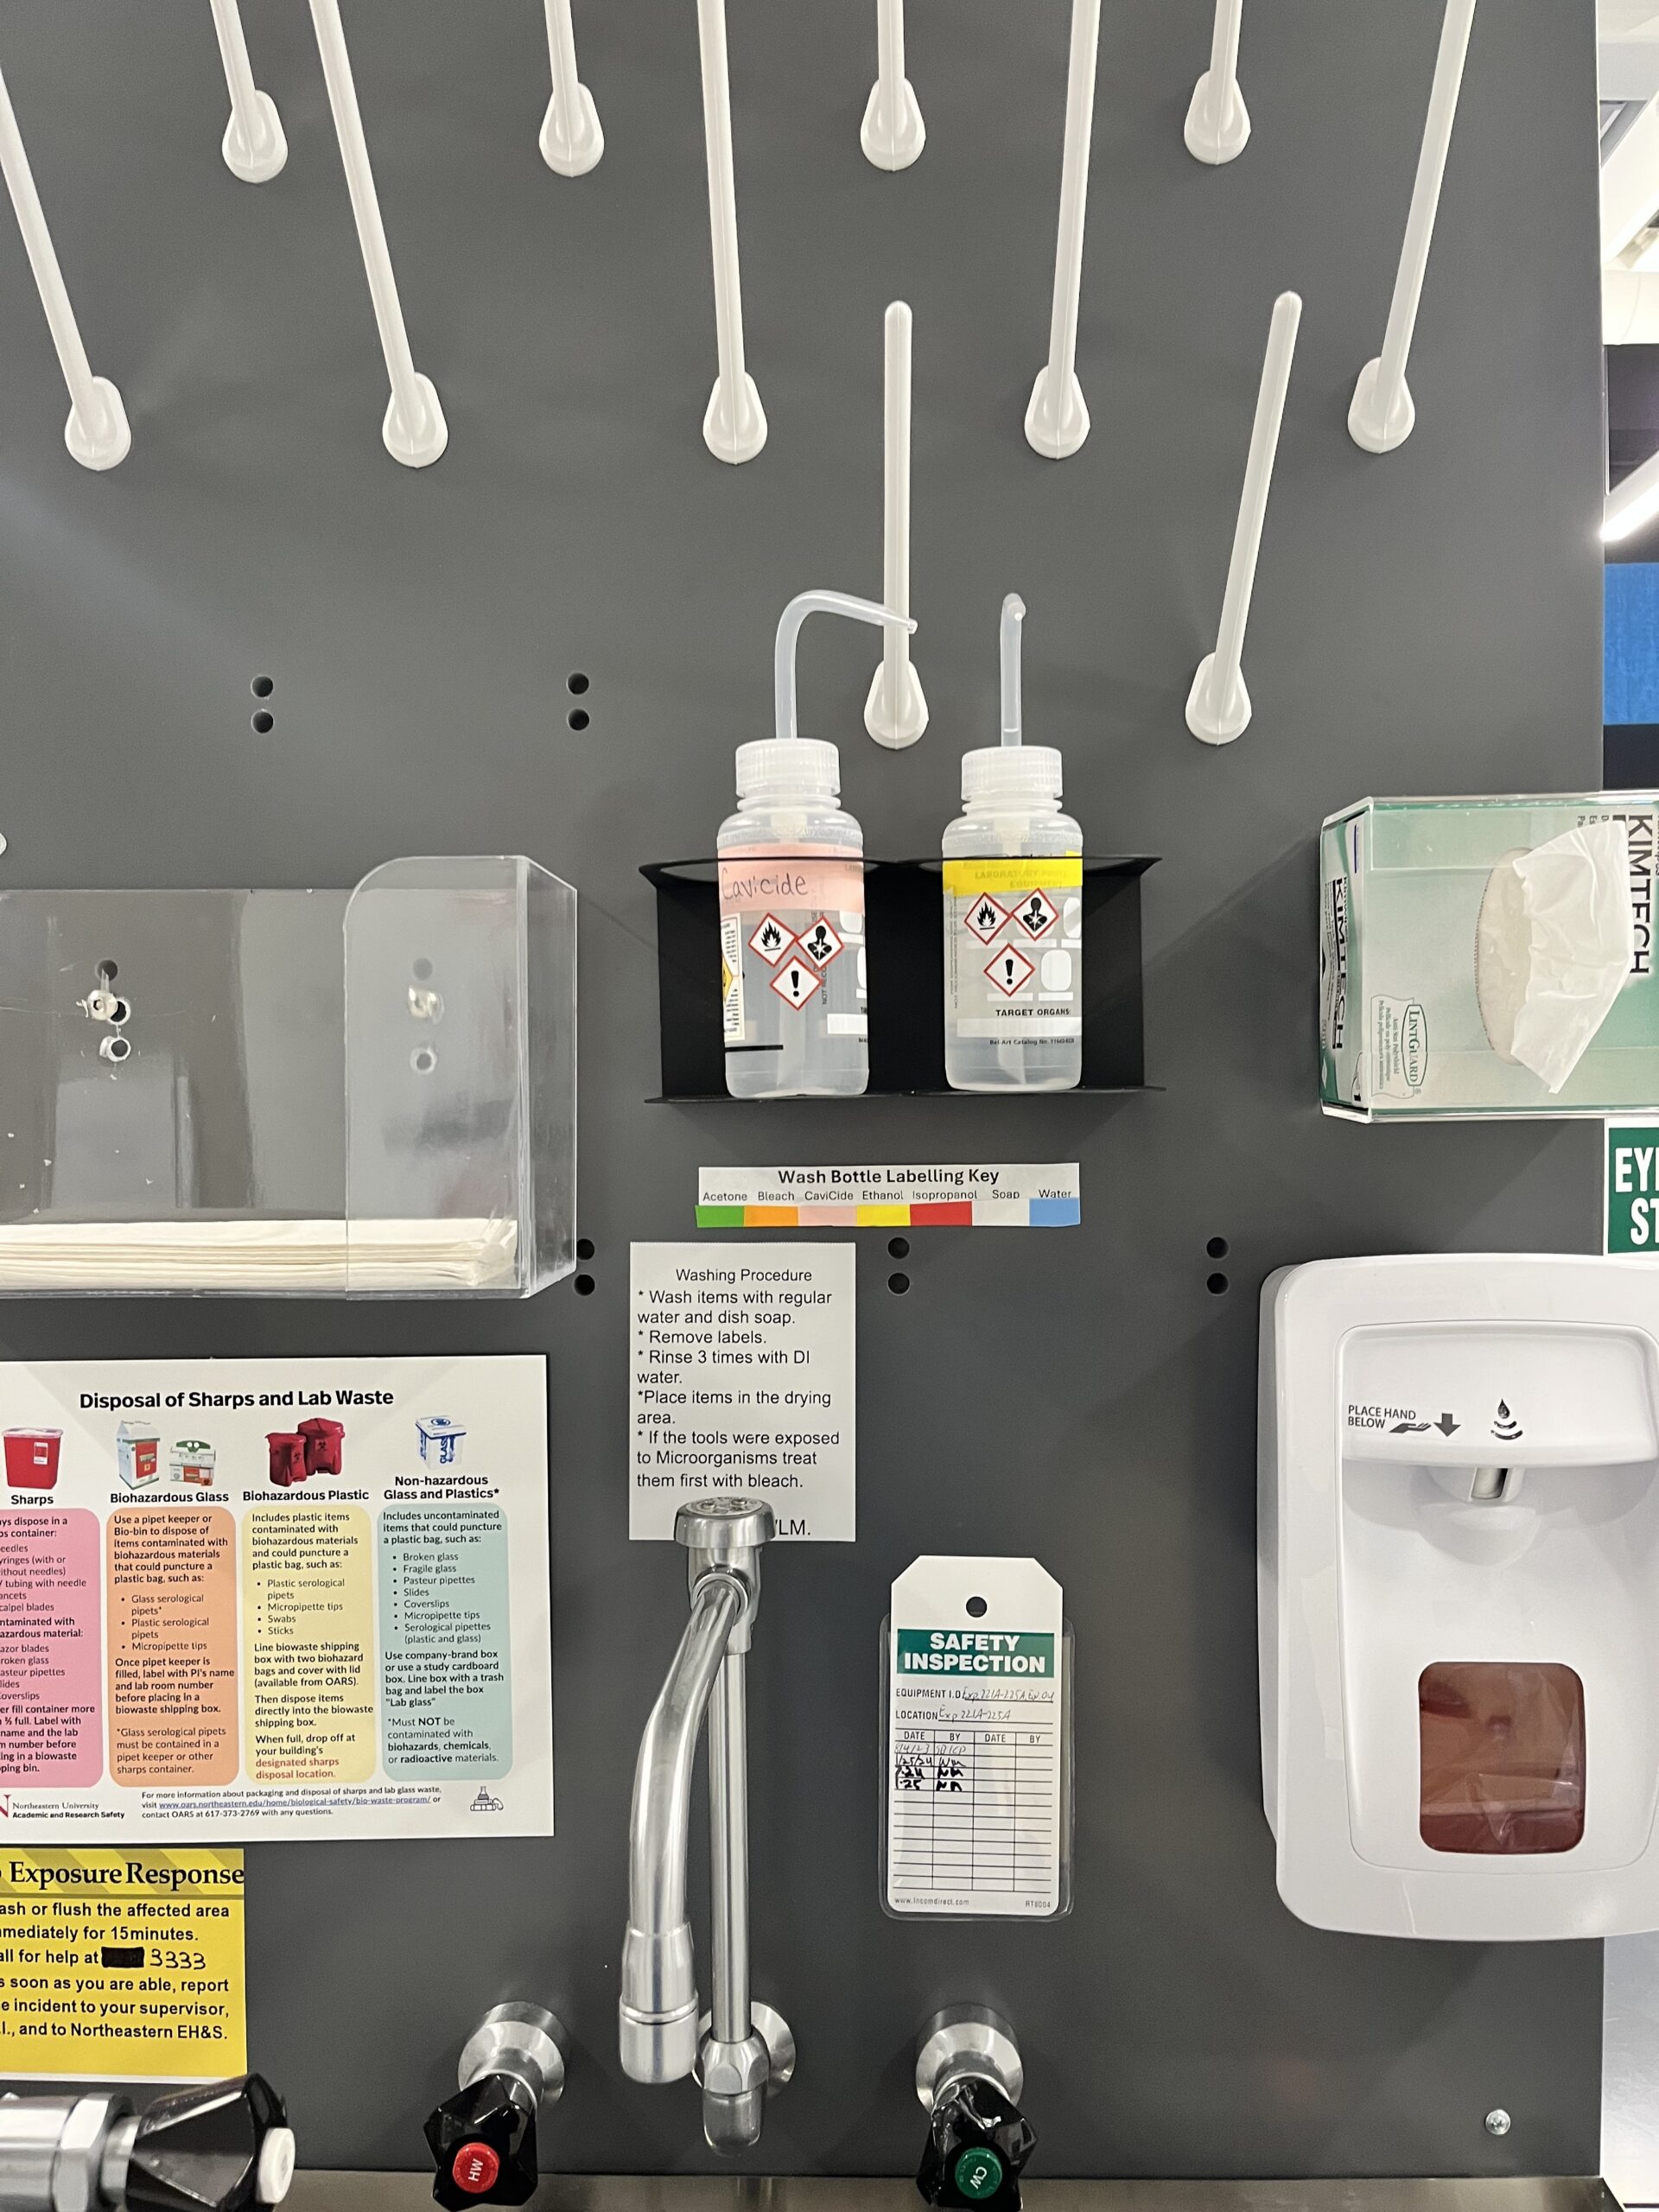
Wipe down the work surface and side walls with 70% ethanol or Cavicide. Wash bottles of these reagents can be found near any sink.
4. Purge
Allow the fan to run for 5 minutes before using the bench.
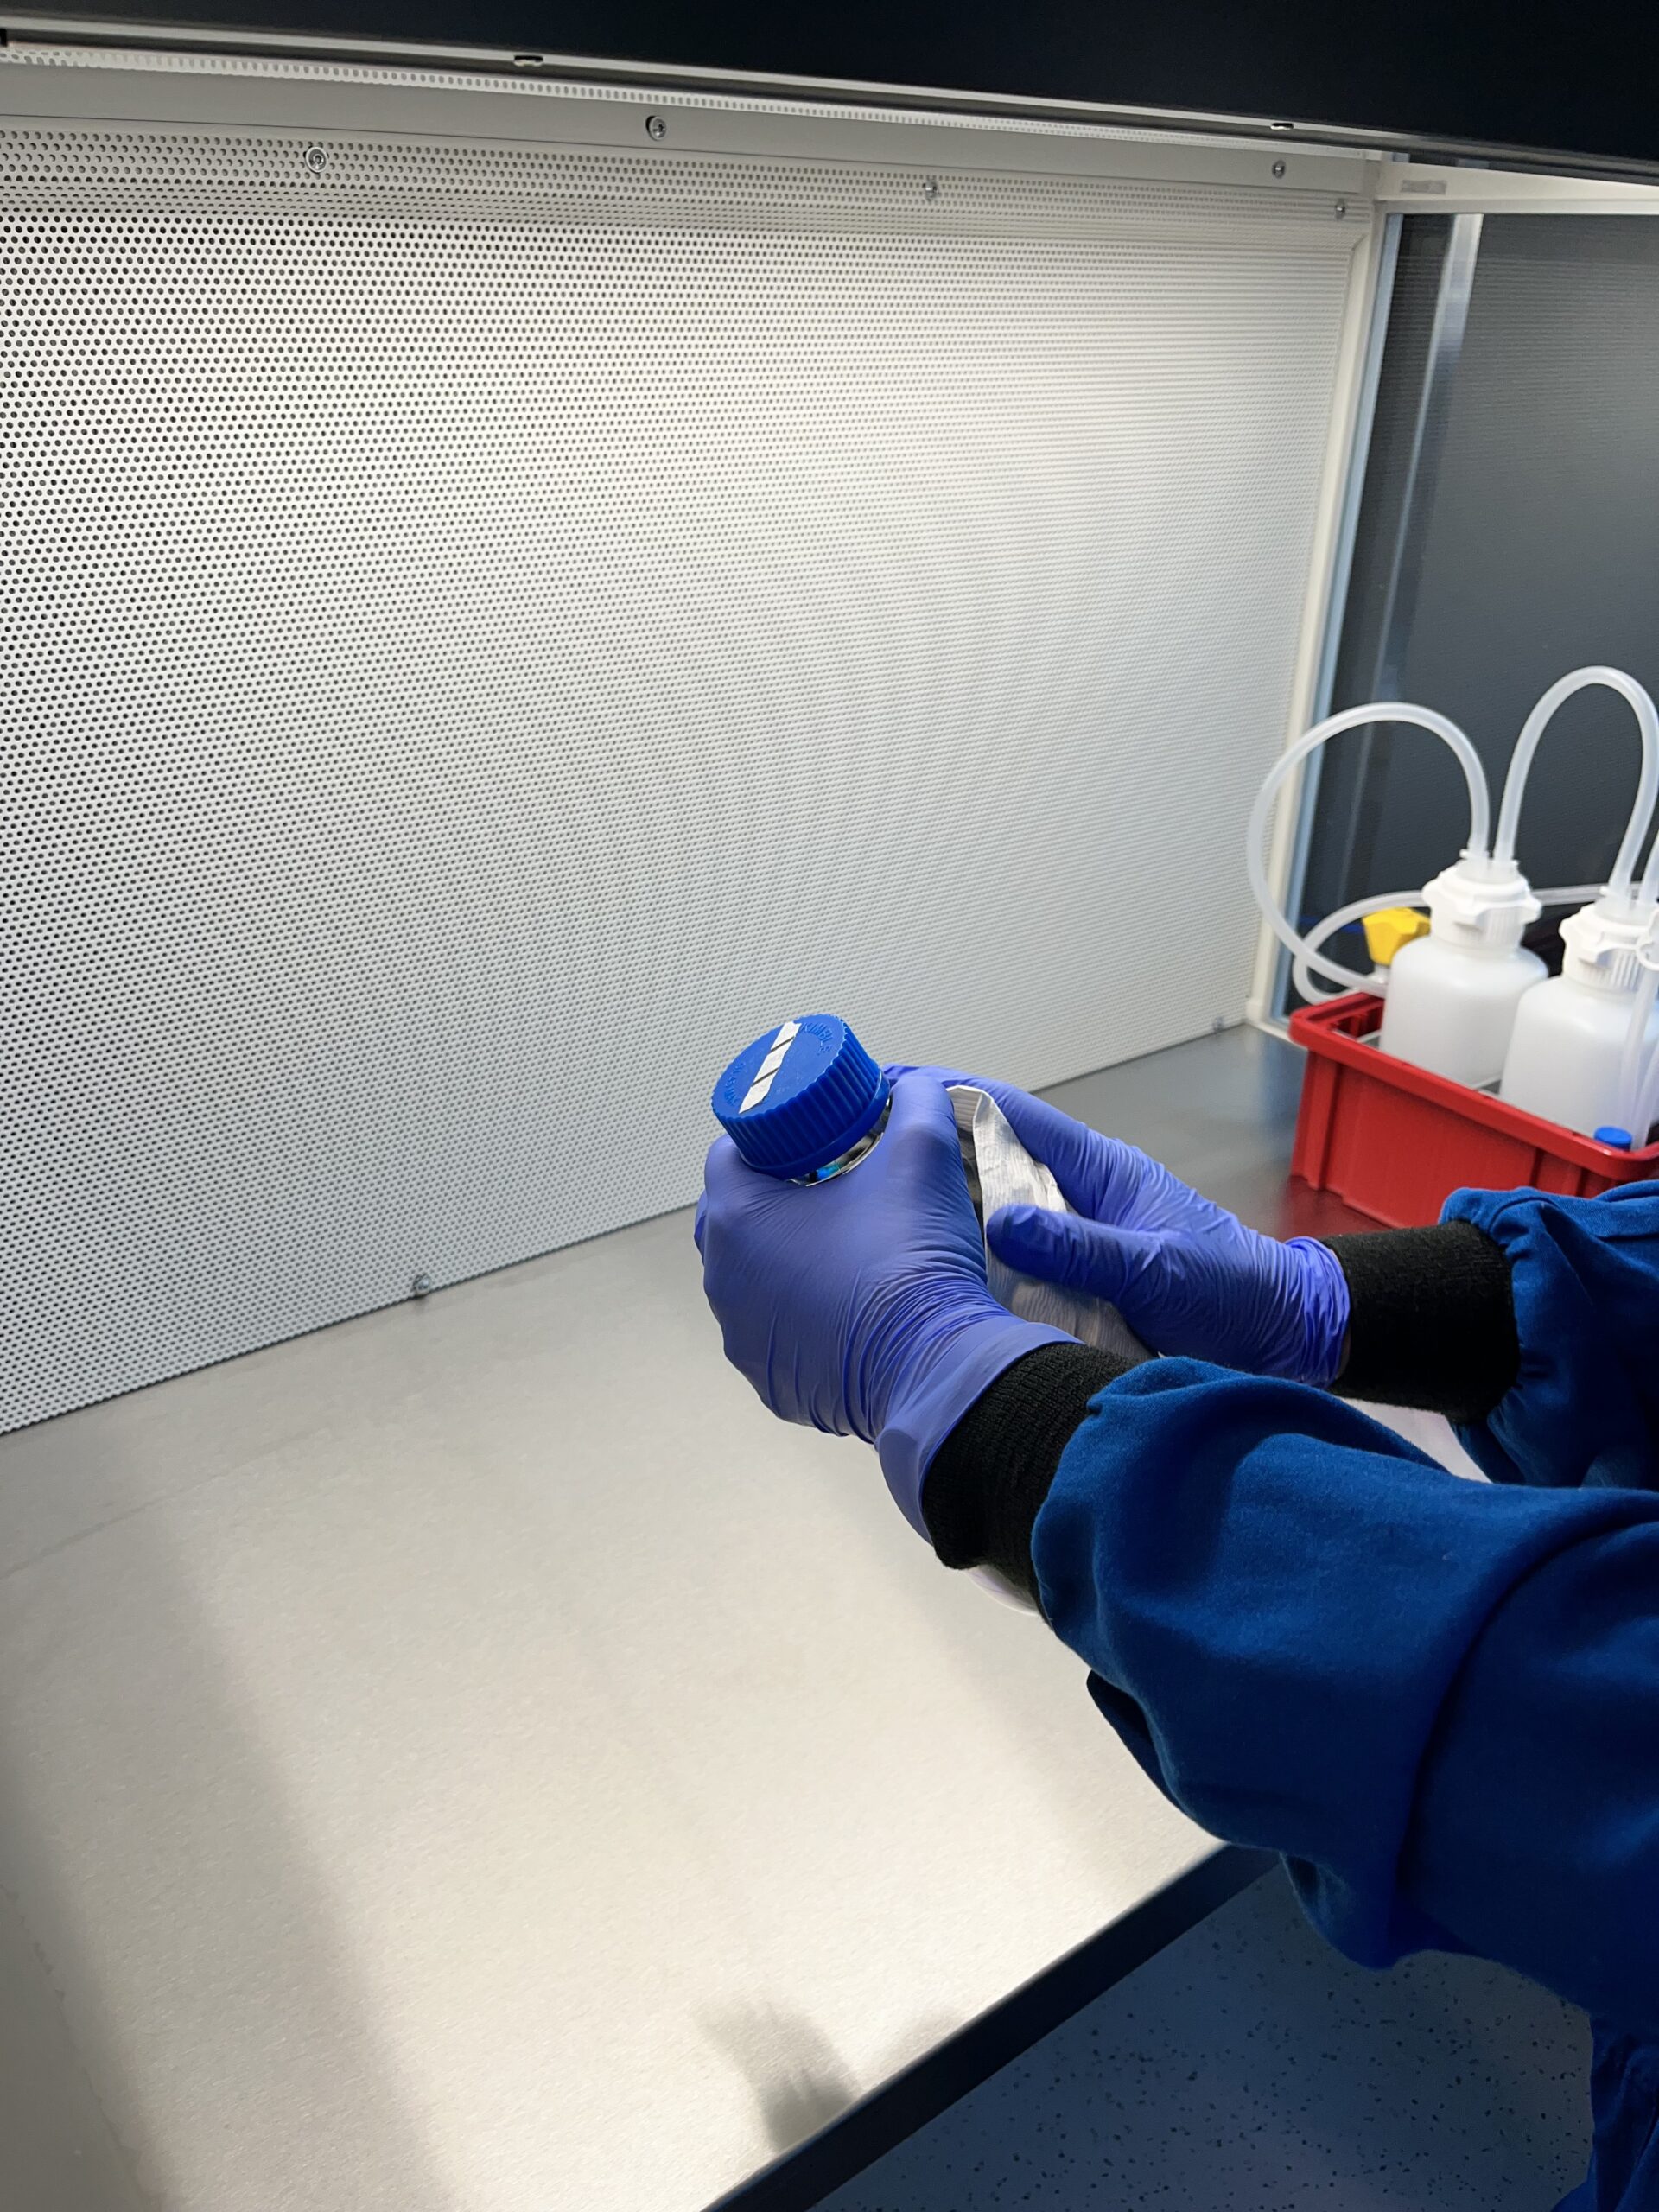
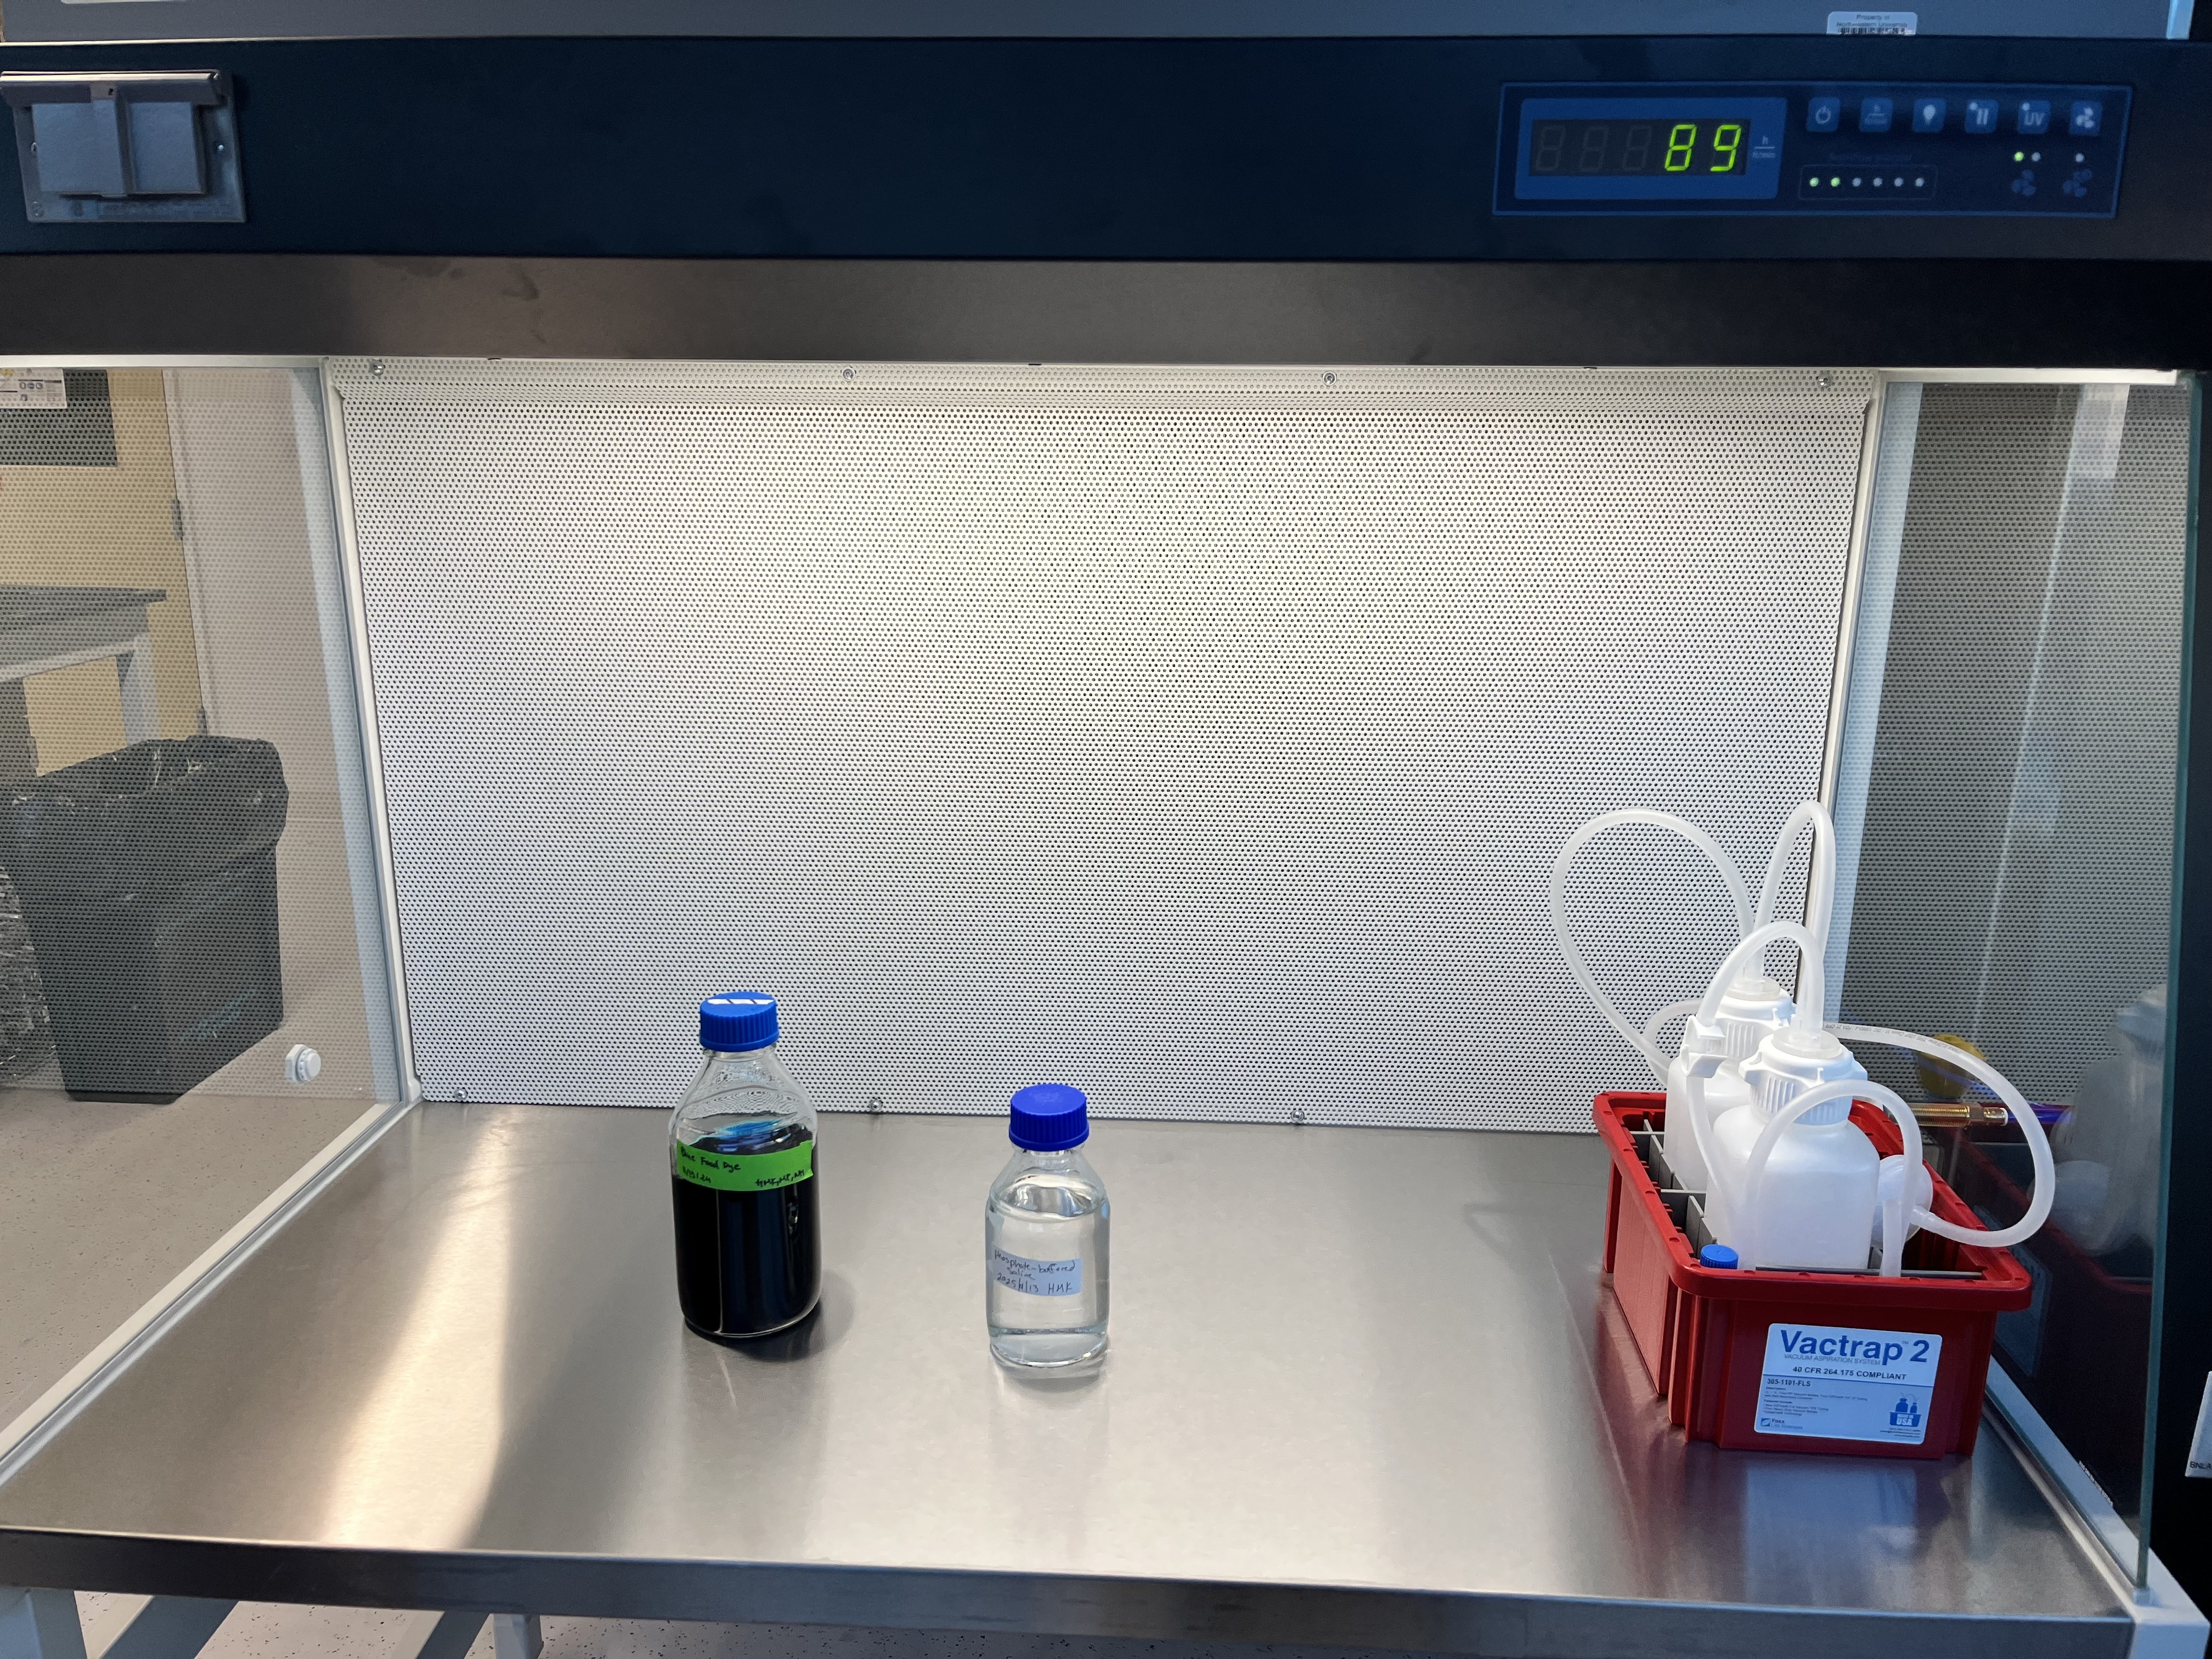
5. Load Your Materials
- Gather and organize all necessary tools, reagents, and samples outside the bench before starting.
- Wipe down each item with ethanol or Cavicide before placing it in the clean bench.
- Leave space between items to allow airflow. Do not load any unnecessary items into the bench.
6. Purge
Wait another 3–5 minutes after loading the bench before beginning your work.
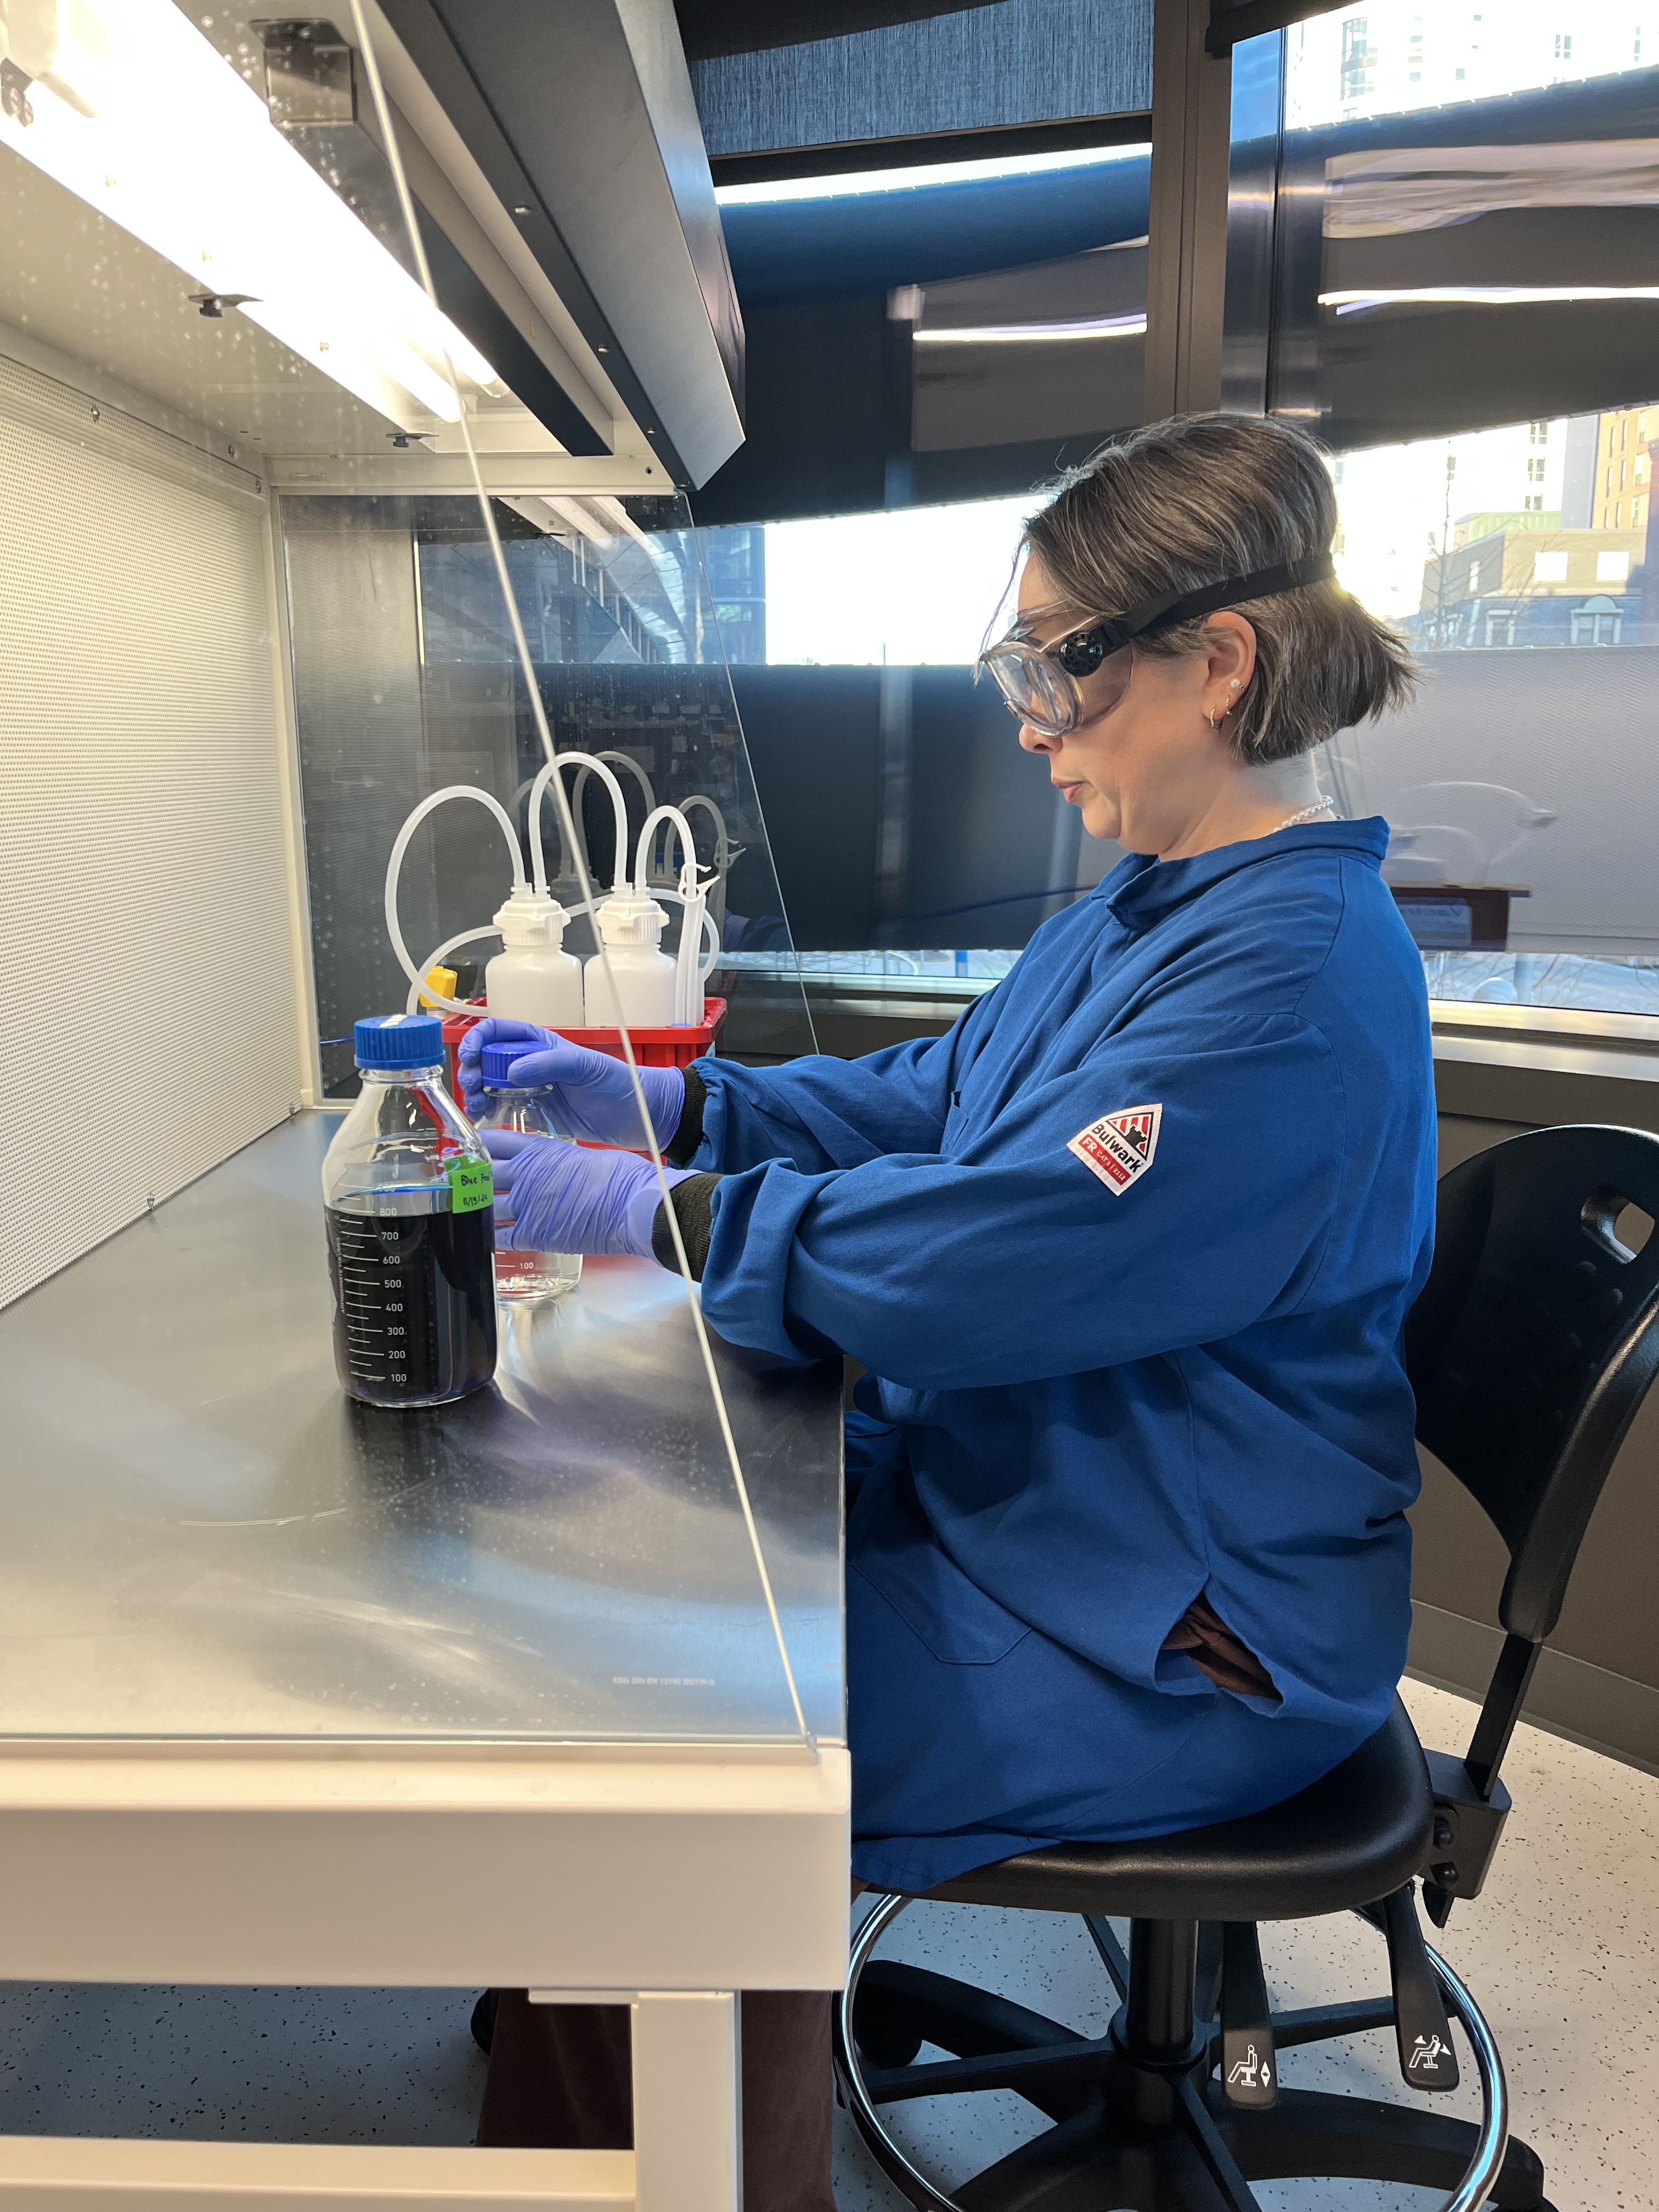
7. Complete Your Work
Sit in a comfortable position at the hood. Avoid unnecessary movements or other sources of airflow to prevent contamination.
8. Remove Materials
Dispose of waste in proper containers and remove all tools and materials from the bench after the completion of your work.
9. Clean the Workspace
Wipe down all surfaces again with 70% ethanol or Cavicide wipes.
10. Standby
Place the clean bench in Standby mode by tapping the Fan Speed button. The noise of the fan will be reduced but not stopped completely.