

What Is a Bead Bath?
A bead bath is a temperature-controlled heating device similar to a traditional water bath but uses thermal beads instead of water. These dry metal beads provide uniform heat transfer to samples or reagents while eliminating the risk of contamination, spills, and microbial growth associated with standing water.
What Bead Bath Is Available in the Wet Lab Makerspace?
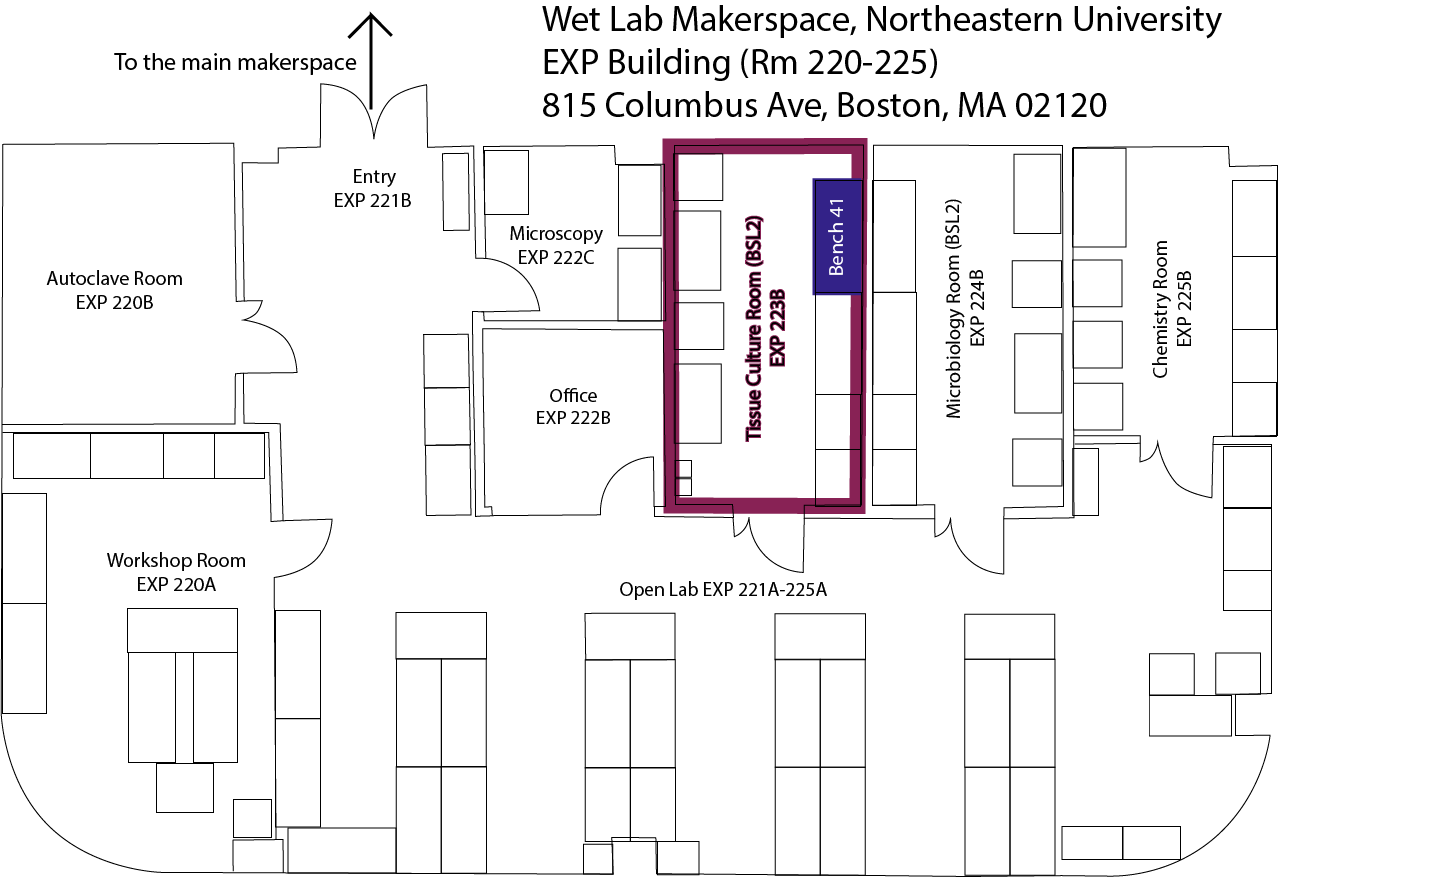
In the Wet Lab Makerspace, our bead bath is located in the Tissue Culture Room on Bench 41.
Safety Considerations
Bead Bath Parts
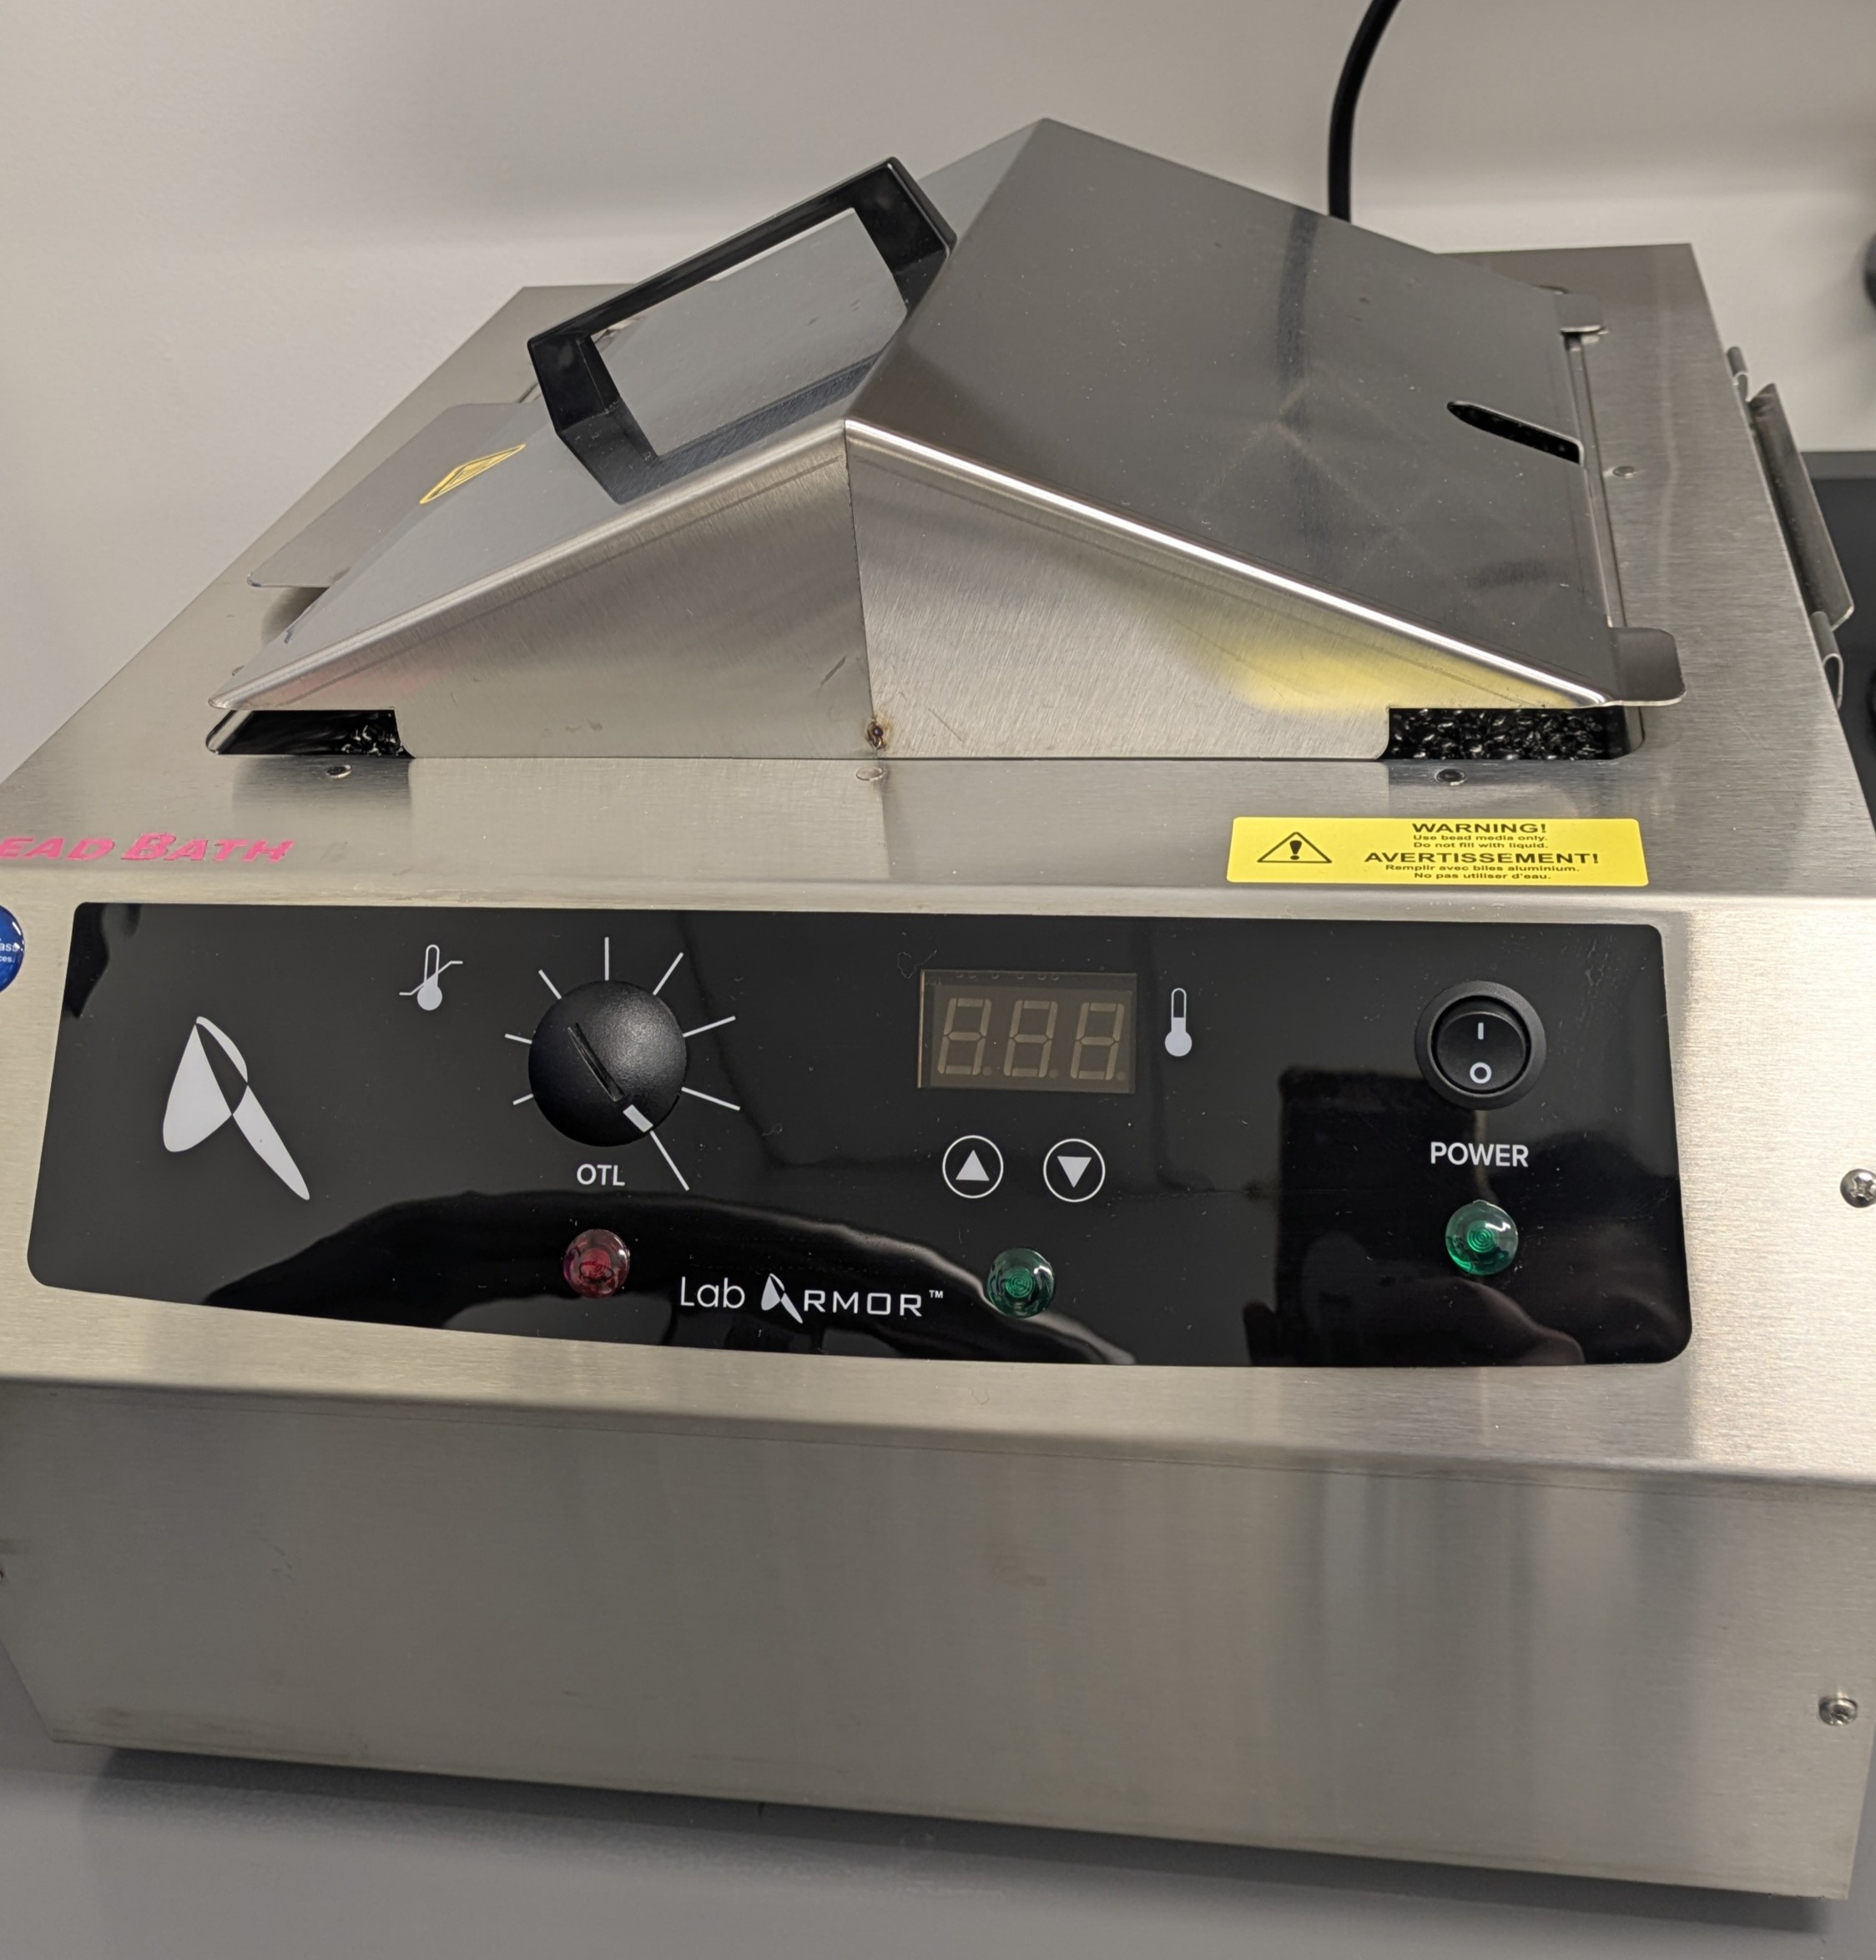
- Lid: Transparent or metallic cover that minimizes heat loss and prevents dust from entering. Always keep the lid closed when not in use to maintain stable temperature.
- Control panel:
- Power Button: Turns the bead bath on or off.
- Current Temperature: Displays the real-time temperature of the beads.
- Set Temperature: Shows the target temperature selected by the user.
- Heating Indicator: Illuminates when the bath is actively heating.
- Set Buttons (▲ / ▼): Adjust the desired temperature setting.
- Bead chamber: The stainless steel tank filled with dry thermal beads that evenly distribute and retain heat. Beads can securely hold tubes, flasks, or bottles in position without racks.
Tips for Success
- Allow the bath 10–15 minutes to reach the desired temperature before use.
- Insert sample containers so that the beads cover the area of the sample requiring heating (e.g., up to the media level).
Operating Instructions
1. Switch On
Flip the power switch on the instrument to On.
2. Set the Desired Temperature
Use the Set Temperature buttons to select the target temperature (commonly 37 °C for warming media or reagents). The desired temperature will display on the control panel.
3. Wait for Heating
Monitor the Heating Indicator and wait until the Current Temperature matches the desired temperature. This ensures the bath is ready for use.
4. Insert Samples or Reagents
- Place tubes, bottles, or flasks into the beads, ensuring secure contact and proper depth.
- Confirm that containers are tightly sealed to avoid contamination.
- To maintain temperature, beads should reach the height of the material in your container.
5. Monitor and Maintain Temperature
Carefully check your samples to confirm they have warmed as needed.
6. Power Off
Once done, turn off the power and allow the bath to cool.