

What is a water bath?
A water bath is a container filled with heated water. It is used to maintain samples or reagents at a constant temperature over a long period of time.
What water bath is available in the Wet Lab Makerspace?
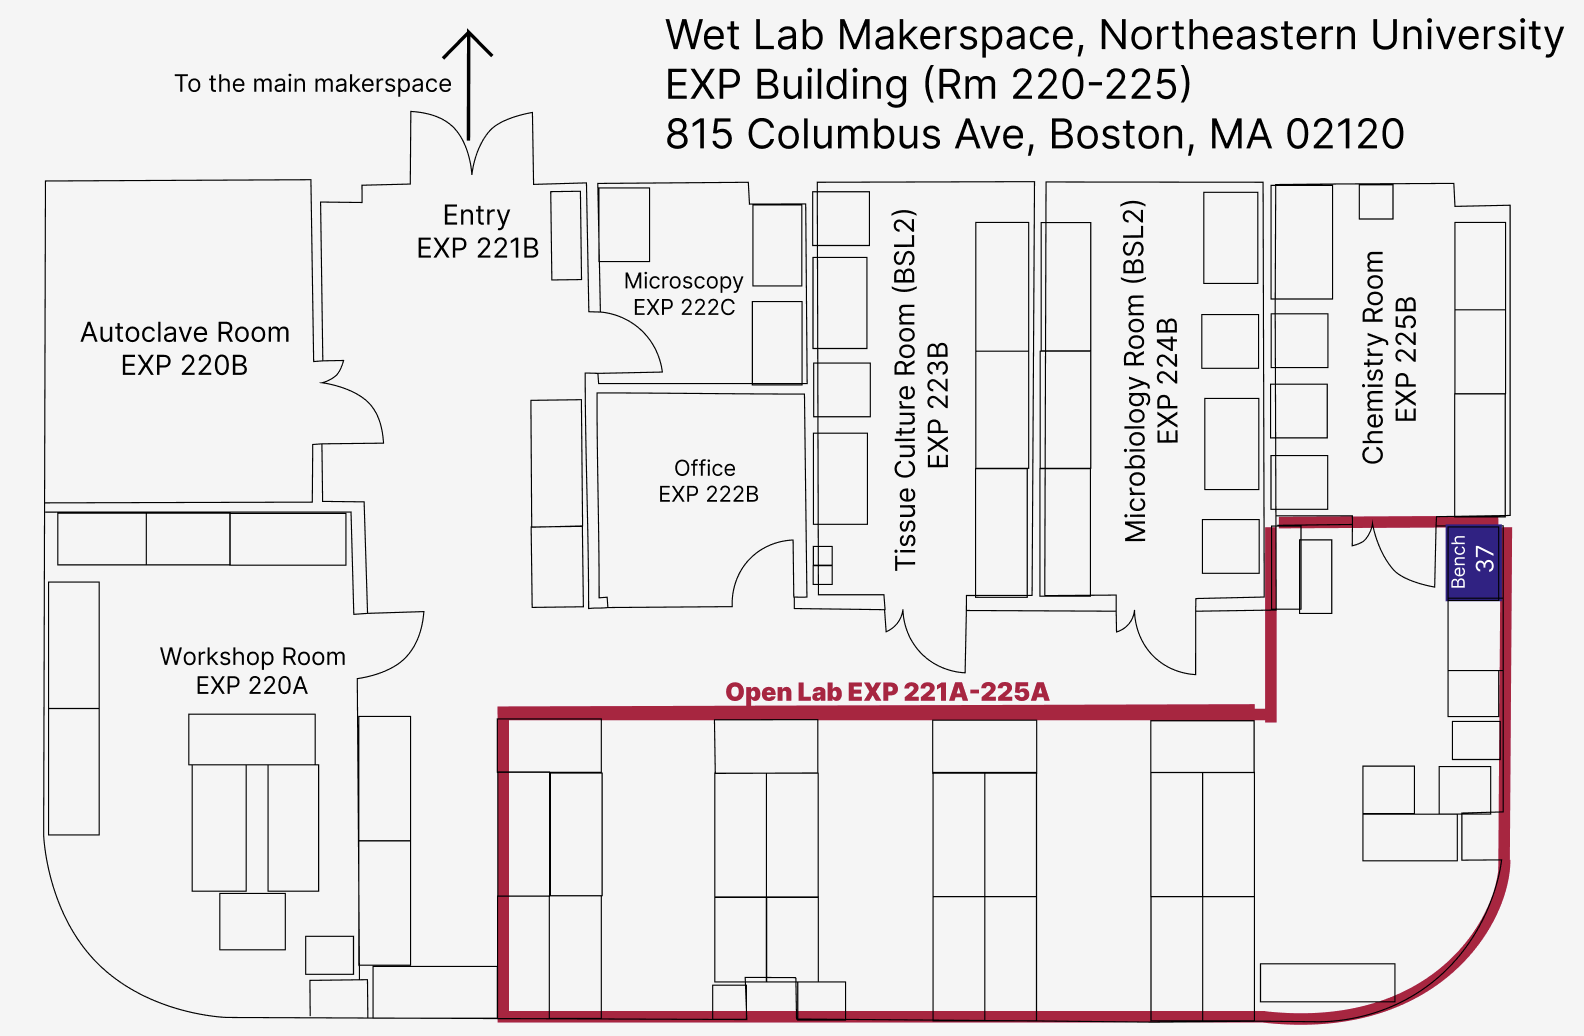
In the Wet Lab Makerspace, our water bath is located in the Open Lab on Bench 37.
Water Bath Parts
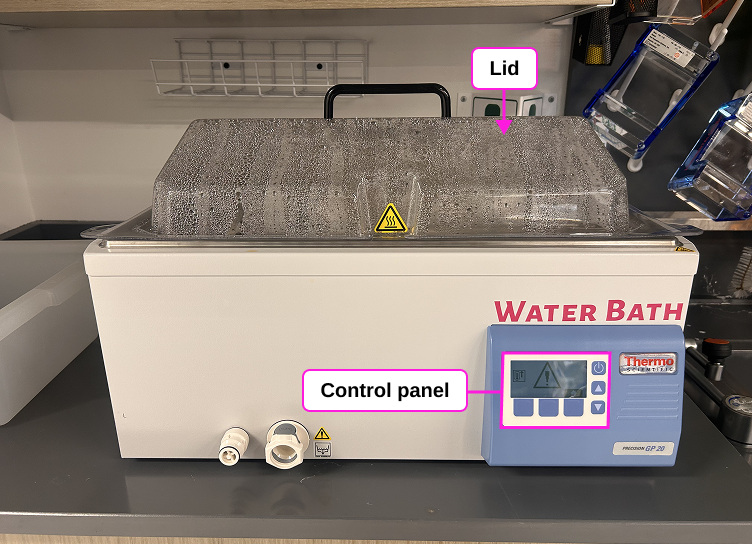
- Lid: Transparent cover that retains heat and minimizes water evaporation. Helps maintain consistent temperatures within the bath.
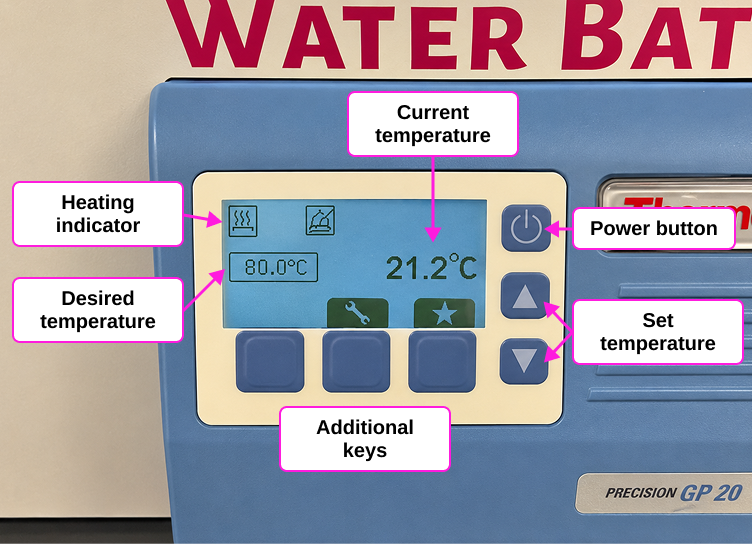
- Control Panel:
- Current Temperature: Displays the actual temperature of the water.
- Desired Temperature: Shows the set temperature to be achieved.
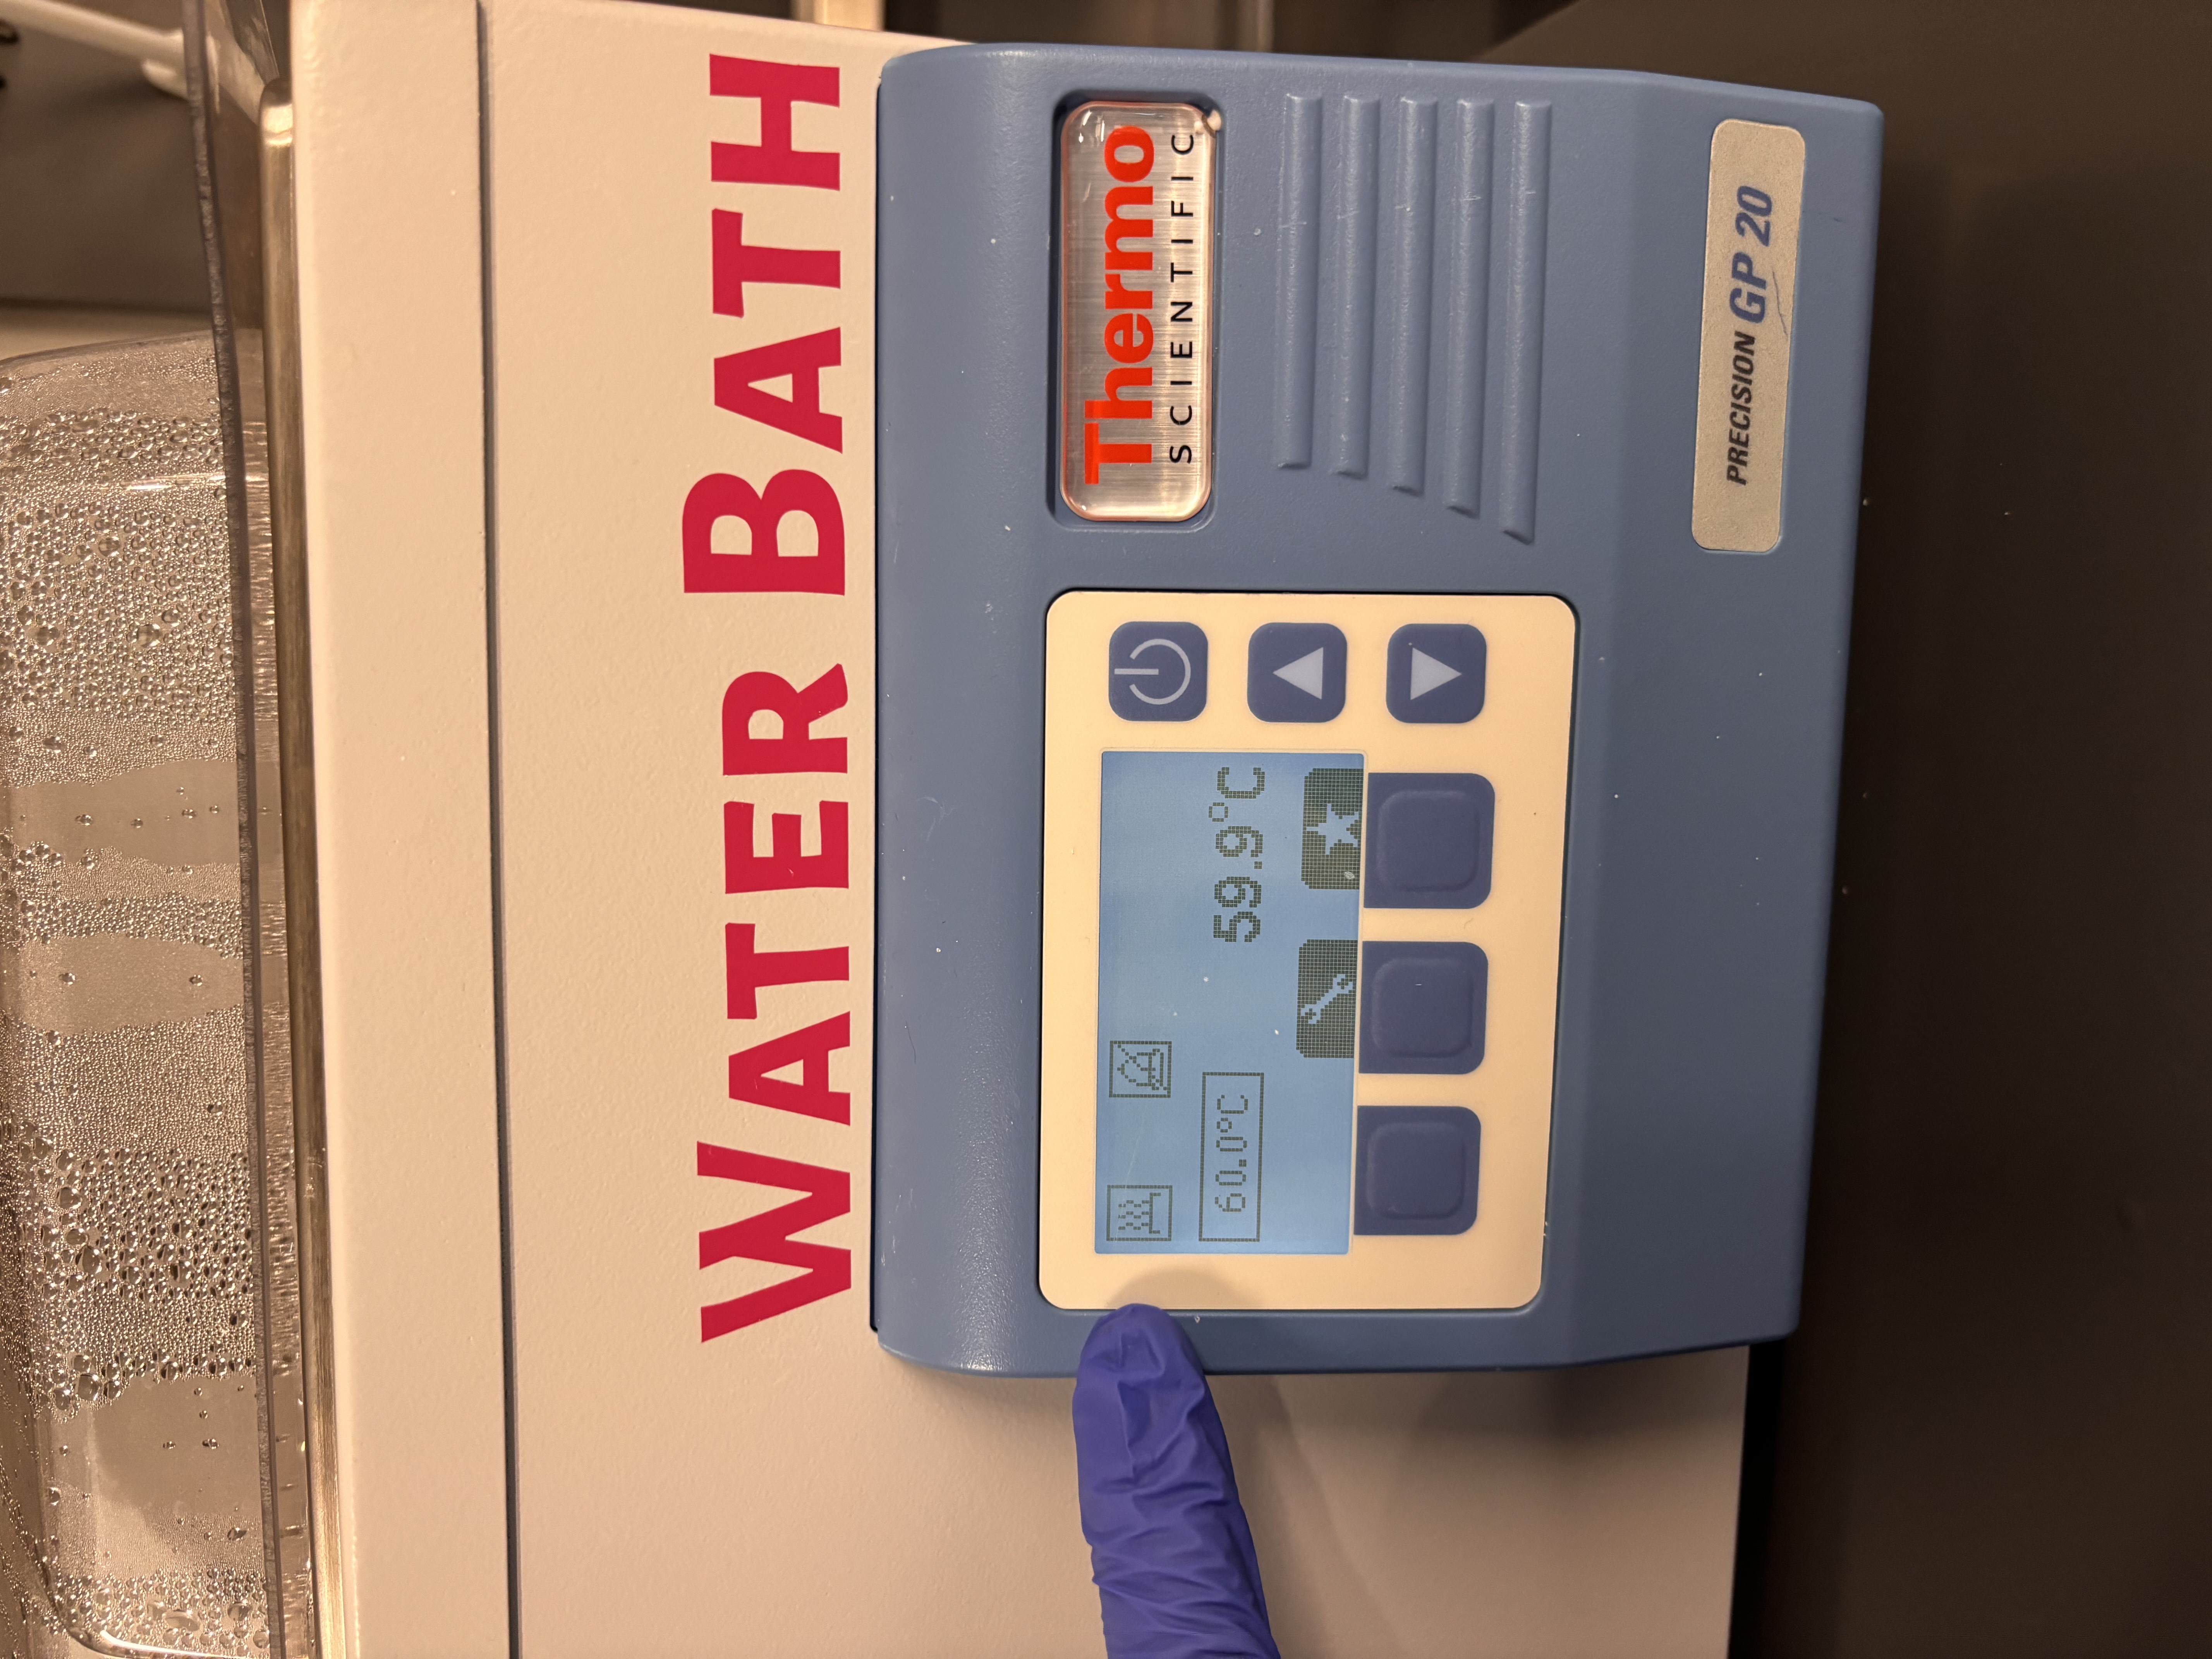
- Heating Indicator: Indicates whether the heater is actively working.
- Set Temperature Button: Allows setting the desired temperature.
- Power Button: Turns the water bath on or off.
- Additional Keys: Fine-tune settings or adjust parameters.
- Water Bath Tank: The stainless steel container holds the water used to heat samples or maintain specific temperatures.
Safety Considerations
- Minimum PPE in the Open Lab: lab coat, safety glasses, gloves
- Additional PPE may be required to handle your materials
- Handle Samples with Care: Use tongs or heat-resistant gloves when removing hot containers.
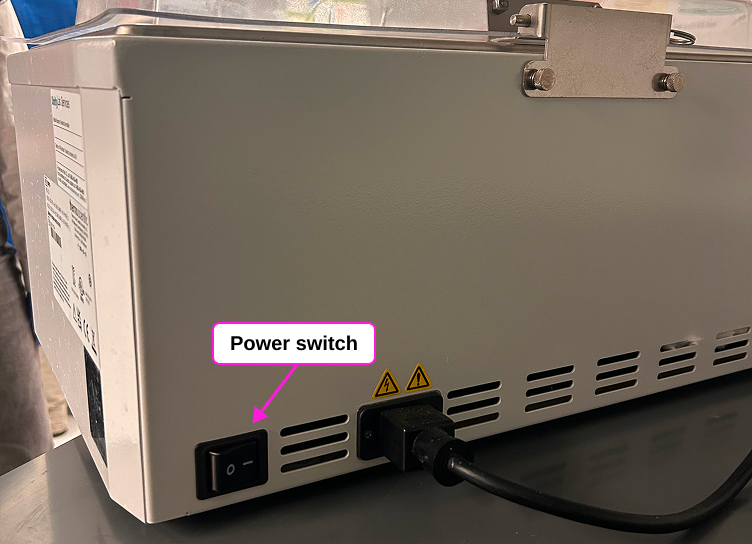
- Immediately turn off the water bath using the Power Switch.
- Do not attempt to clean the spill or fix the leak on your own if it involves electrical components.
- Reach out to an explorer for assistance and report the issue promptly.
- Keep Electrical Components Dry: Ensure the control panel remains dry to avoid malfunctions.
Tips for Success
- This device can take a while to change temperature. To operate at far from ambient temperature, turn the device on and allow the temperature to equilibrate in advance.
- Use Racks or Holders: Keep samples elevated for optimal heating and avoid direct contact with the tank bottom.
- To maintain temperature, leave the lid closed as much as possible.
Operating Instructions
1. Switch On
Flip the power switch on the back of the instrument to “On”
2. Press the power button
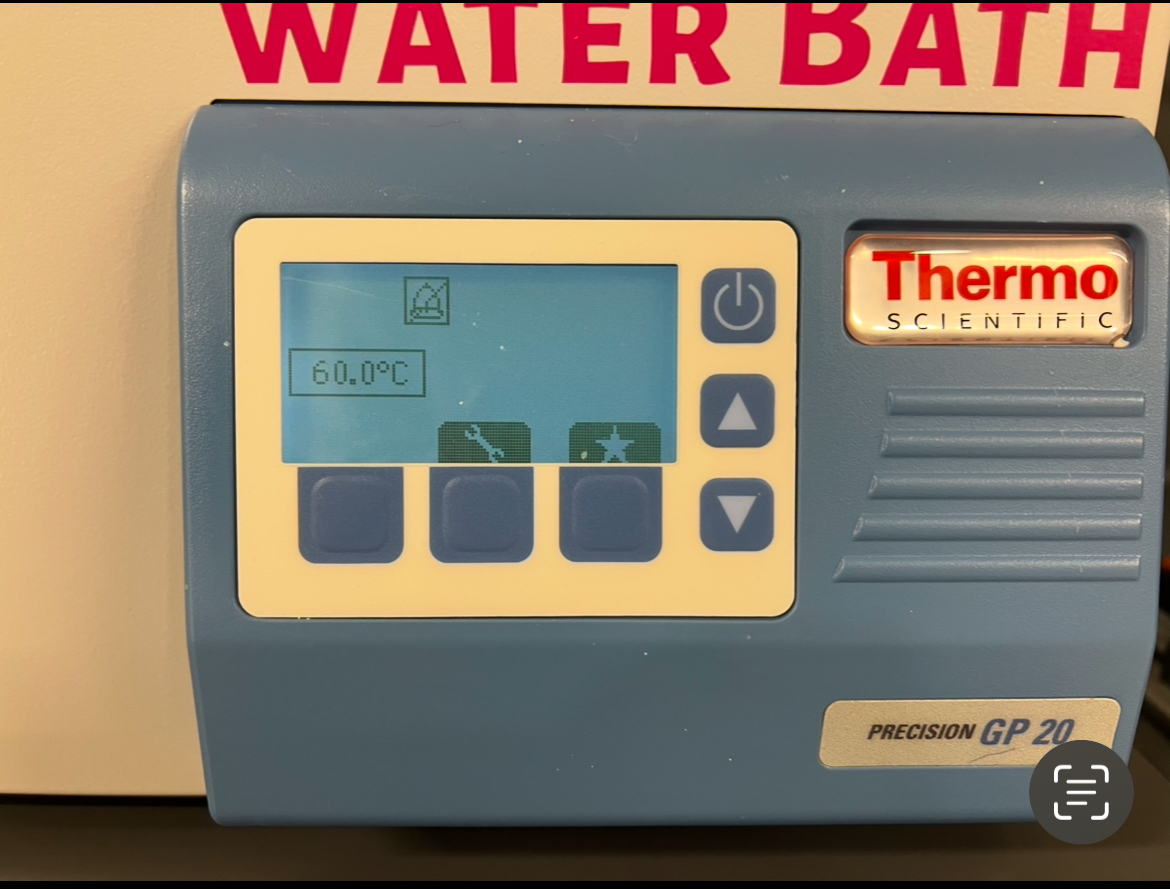
Press and hold the power button until the instrument turns on. Below is the screen when the power switch is flipped on, but the power button has not been pressed.
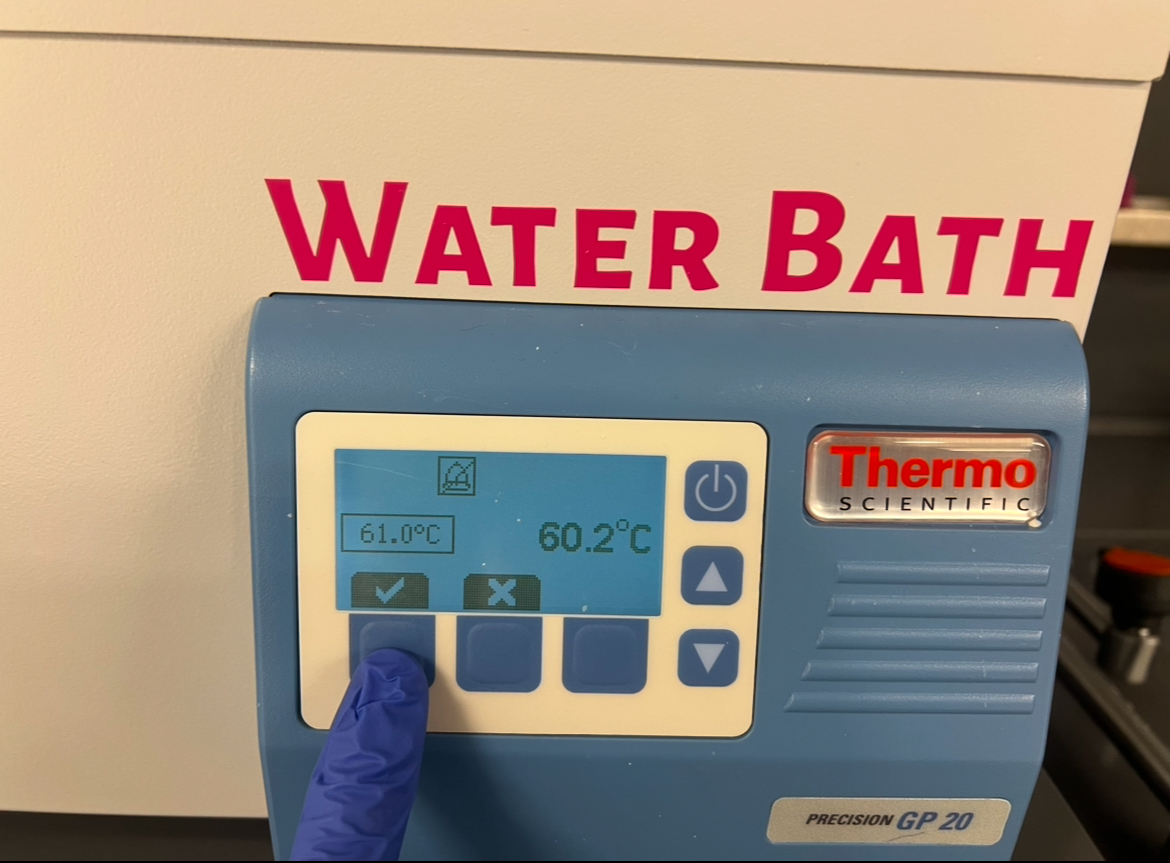
And here is what the screen will like after the power button has been pressed.
3. Set the Desired Temperature
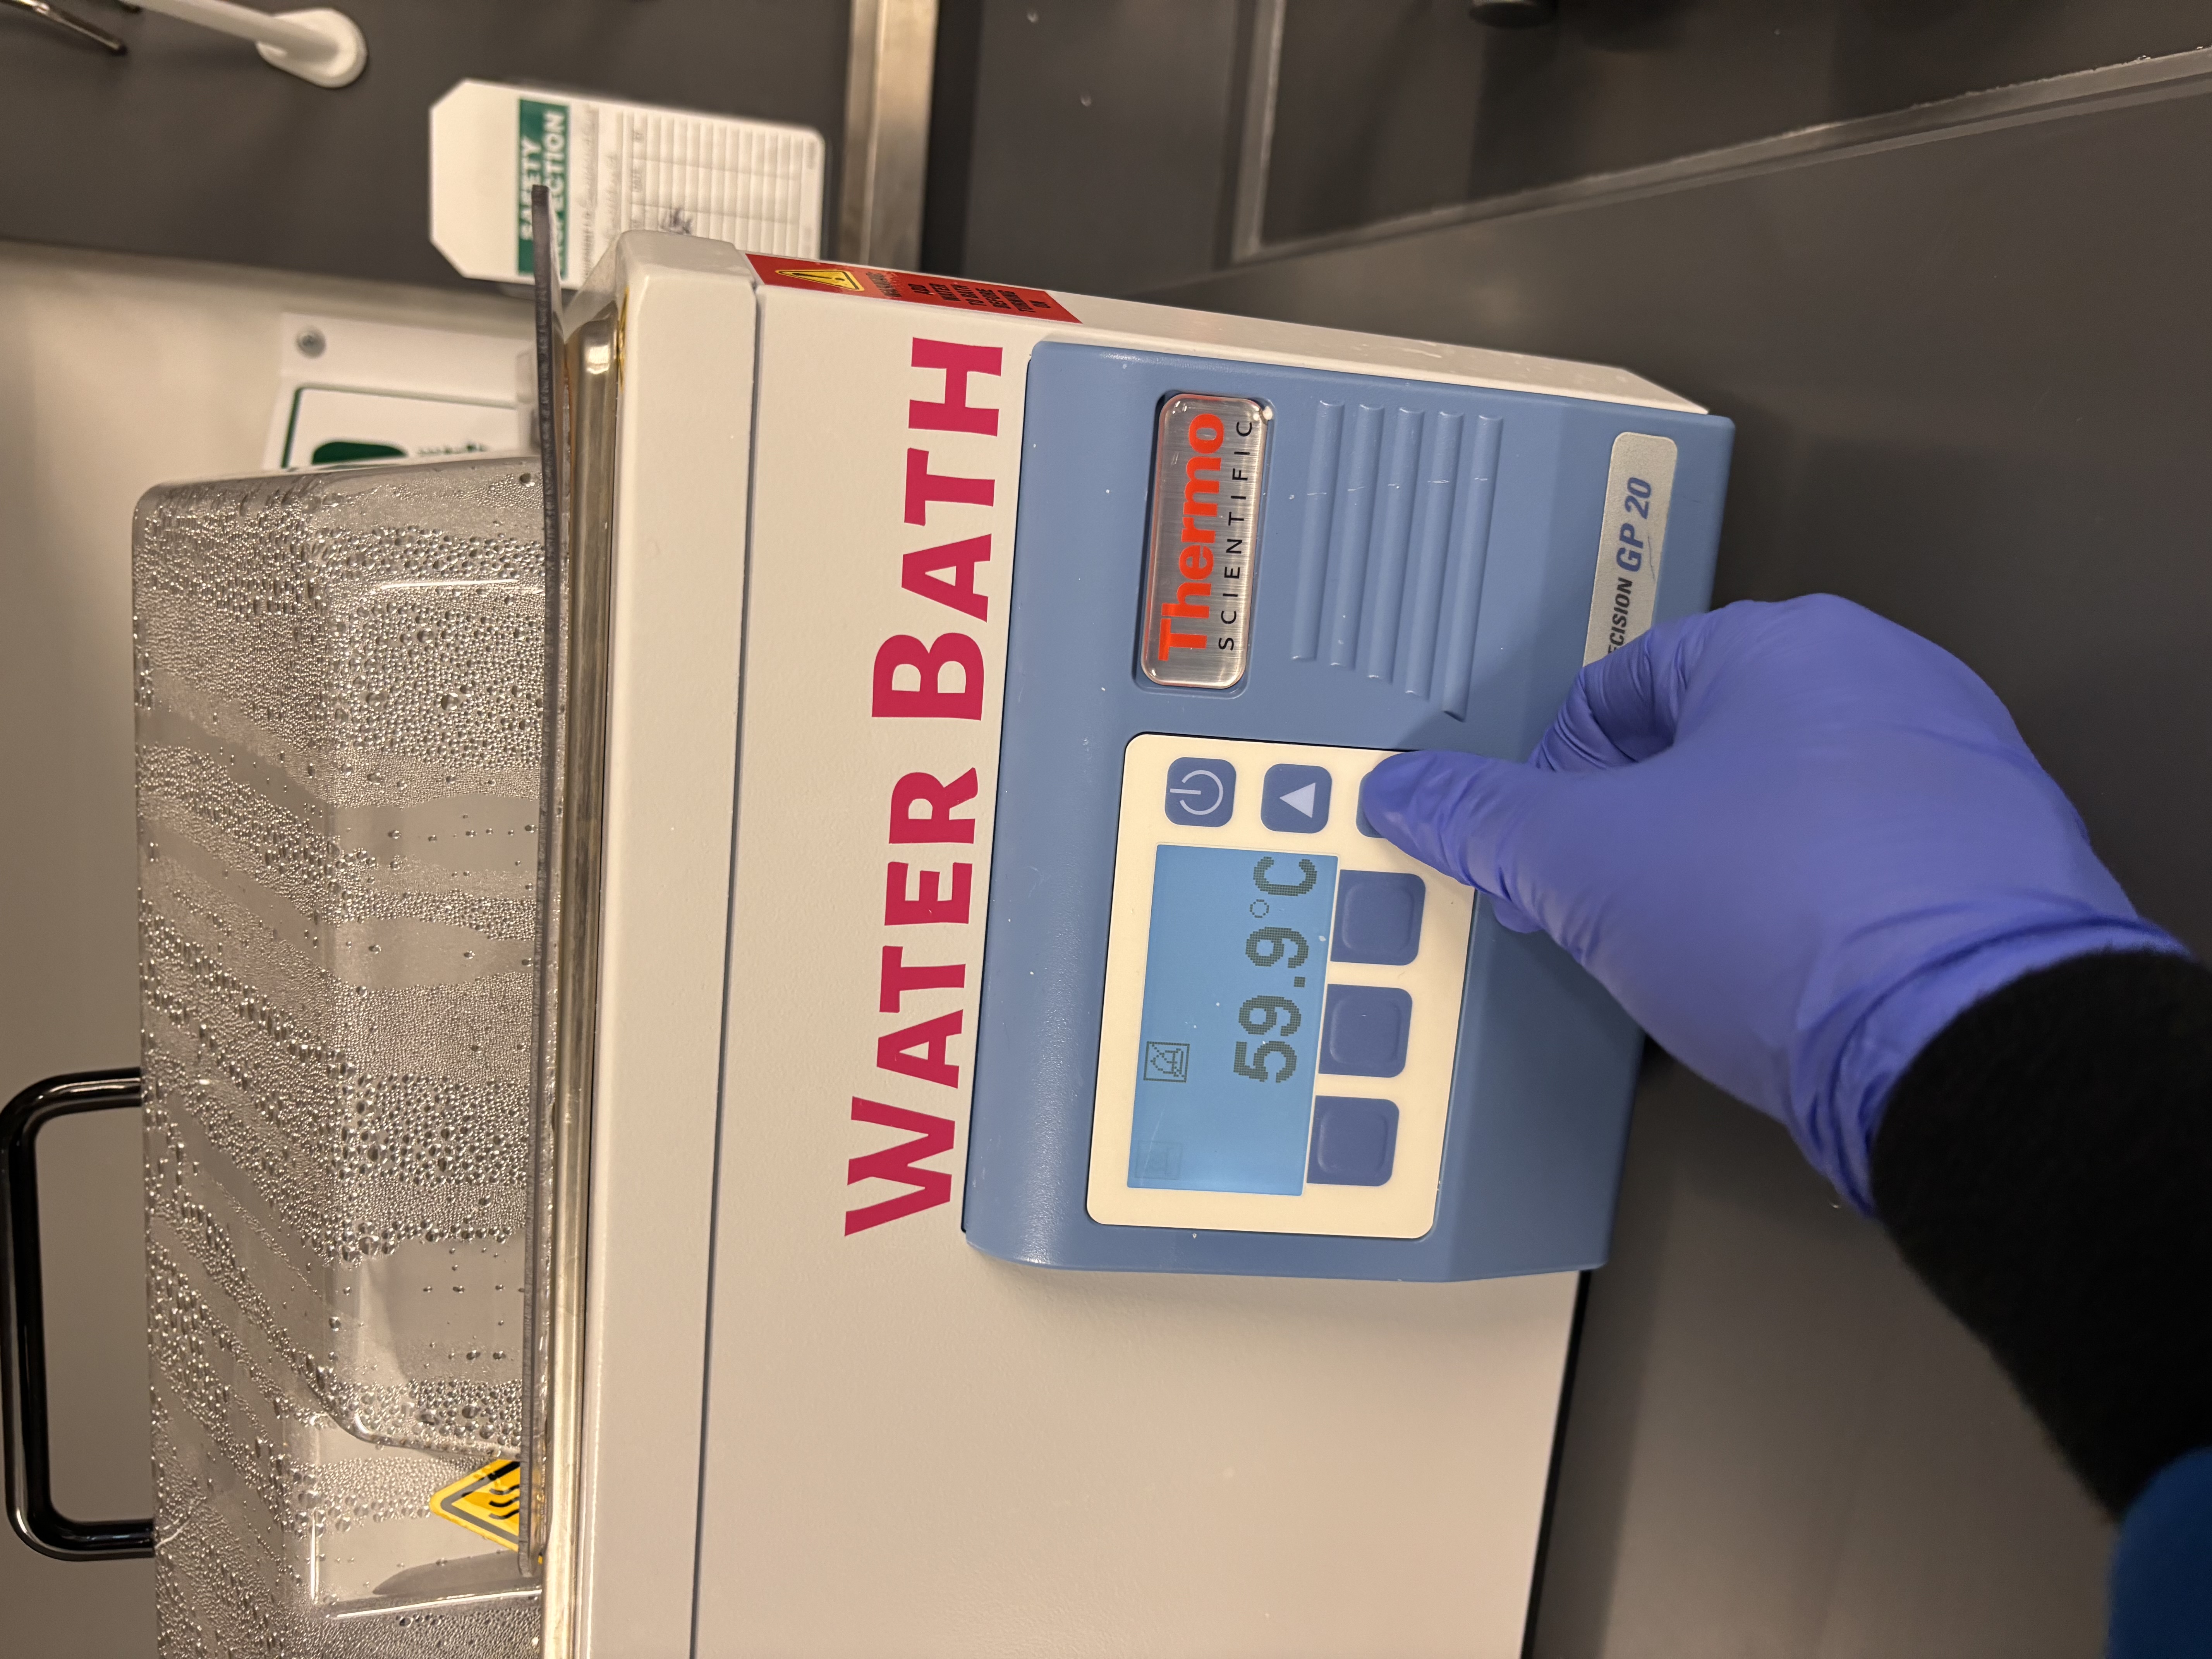
Use the Set Temperature Buttons to select the target temperature. The Desired Temperature will display on the control panel.
4. Wait for Heating
Monitor the Heating Indicator and wait until the Current Temperature matches the Desired Temperature. This ensures the bath is ready for use.
5. Place Samples in the Tank
Insert sample containers, ensuring they are sealed properly to prevent water contamination. Use racks if needed to position samples securely.
To maintain temperature, water should reach the height of the material in your container.
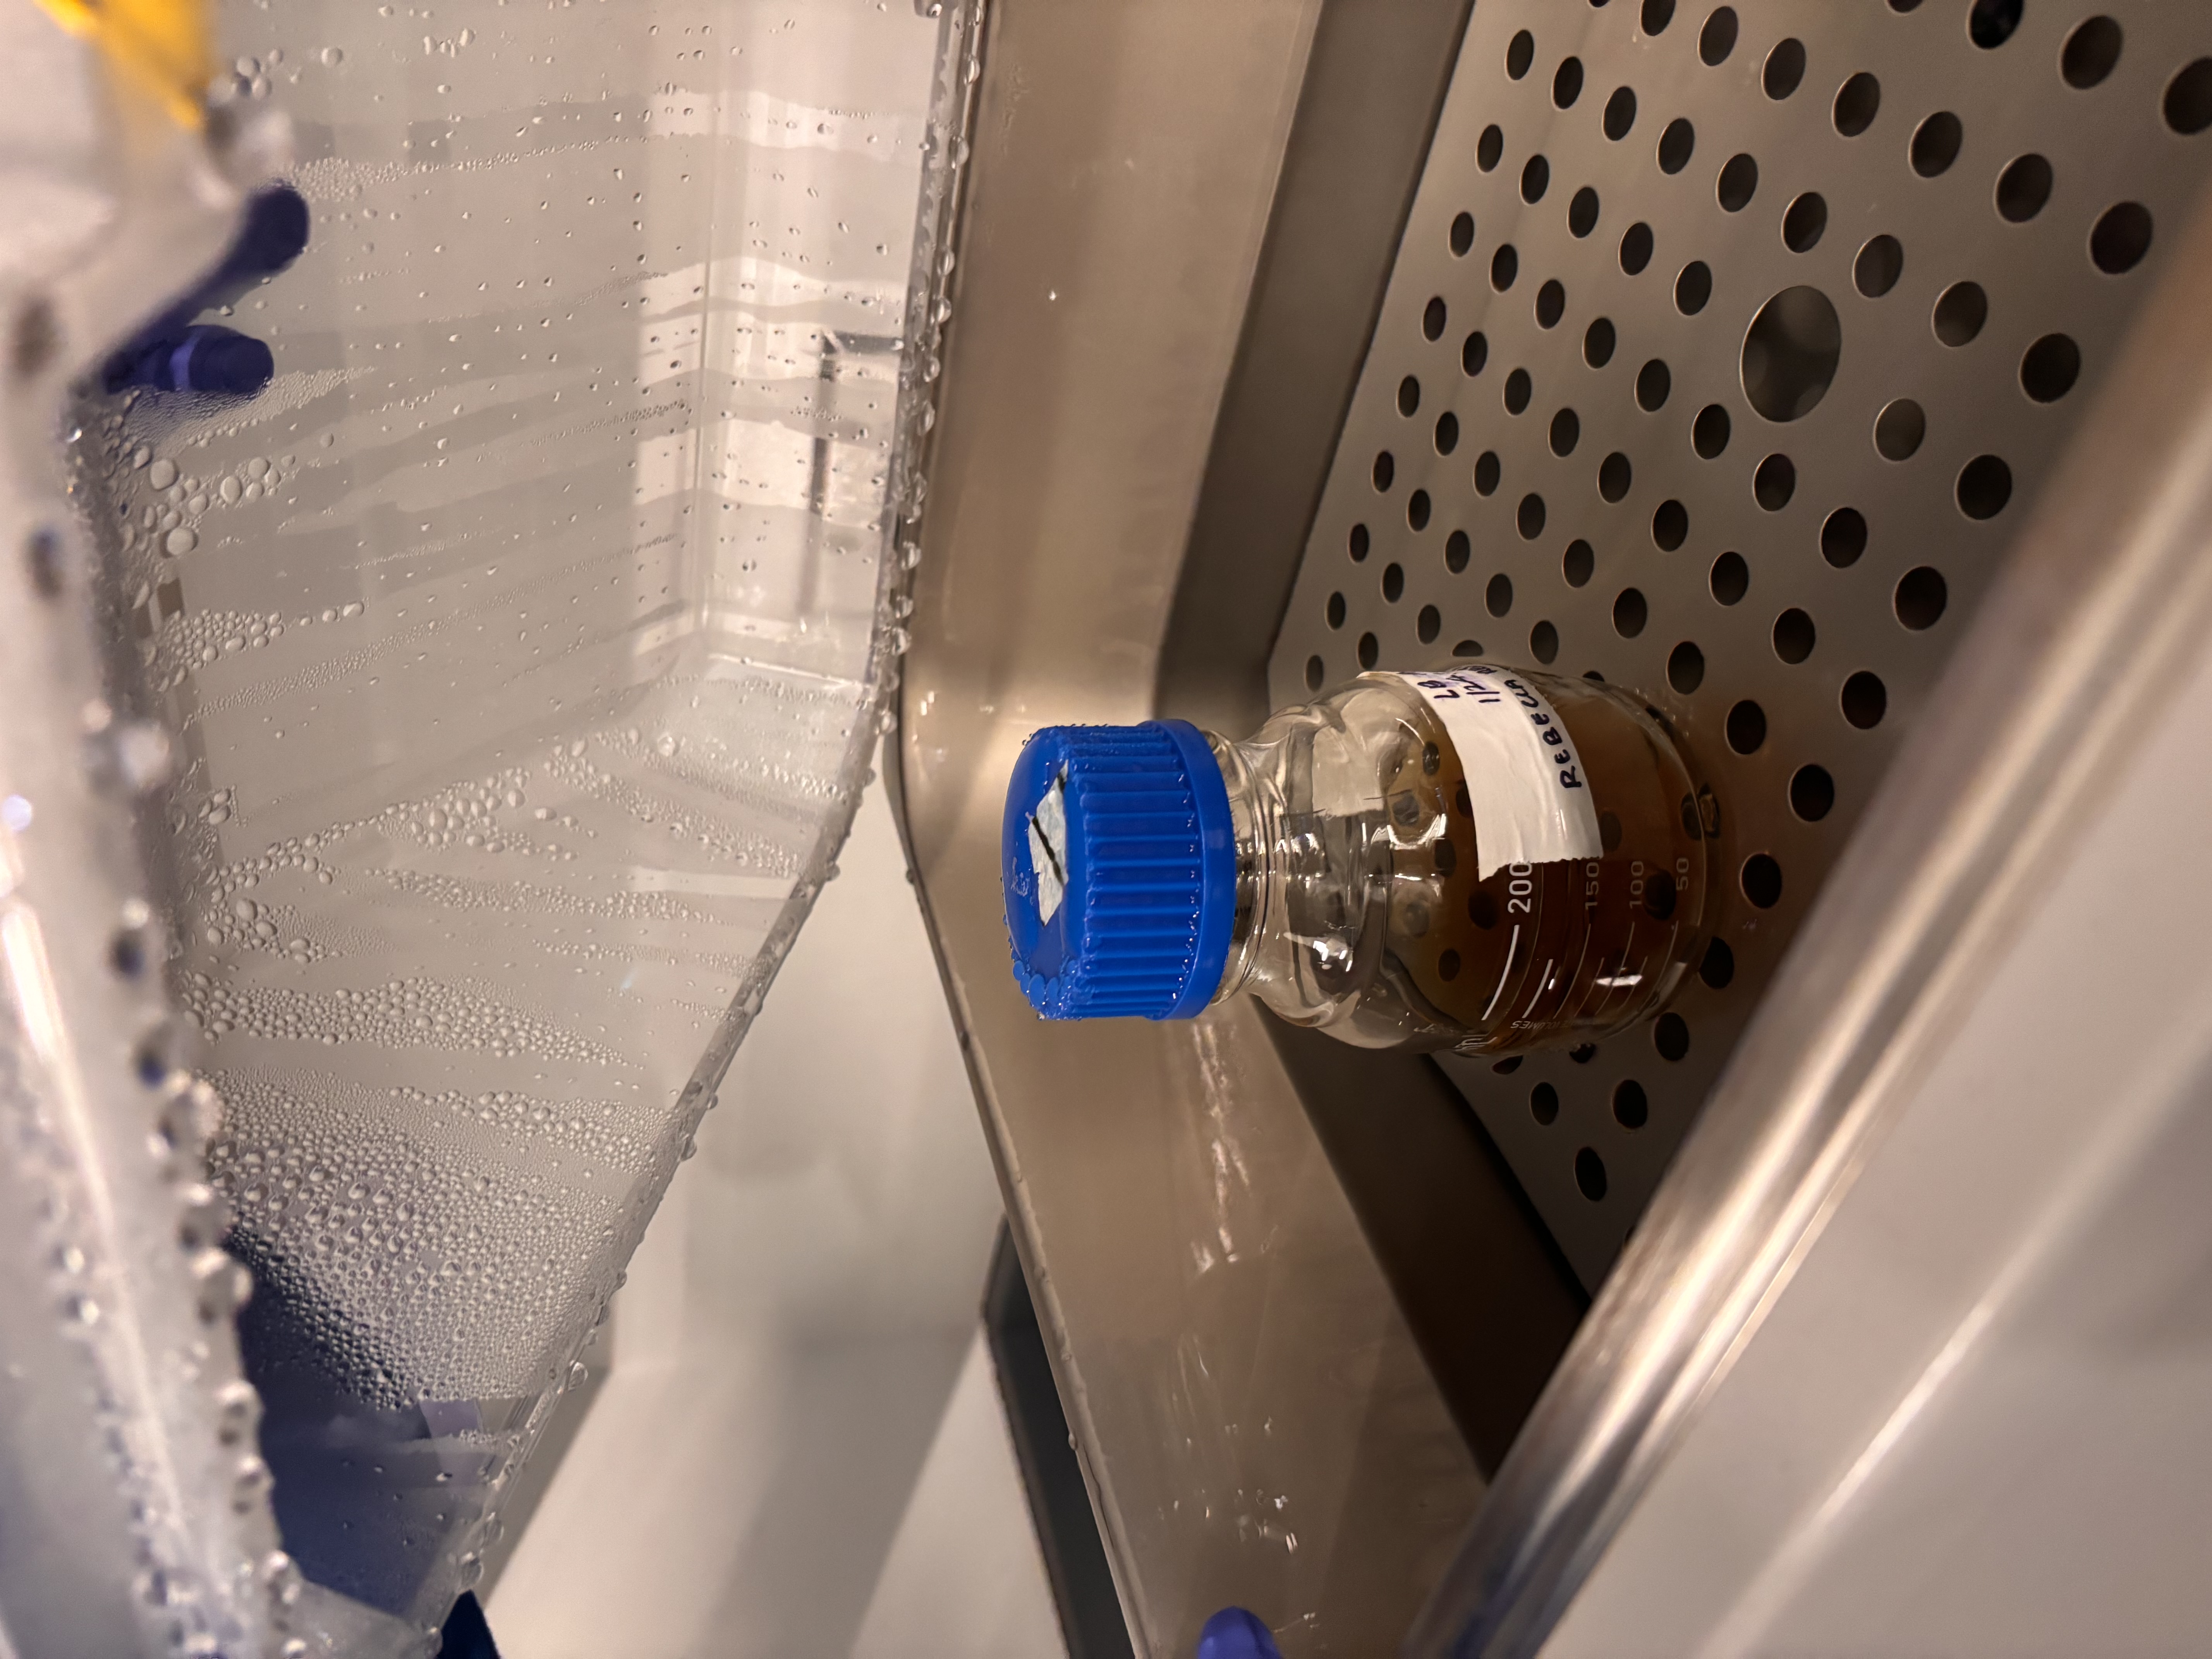
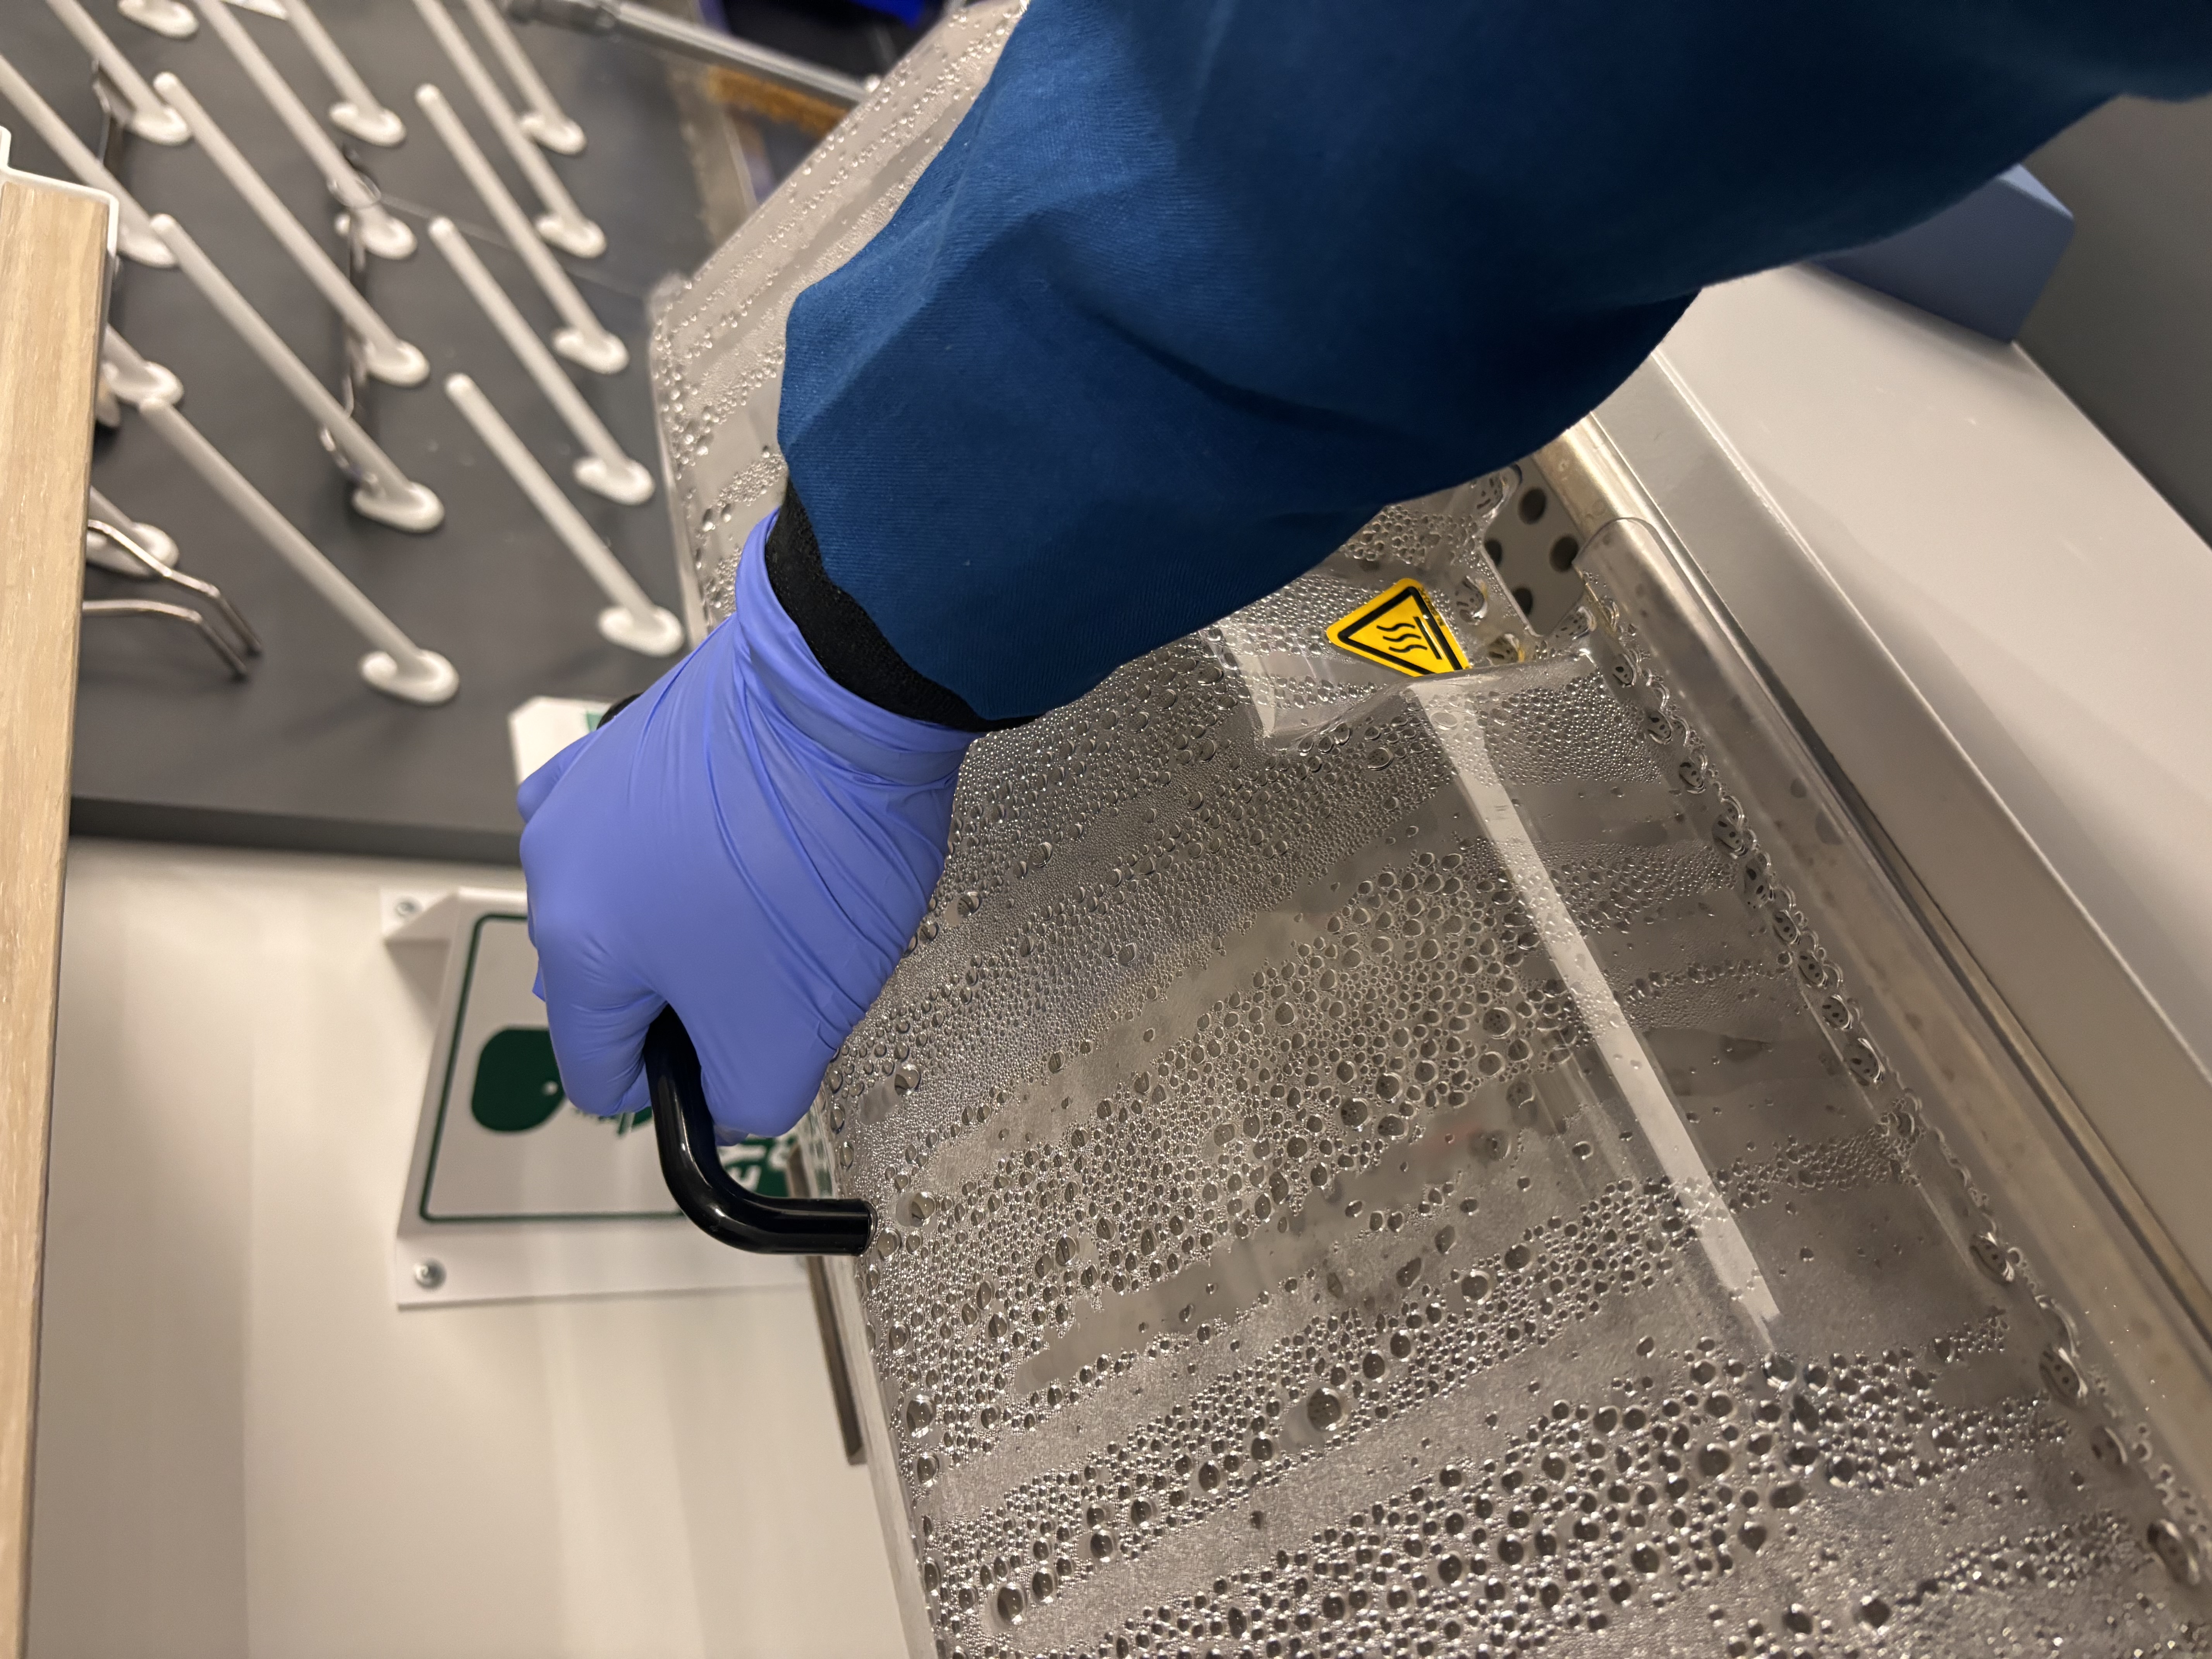
6. Close the Lid
Cover the bath with the lid to minimize heat loss and water evaporation.
7. Power Off
Once done, turn off the power and allow the bath to cool.